
Using Wiziq Part 2: Navigating the Wiziq dashboard
• Step 1:
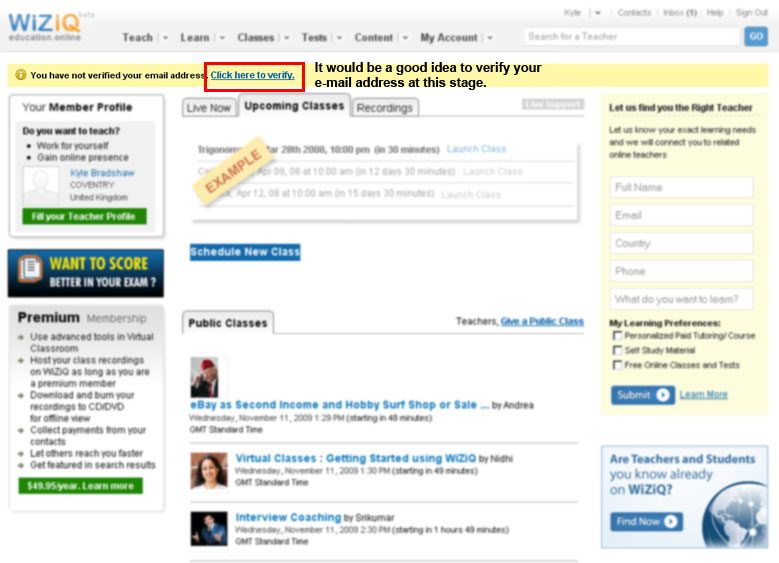
Upon going to Wiziq and signing in, after registration, you will be confronted with the Wiziq home page, to use it further you have to verify your email address. This as you can see below is a simple link, this will send you a link in an email to follow.
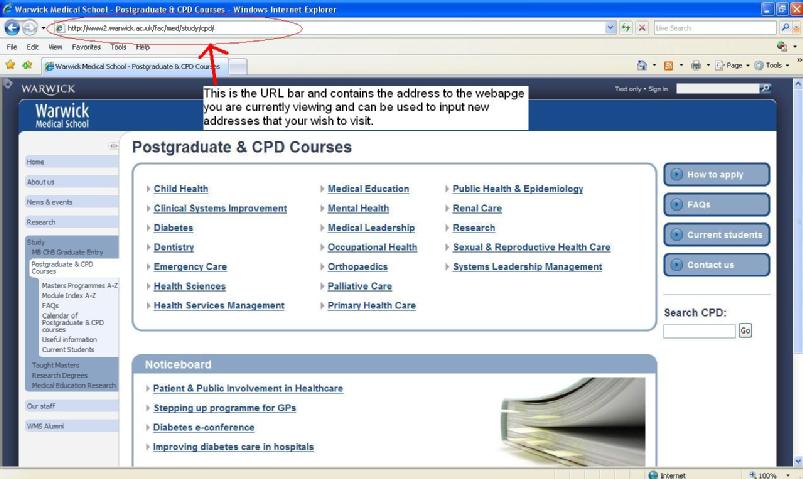
Next, It is best to go to your Email and find the message sent by WIZIQ (remember this is you Warwick Email account)
Once you find it please go into the URL bar at the top of your browser (see image below) and copy the address provided by WIZIQ, starting with “http://www.wiziq.com/emailverification.aspx.......”, this is because there is a compatibility issue between Wiziq automated links and the Warwick Email System.
• Step 2:
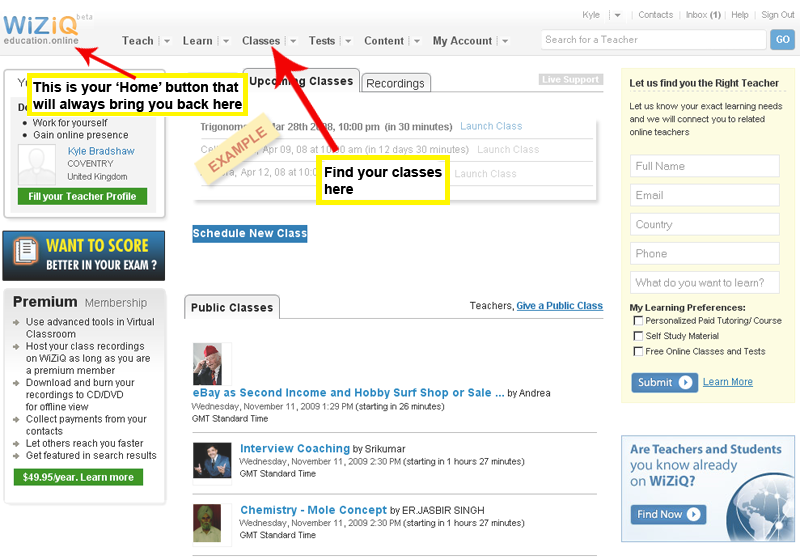
Once Logged into Wiziq you will have a home page which displays all the information about current, upcoming and previous sessions. It also allows you to navigate in more detail, for example we can search for friends or new contacts in the members list section, or to look through the available classes that exist as publically accessible tools, there are many of these and it may be worth sitting in on a session just to get to grips with the technology. You are also able to edit your profile and make it more detailed, and choose what information if any you wish to share.
• Step 3:
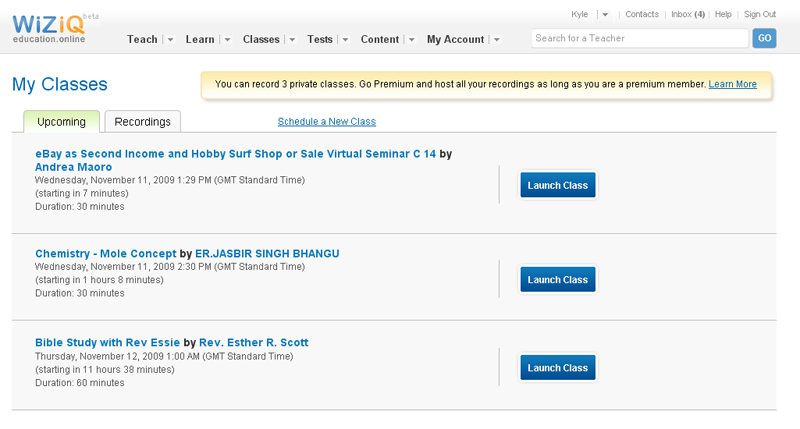
Clicking on the Classes button brings you to this page which acts like a calendar detailing all the classes that are scheduled for you and provide links for you to access them.
• Step 4:
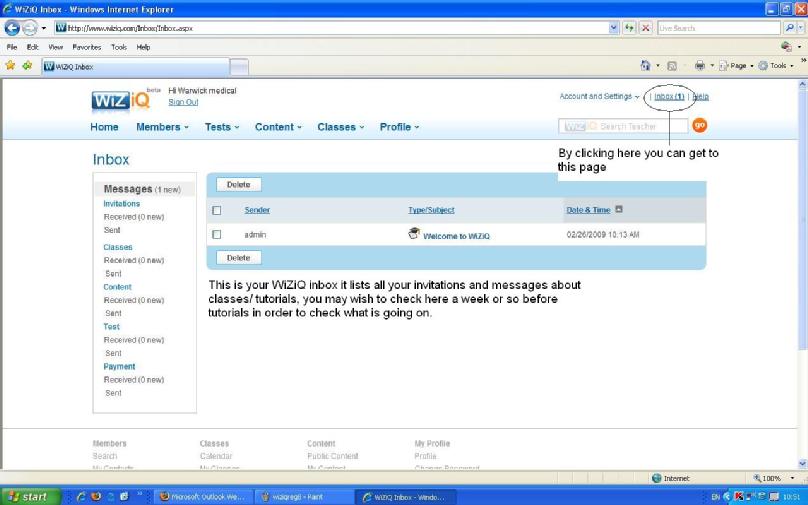
The Final page which is of great use to you is the 'Inbox', this is where you are provided with copies of invites to classes and details of the way in which you can access the tutorial. It also provides you with reminders of upcoming sessions.
Thank you for completing this section, Please continue reading and go to Using Wiziq part two: accessing and using the virtual learning environment.