Add New Models
Add New Models
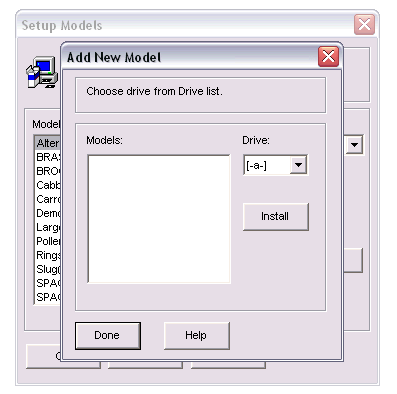
After selecting New from the Setup Models dialog box, you are presented with the Add New Model dialog box.

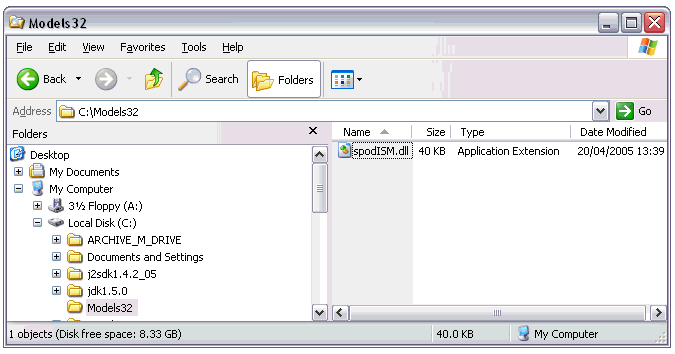
Before you are able to select a model to install into MORPH you will have to make sure that the model dll is located within a “Models32” folder on the specified device.
For example if you are adding a model from the hard disk drive labelled as C: the model needs to be located within the following location: C:\Models32 (see screenshot below). If the folder Models32 does not exist you will need to create a new folder and rename it to “Models32”.

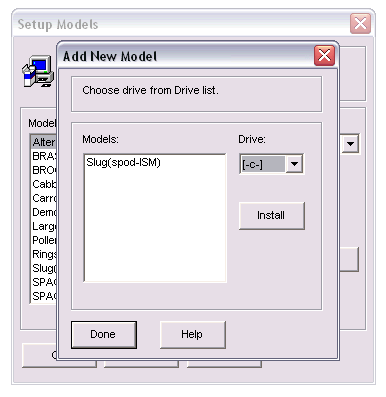
Then select the correct drive off of the Drive combo box from within the Add New Model dialog box. The model will be displayed in the model list ready for selection and installation.

Highlight the model that you want to install by clicking on it. Then click on the Install button to add the model into MORPH. Click on the Done button when you are finished. The model will only be added once you select OK in the Setup Models dialog box.
Don’t forget, if you are installing from a removable device to, insert a floppy disk or CD containing the model before selecting the drive in the Drive combo box. All available models on the selected drive are shown within the Models list box.
ONCE YOU HAVE INSTALLED A MODEL IT IS IMPORANT THAT YOU CONFIGURE THE OUTPUTS FOR THAT MODEL BEFORE YOU RUN THE MODEL FOR THE FIRST TIME, OTHERWISE THE OUTPUTS FOR THAT MODEL MAY BE INCORRECT.
