
Field groups
Field groups enable you to create custom groups of related elements on your form. This can help by making it easy to reorder your form in sections. Field groups also enable you to apply conditional logic to your form.
In this article:
Create a field group
-
Browse to the form you want to edit.
-
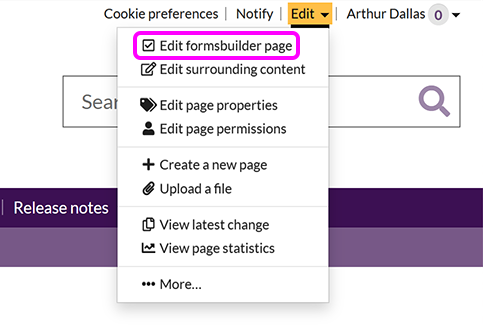
Go to Edit > Edit formsbuilder page:
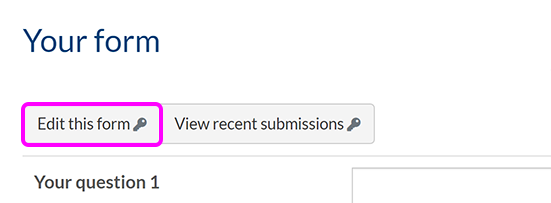
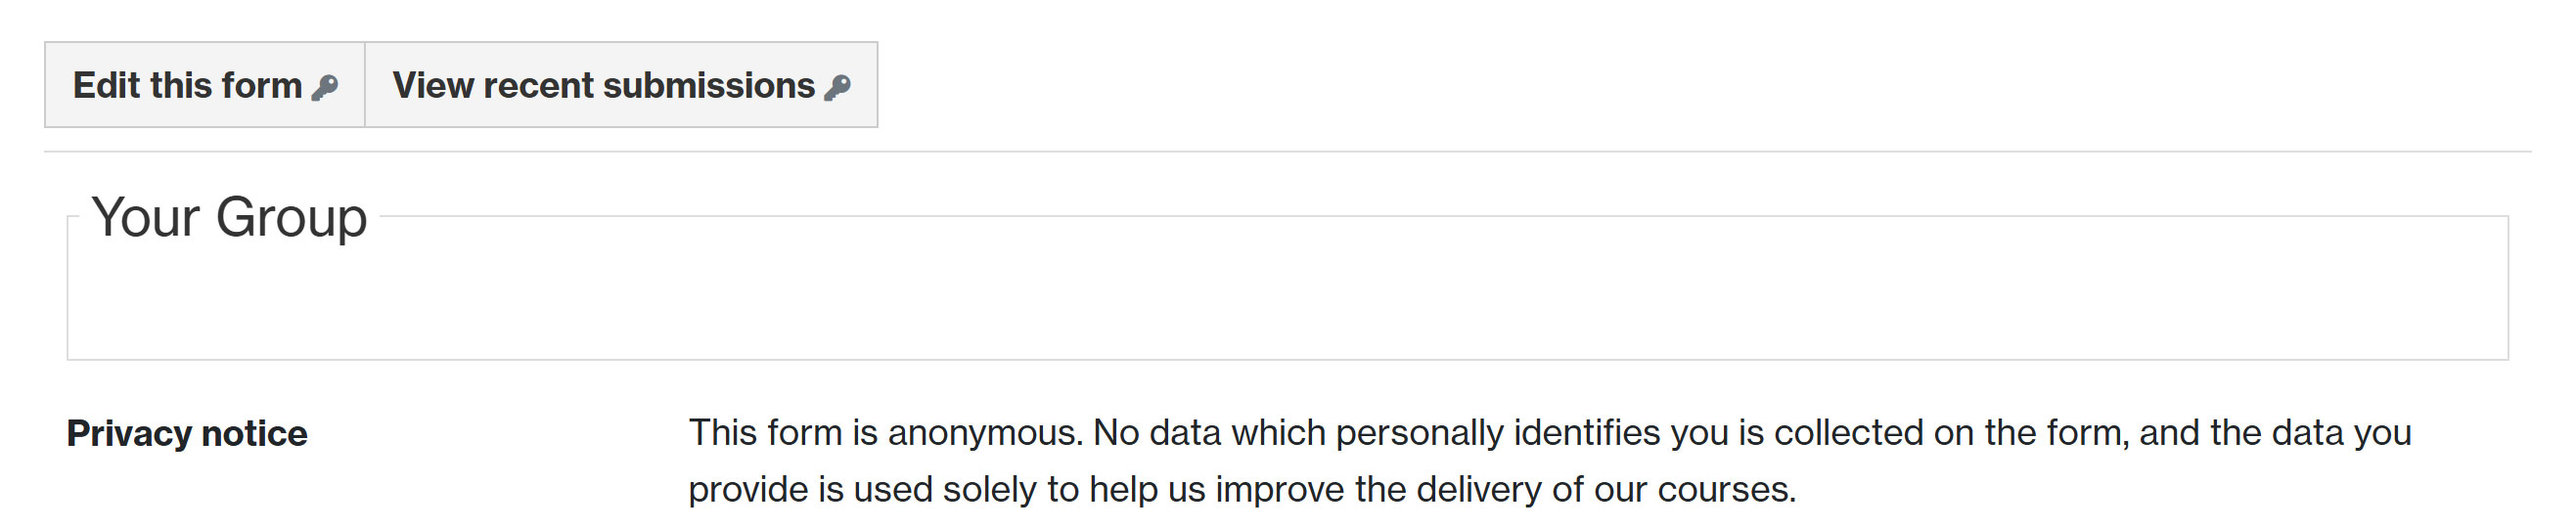
Alternatively, select the Edit this form button at the top of the form:
-
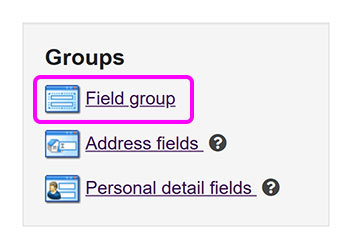
Under Groups, select Field group:
-
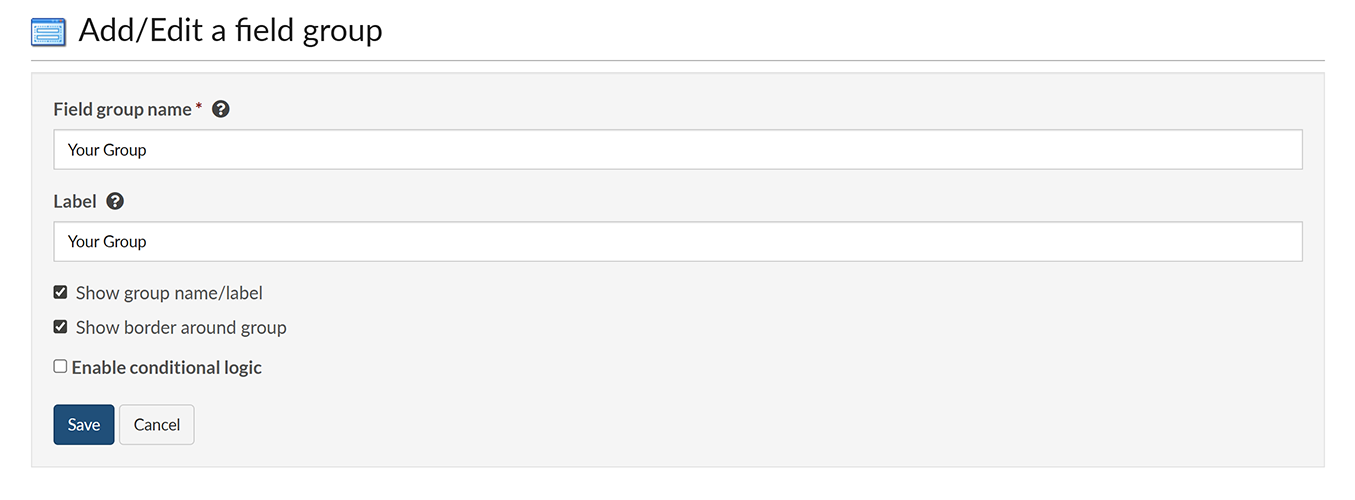
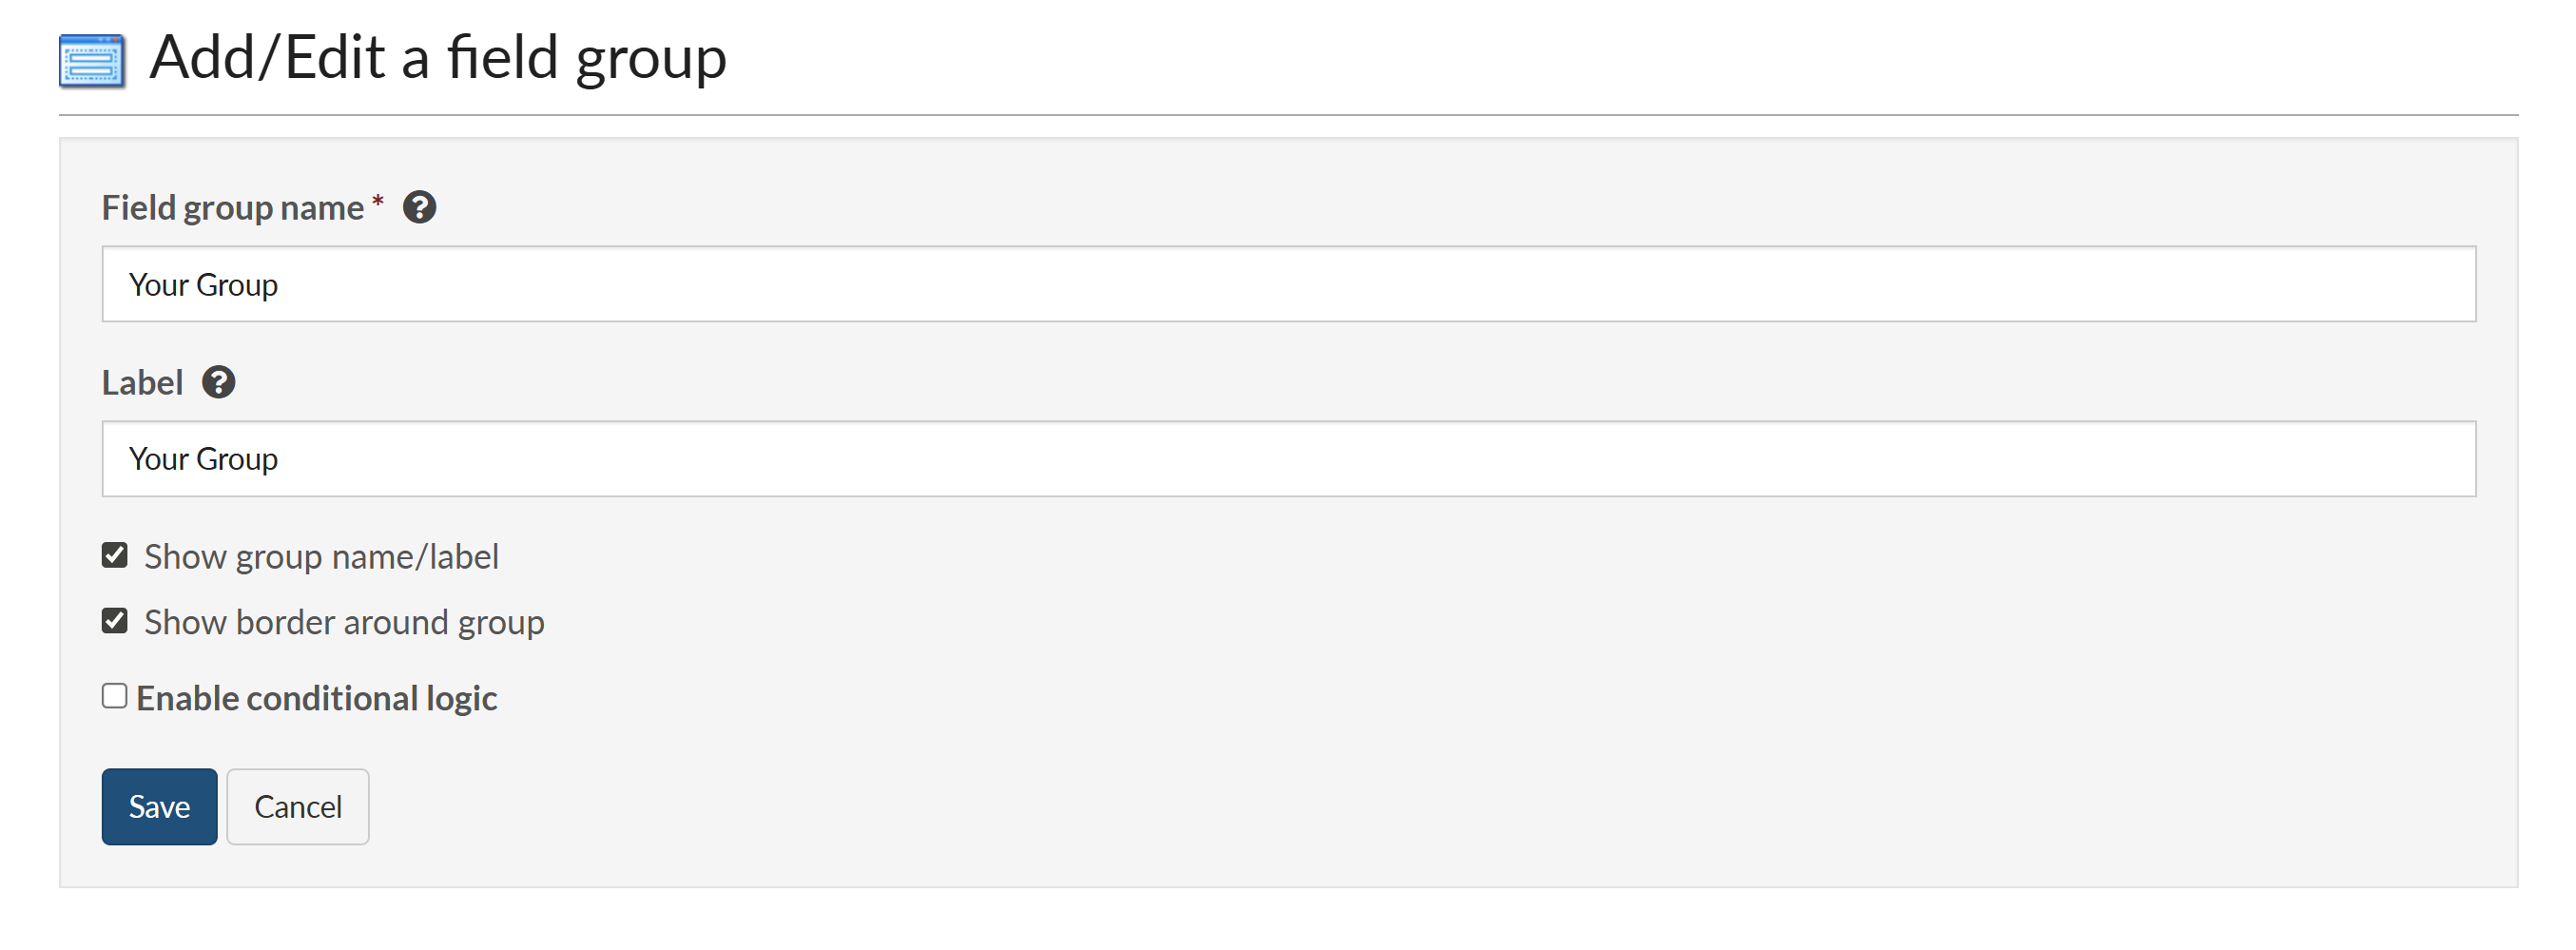
You see the Add/Edit a field group screen:
-
Enter a Field group name. As with other form elements, this is what will appear in the submissions results.
-
Optionally, provide a Label. This will appear above the field group on the form. If you don't enter one, the Field group name will be used instead.
-
By default, a field group appears on a published form with a border and the group name/label above it:
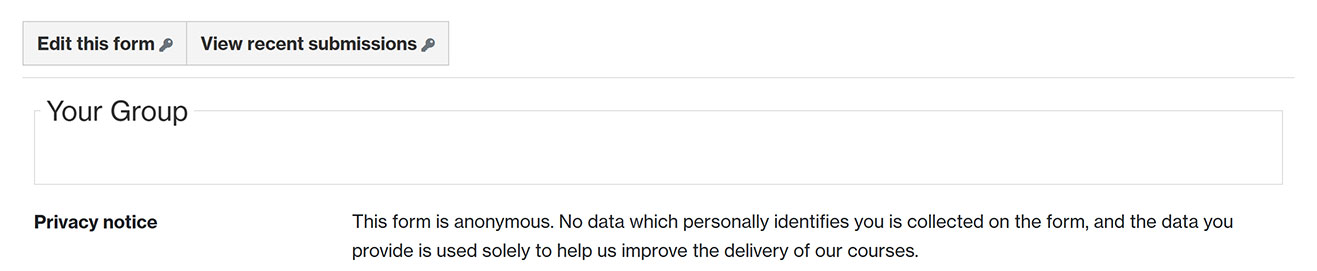
If you do not want the name to be displayed to visitors, deselect the Show group name/label checkbox. To hide the border, deselect the Show border around group checkbox.
-
Finally, you can choose whether or not to Enable conditional logic via the check-box.
-
Select Save.
-
You're returned to the form editing screen, where your group is displayed in the elements list:

Note: If you've chosen to hide the group border, it instead displays a dotted outline on the form editing screen:
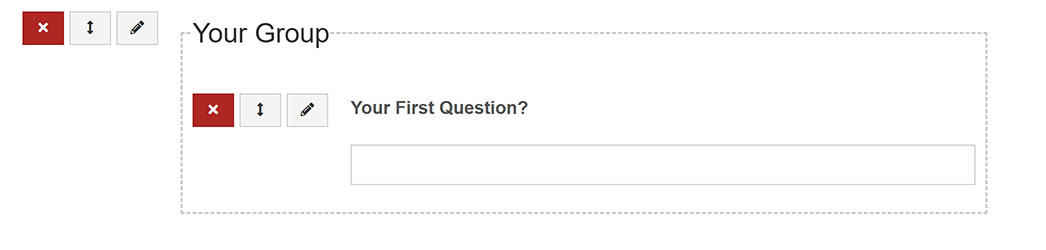
The dotted outline will not appear on the published form.
You can move the group on the form like any other element, and any non-group form element can be moved into the group.

Edit a field group
-
Browse to the form you want to edit.
-
Go to Edit > Edit formsbuilder page:
Alternatively, select the Edit this form button at the top of the form:
-
Select the Edit field button for the group you want to edit:

-
On the Add/Edit a field group screen, update the Field group name, Label and options to Show group name/label, Show border around group or Enable conditional logic as required:
-
When you're done with your changes, select Save.

Delete a field group
-
Browse to the form you want to edit.
-
Go to Edit > Edit formsbuilder page:
Alternatively, select the Edit this form button at the top of the form:
-
Select the Delete field button for the group you want to delete:

-
SiteBuilder asks you to confirm that you want to delete the group. If the group contains other elements, you also have the option to delete those elements at the same time:

Note: If a group's contents aren't deleted, they remain on the form in the group's location.
-
Select Delete group to confirm.

