Eduroam for Windows 10 (Advanced)
This is the advanced method to configure a wireless connection on Windows 10. In most circumstances these advanced instructions are not required and the basic method can be used instead.
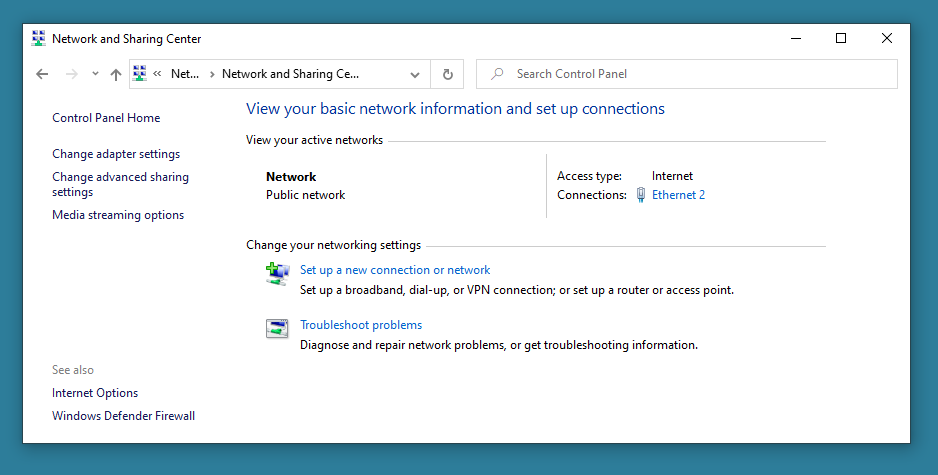
From the Windows Control Panel open the Network and Sharing Center.
Click Set up a new connection or network.
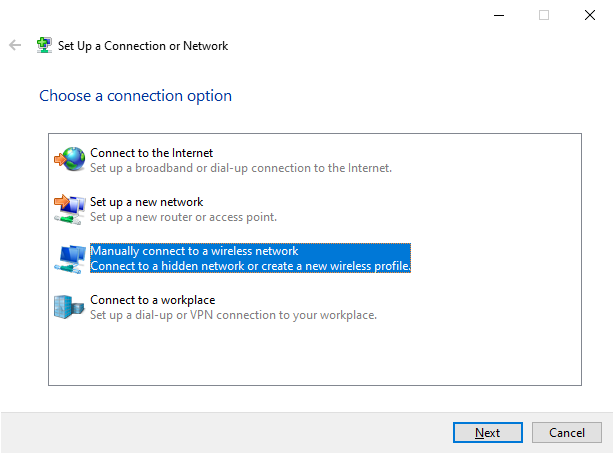
In the Set Up a Connection dialog box, choose Manually connect to a wireless network and then click Next.
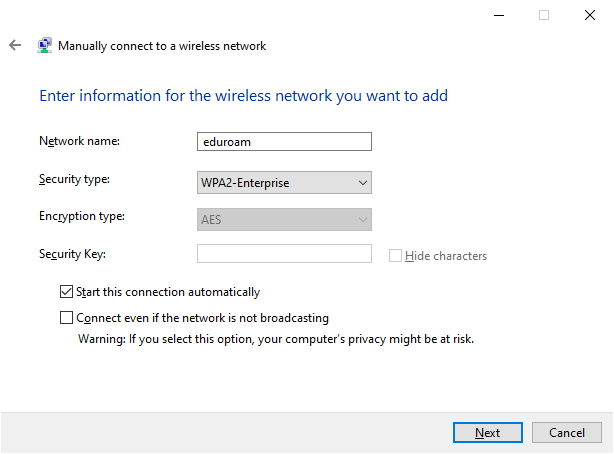
Enter the following configuration:
- Network name: eduroam
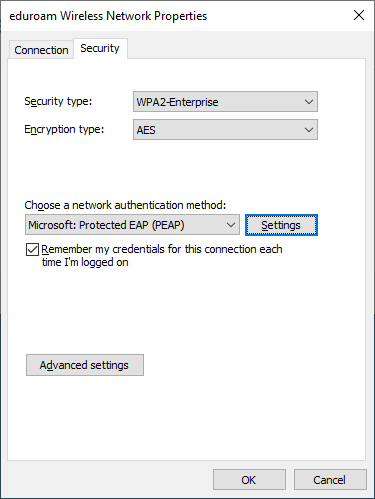
- Security type: WPA2-Enterprise
- Encryption type: AES
Click Next
Click Change connection settings

In the Wireless Network Properties dialog box click Settings.
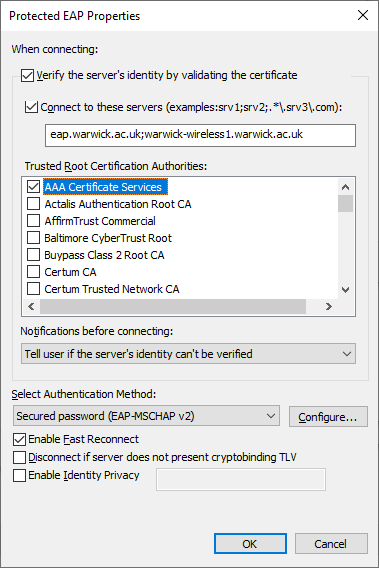
In the Protected EAP Properties dialog box, enter the following configuration:
- Verify the server's identity by validating the certificate.
- Connect to these servers: eap.warwick.ac.uk;warwick-wireless1.warwick.ac.uk
- Trusted Root Certification Authorities: AAA Certificate Services
Click OK, OK and Close to return to the desktop.
Click the Network icon in the system tray to open the list of WiFi networks.
Select the eduroam network, check Connect automatically and then click the Connect button.
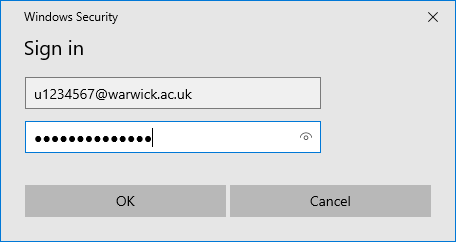
Enter your ITS username and password in the format username@warwick.ac.uk and then click OK.