
Padlet
Padlet is a simple, easy to use, online and mobile noteboard space.
It is an ideal tool for simple collaborative designing, collecting ideas and information, and brainstorming. You might want to consider using Miro for more sophisticated work. It combines ease of use, flexibility, strong visual representation, with the ability to add fine detail in text, links, files, images, audio and video. Padlet does not allow for handwritten annotation across a board. For that, use Mircrosoft Whiteboard or Miro.
Padlets are easily shared securely, so that collaborators can add, edit, comment, and rate posts. Warwick has a Padlet license, with support provided by the Academic Technology team.
Remember that the login page for padlets made using the Warwick license is: http://warwick.padlet.org
We have created a Moodle Book for Padlet training. You can access it in Robert's Sandbox. You can also have a copy of this book to put into your own Moodle courses (ask Robert).
Types of padlet
There are currently 8 different layouts that can be used with Padlet. However the Backchannel type padlet will be withdrawn in July 2021.
Not only do they determine how the posts are organised and displayed, they also influence how participants contribute. Some of the layouts encourage random idea generation and sharing, some of them encourage a more structured approach with categories or flow. Choose the right layout for what you want to achieve. This short guide will help you decide. You can also change layout once you have created a padlet (either change the padlet itself, or make a copy of it and change that). So it is possible, for example, to go from an unstructured padlet to one of the more structured layouts. This matches a common technique, where we go from "brainstorming" (as they used to call it) to sorting and organising ideas into categories, flows, structures.
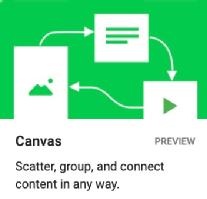 |
Canvas: Position posts anywhere on the padlet, and connect them together using connecting arrows. Add titles the arrows to show what they indicate. So for example, it is possible to design a workflow in which one post leads to another in a sequence. We can indicate branching options when one post leads to multiple posts. The title on the connecting arrows can indicate the conditions that lead in one direction or another. The canvas layout can also be used to show how posts are related in other ways. For example, put a main post at the centre, and other posts arranged around it as a mind map. |
 |
Shelf: Posts are arranged into vertical lists, with a category heading at the top. This is very much like the Trello application. You might reorganise a more randomly created Wall or Grid padlet into the Shelf layout, organising the ideas into groups. This can also be used for Kanban style planning - a great tool for managing individual or team projects. Read this article on Kanban and how it can revolutionise your work (from the Warwick Online Fundamentals course). |
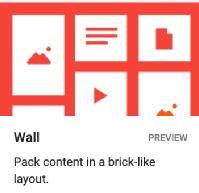 |
Wall: This is ideal if you want to just collect ideas and information in no particular order. The latest post appears either at the top-left or bottom-right depending on which option you choose. Participants don't have to think about organisation, they just post ideas rapidly. |
 |
Grid: This is also good for rapidly collecting ideas, but in this case posts can be placed into positions on the grid. |
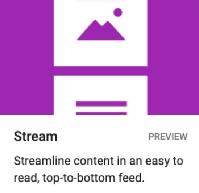 |
Stream: A vertical stream to collect ideas in order. |
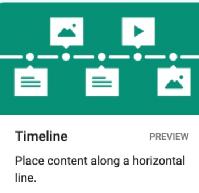 |
Timeline: Place content along a horizontal line to indicate relationships in time. |
 |
Map: Place content on locations on a world map. |