
H5P Questionnaire
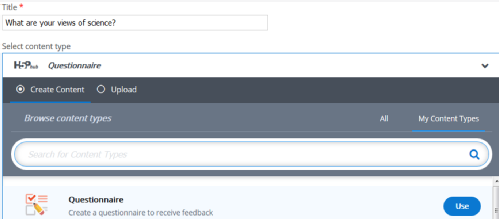
Once you have logged into the H5P website find the Create New Content button (it is usually on the Content tab of your account).
Add the name of your content to the Title field and then choose Questionnaire from the Select content type dropdown menu by clicking on the appropriate Use button.
The terminology is a little strange but you are then presented with a series of options to choose how your questionnaire will look and behave. Click on the down arrow under Library to choose whether your element (question) is a Simple Multi Choice or an Open Ended Question. You will need to do this for each question (element) that you add. Each question will be displayed under the Questionnaire elements section on the left hand side of the screen. You can reorder the questions using the appropriate up and down arrows and delete the questions using the relevant cross button from here too.
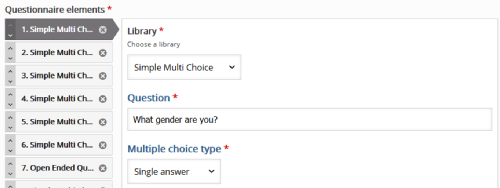
Add your question text to the Question field. Then choose whether you want the participants to choose one or more answers from the Multiple choice type drop down menu.
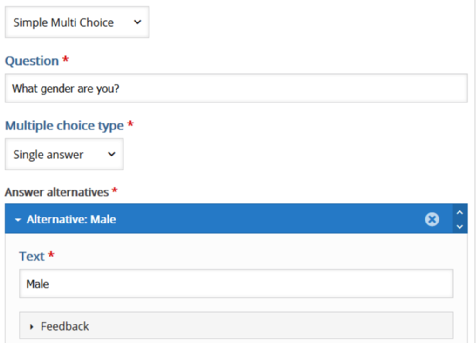
Add your first answer option to the Answer alternatives Text field.
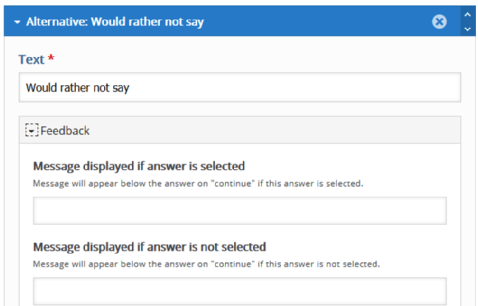
Click on the Feedback down arrow to expand the feedback fields and add your responses for selected and not selected feedback. You can ignore these fields if there is no correct answer (as in this demographic example).
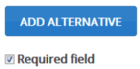
Click on the Add alternative button to add more answer options and choose whether you want to make the question mandatory or not by ticking the Required field checkbox.
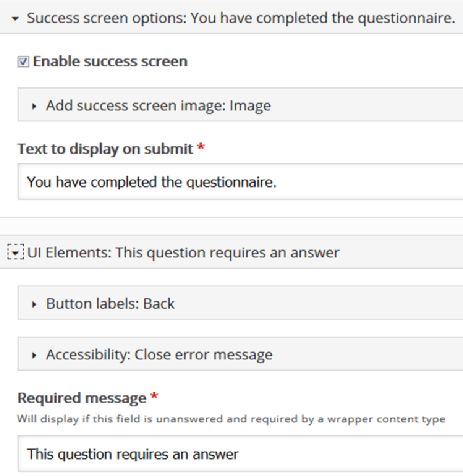
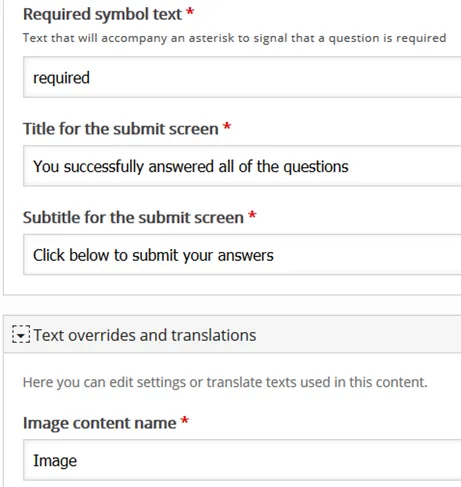
The next set of fields are the messages that display for example if you have chosen to make a particular question mandatory and participants do not complete the question. You can leave these as per the default options as these seem to work quite well.
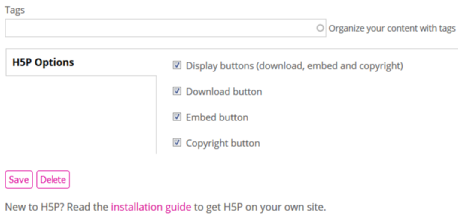
Add any tags to the Tags section and choose whether you want to display the buttons listed below with your questionnaire. Personally I would leave all of the buttons checked as per the default settings as it gives both you and your users more flexibility. Then click on the Save button.
If you click on the Embed button at the bottom of the questionnaire once it has been generated, you can copy the HTML code and embed it into a web page just like this: