Image and Video based modules
A free advent calendar content type allowing users to add videos, audios, images, texts and links within each door. The look and feel of the calendar is also highly customizable.
A nice idea for something to use in the lead up to the festive holidays but possibly of limited educational benefit unless supported with another activity/module or integratred into an interactive video or book.
Once you have logged into the H5P website find the Create New Content button (it is usually on the Content tab of your account).
Add the name of your content to the Title field and then choose Agamotto (Image Blender) from the Select content type dropdown menu by clicking on the appropriate Use button.

Give your agamotto an optional Title. This will appear above each image where Spring growth appears in the example below. Then click on the Add button to select your image. Ignore the optional Label field unless you check Display labels under the Add item button. This will add labels to the timeline as in the example below.

By default you can add three images (Items) to your agamotto but to add more simply click on the Add item button. Personally I would check the Snap slider, Display tick marks and Display labels checkboxes as these give your users the greatest number of options for navigating between the images.
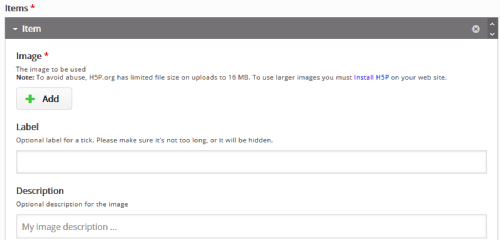
Add any tags to the Tags section and choose whether you want to display the buttons listed above with your agamotto. Personally I would leave all of the buttons checked as per the default settings as it gives both you and your users more flexibility. Then click on the Save button.
If you click on the Embed button at the bottom of the agamotto once it has been generated, you can copy the HTML code and embed it into a web page just like this:
Augmented reality without installing special software that allows users to use the camera on their devices to scan markers (like QR codes).
A common use for this content type could be scavenger hunts where users explore their surroundings in order to find all markers and to complete all exercises. Another use is to amend physical books with 3D models that can be viewed in the browser.
Once you have logged into the H5P website find the Create New Content button (it is usually on the Content tab of your account).
Add the name of your content to the Title field and then choose Collage from the Select content type dropdown menu by clicking on the appropriate Use button.
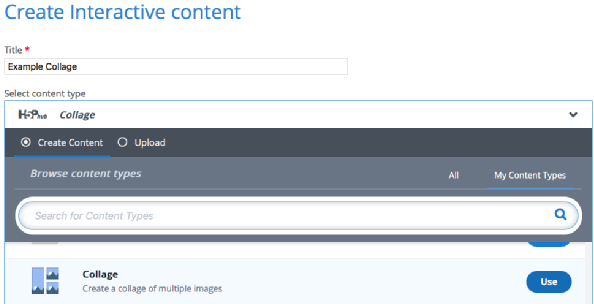
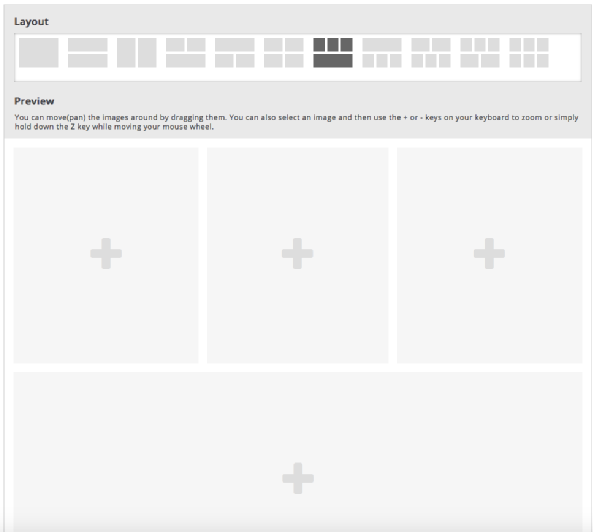
Choose the layout you want to use from the Layout section; this will appear below in the Preview section. Once you are happy with the layout start adding your images. Click on the appropriate + icon to choose your image and add it to your collage. Be aware that the frame that you are inserting your pictures into will crop them; in this example if you add an image to one of the top frames they will be cropped around the centre of the image to fit into the rectangle frame. Likewise if you add an image to the longer bottom frame it will be wider but probably not as deep as you expected.
Once you have added some images you will get some tool buttons which will allow you to change the image (the spanner button); zoom in or out (the + and - buttons) and the i button allows you to set the ALT and Hover text for each image.
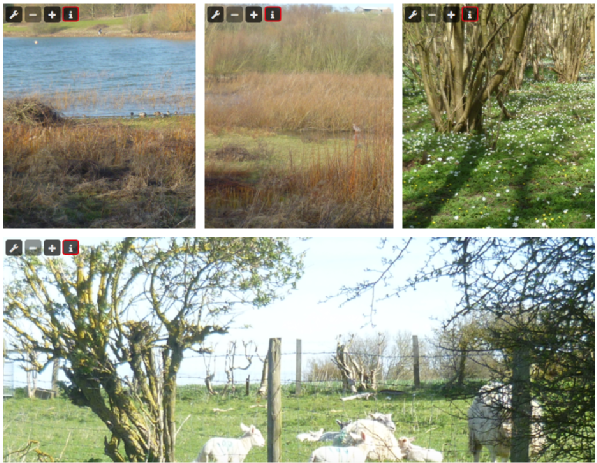
Moving the Spacing slider will change the white space between the pictures. You can choose to keep the Frame the Same as spacing or use No frame and you can adjust the height of the collage using the Height slider.
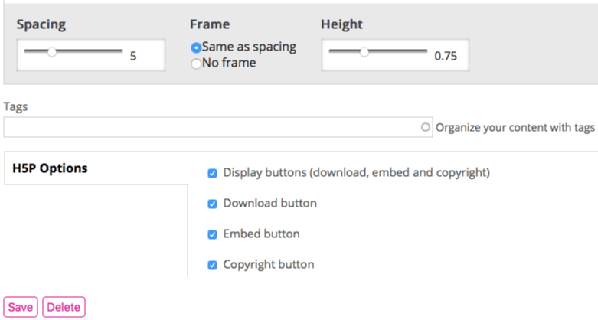
Add any tags to the Tags section and choose whether you want to display the buttons listed above with your collage. Personally I would leave all of the buttons checked as per the default settings as it gives both you and your users more flexibility. Then click on the Save button.
If you click on the Embed button at the bottom of the collage once it has been generated, you can copy the HTML code and embed it into a web page just like this:
Drag and drop questions enable the learner to associate two or more elements and to make logical connections in a visual way. Create Drag and drop questions using both text and images as draggable alternatives.
This content type allows end users to press somewhere on an image and get feedback on whether that was correct or incorrect according to the task description. The author uploads an image and defines various hotspots corresponding to details or sections of the image.
Create a set of stylish and intuitive flashcards that have images paired with questions and answers. Learners are required to fill in the text field and then check the correctness of their solution.
This content type allows authors to upload an image and add a suitable description. End users can guess the answer and press the bar below the image to reveal the correct answer.
A free content type allowing users to add accessible image choice questions in publishing systems like Blackboard, and Moodle.
A free HTML5-based image content type that allows users to compare two images interactively.
Learners are presented with the unpaired images and have to either use drag and drop or click on the images they think matches.
Since it is not required for both images in a pair to be the same, authors are also able to test the understanding of a relation between two different images.
This module allows authors to add a sequence of their own images (and optional image description) to the game in a particular order. The order of the images will be randomized and players will have to reorder them based on the task description. The Image Sequencing content type challenges the learner to order a randomized set of images according to a task description
Present your images in an appealing way with ease. Authors just have to upload images and provide alternative texts for the images.
To play the game, users search for image pairs, which will display a specified text message once a matching pair has been found.
