Bizzabo has lots of useful engagement features that can make your session more interactive and exciting for participants.
Session Recordings
Messages in the chat will not appear on the recording, so make sure to read out each question aloud for the recording. If putting your email in the chat for participants, make sure to say it aloud too, if not on screen on a presentation already.
Please note: You must inform everyone in the chat that the session is being recorded and will be available after the session. Some participants may choose not to turn their camera or microphone on if they do not wish to be included in the video.
Audience Interactions
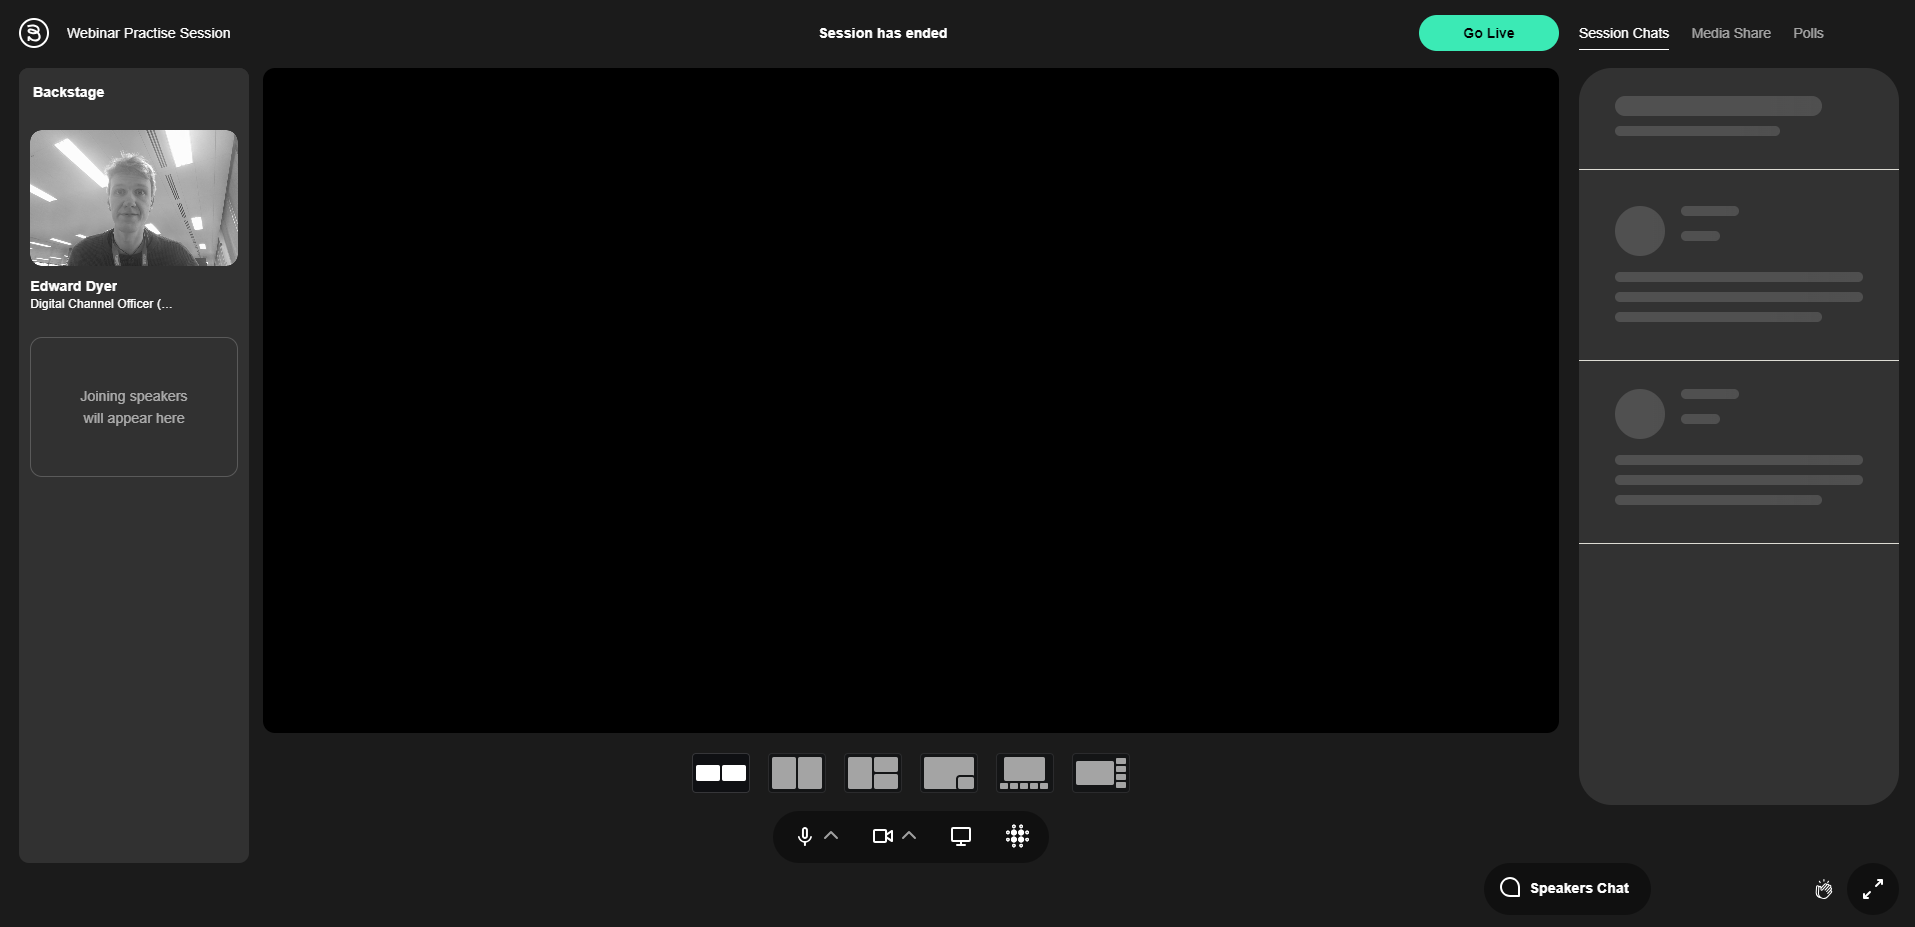
Participants will be able to clap along to the session, virtually. This is a great way of getting some feedback on your presentation/session. You can adjust the volume of the clapping at the bottom of the screen.
Screen Sharing
You can share your screen by selecting it at the bottom of the screen.
You have the option to share:
- Entire Desktop Screen
- Application Window (such as MS Word)
- Browser Tab
It is useful to select application or tab, so you can return to the virtual room to answer chat questions at the same time.
This is the only way to display PowerPoint presentations with animations and transitions.
Currently unavailable features
Video streaming, interactive whiteboard, breakout rooms, scored quizzes