Using Wiziq Part 1: Getting started and registering with Wiziq
Getting Started with WiZiQ, a How to Guide
Hello and welcome to this getting started guide, this will show you how to register with WiZiQ.
• Step 1:
Open www.Wiziq.com![]() in a browser.
in a browser.

• Step 2:
Please click on the Join Now button highlighted in the top right hand side of the page.
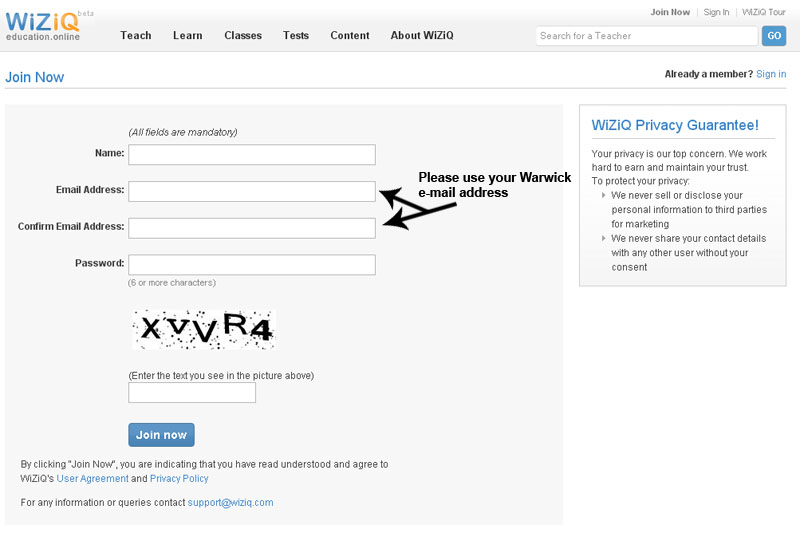
• Step 3:
You should now see an image like the one below, please fill it out as using your Warwick University Email address, as this is the address to which all your correspondence will be sent during this project.
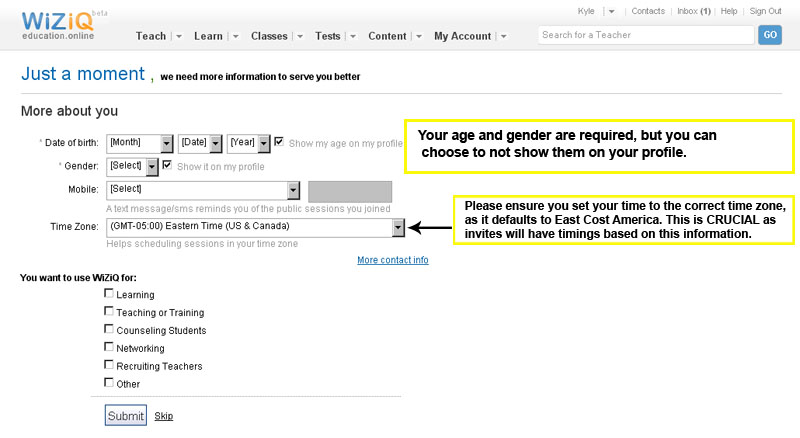
• Step 4:
Is to fill in some more required information about yourself, however most people would consider this to be sensitive information so you can hide it from the world by unchecking the boxes highlighted. The second point to make about his page is that the time zone displayed is US East coast, this will need to be corrected to your local time zone as all the subsequent invitations and tutorial information will be sent in this time format, which gets slightly confusing when you receive a message saying a tutorial is being held at 4AM.
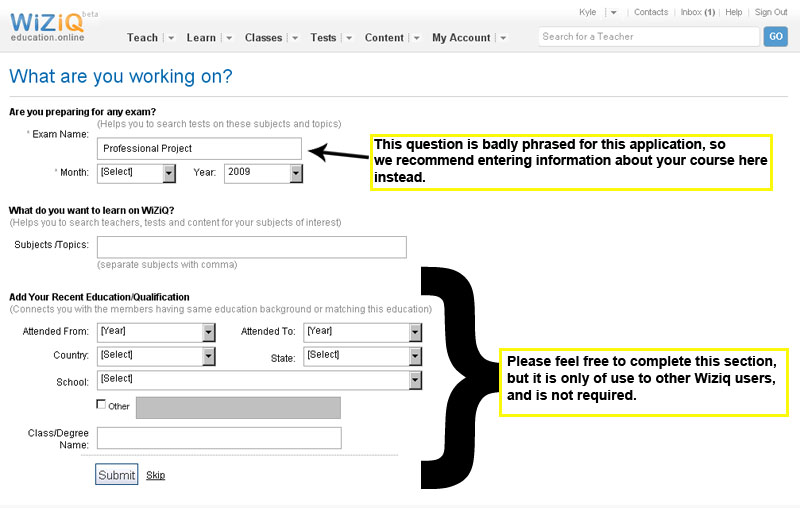
• Step 5:
More information input for WiZiQ, this information is not targeted towards university students really, so I recommend that you fill the data out as if it were asking for course information, most of this information is not required though so I would leave it blank.
• Step 6:
This final page is not required for your purposes, so I would recommend that you skip this step and click on the main WiZiQ logo to go to the homepage instead. You can now begin How to guide 2: Working with WiZiQ.