
How to add users to Moodle
Click on 'Edit mode' at the top right hand side of the Moodle space below your name. Now click on the Participants tab and then select 'Enrol users'.
You need to have an editing teacher role (or above) in the Moodle space to be able to do this.

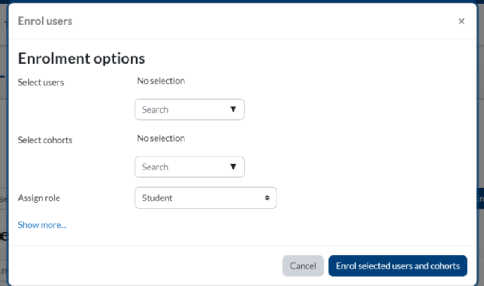
Add the users name or Warwick ID to the Select users drop down menu and choose them from the drop down list that appears. The user's name will appear in purple where it currently says No selection in the Enrolment options dialogue box. Repeat this process if you have more than one user to add; the names will appear in purple as a list. The default role for manually adding users is student. If you need to add a member of staff in another role, select it from the Assign role drop down menu. Click on the Enrol selected users and cohorts button to complete the process.
If you cannot find the user on the list their enrolment may not have finished processing; this is particularly common at the start of term. Alternatively check that they have not already been added to the Moodle space by checking the table of users in the Participants section.
To add a user to a group once they have been added to the Moodle space, click on the pencil icon next to their name in the Groups column of the table of users.

Start to type the first few letters of the group name and then choose it from the drop down list that appears.

Once the user has been added to the group, the group name will appear in blue above the drop down menu. Click on the tiny Save icon under the drop down menu to complete the process.