
How to edit a Moodle book chapter or sub chapter
Adding files
To add a file to your book, you need to insert it as a link. Files can include text-based documents such as PowerPoint or Word files as well as audio or video files. The maximum upload limit for an individual file is 1GB.
Type in the title of the file and then highlight it.
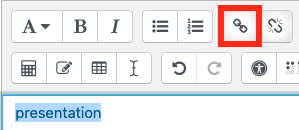
Click on the Link button (highlighted in red on the image above) and then choose your file by clicking on the Browse repositories... button.
Navigate to the appropriate file using the Browse button (on the Upload a file tab) and then click on the Upload this file button.
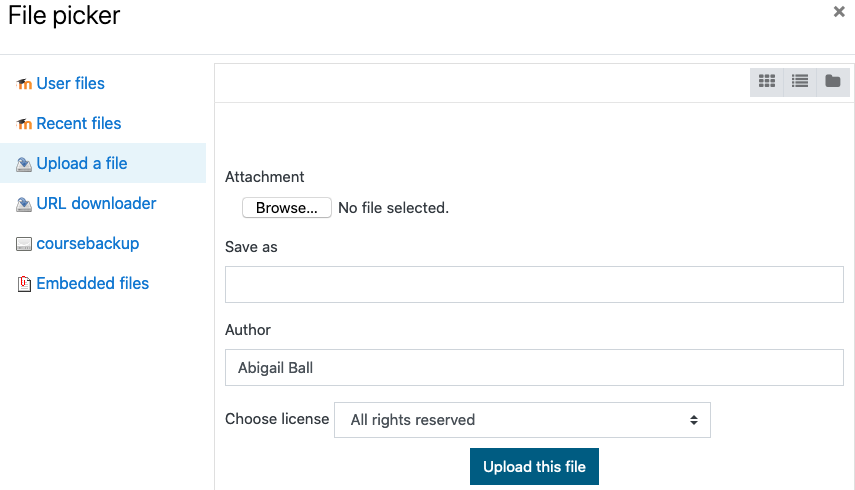
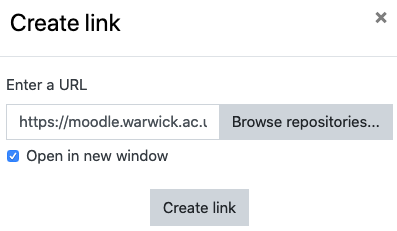
A copy of the file will be added to the Moodle database. You will then see a screen similar to the one below; click on the Create link button to complete the process. A link will then be created to the file in the database. Click on the Save changes button on the chapter editing interface to save your changes and exit the book chapter.
Adding images
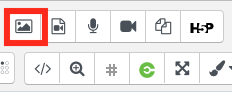
Put your cursor where you want to add the image and click on the Image button (highlighted in red on the image below).
Then choose your file by clicking on the Browse repositories... button.
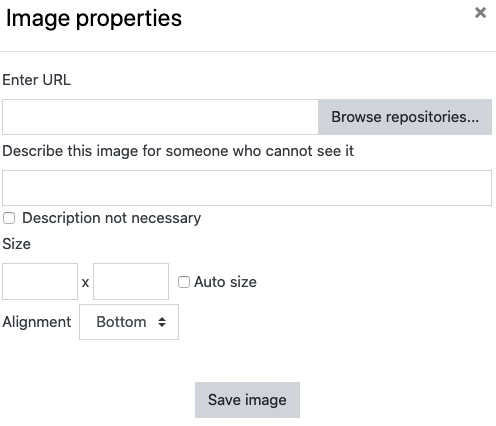
Navigate to the appropriate file using the Browse button (on the Upload a file tab) and then click on the Upload this file button (this process is the same as the one for adding a file). A copy of the image will be added to the Moodle database and will then appear in the Enter URL field.
You will need to add an image description for accessibility purposes to the Describe this image... field. You can set the size of the image by completing the Size fields (these need to be added in pixels). If you leave these fields blank the image will be added in its original size. You can also set the alignment of the image using the Alignment dropdown menu. Click on the Save image button to complete the process.
The image will then be added to your book chapter. Click on the Save changes button on the chapter editing interface to save your changes and exit the book chapter.
Adding an eStream video
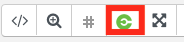
eStream videos are different to other file types as they can be added directly to a Moodle book. Put your cursor where you want to add the video and click on the eStream button (highlighted in red on the image below).
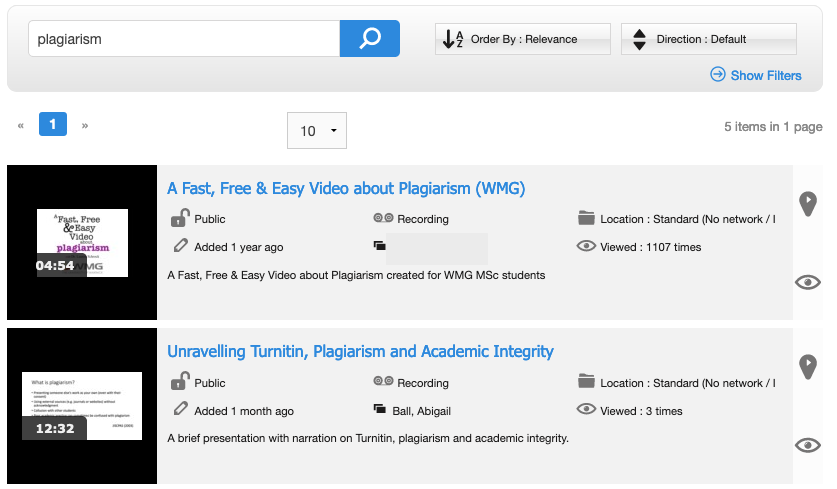
Add a keyword or a word from the title of your video to the search textbox that appears and click on the Search icon.
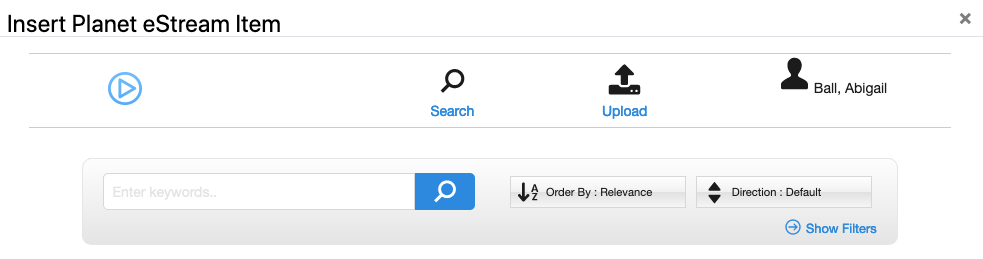
A list of relevant videos (both yours and publicly available videos) will be displayed. Click on the thumbnail image of the video you want to use.
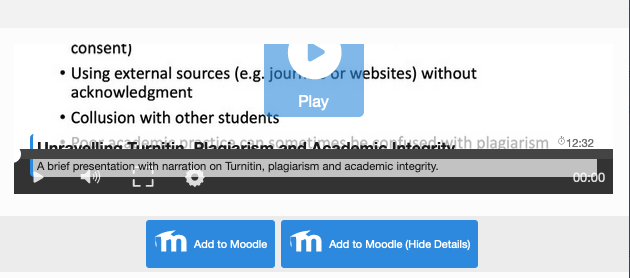
Click on the Add to Moodle button that appears under the first page/frame of your video.
The eStream video will then be added to your book chapter. Click on the Save changes button on the chapter editing interface to save your changes and exit the book chapter.
Adding links
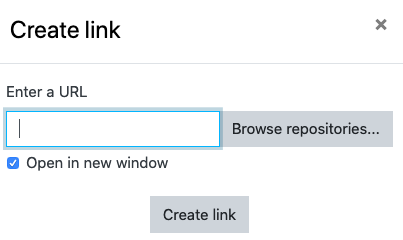
To add a link to your book chapter, highlight the text you want to act as the link (this can be descriptive text or the actual link URL) and then click on the Link button (highlighted in red on the image below).
Type or copy and paste the URL into the Enter a URL field. It is good practice to tick the Open in a new window checkbox at this point; then click on the Create link button.
The link will then be added to your book chapter. Click on the Save changes button on the chapter editing interface to save your changes and exit the book chapter.
For further information about the rest of the buttons on the toolbar, please see the Moodle text (or HTML) editor toolbar webpage.
Adding and editing headings
Headings can be added to books in one of two ways:
1) Using paragraph styles
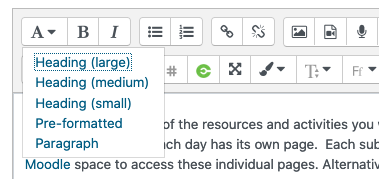
Type in your heading text, highlight it and then choose one of the heading styles from the drop down paragraph styles menu. The options are large, medium and small.
2) Using bootstrap custom buttons
These are a bit more complicated to use than the previous method but they do allow you to highlight heading text with background colours. Please be aware that you do have a limited number of colours to use as there are a limited number of buttons available.
Currently the available options are:
<button type="button" class="btn btn-primary">Primary</button>
<button type="button" class="btn btn-secondary">Secondary</button>
<button type="button" class="btn btn-success">Success</button>
<button type="button" class="btn btn-danger">Danger</button>
<button type="button" class="btn btn-warning">Warning</button>
<button type="button" class="btn btn-info">Info</button>
<button type="button" class="btn btn-light">Light</button>
<button type="button" class="btn btn-dark">Dark</button>
<button type="button" class="btn btn-link">Link</button>
Switch into html mode on the editing toolbar by clicking the <html> button. Insert the cursor where you would like to place the heading and then copy and paste one of the options above into the space. Change the text between the two >< characters.
A worked example is:
<button type="button" class="btn btn-primary">Change this text</button>
This will then insert a blue button with Change this text written on it.
If you need to alter a bootstrap button simply repeat the process above.
Further information about bootstrap buttons is available at: