
Accessing the Warwick VPN
The Warwick VPN service is managed and supported by our colleagues in the central IT Team. These instructions are intended only to assist WBS users in getting access to the service. To find out more about the service itself including its terms of use please see https://warwick.ac.uk/services/its/servicessupport/networkservices/vpn or contact the central IT HelpdeskLink opens in a new window.
Step 1 - All users - Request VPN access
If you have previously used the Warwick VPN jump to step 2.
If you have never used the Warwick VPN (or you are not sure) you will need to request the central IT team to add you to the list of users permitted to access the VPN. To do this please complete this form.
When completing the form we recommend the following answers:
- Choose No to question 1 about whether your VPN access requirements are covered by one or more of the above areas
- Select 'University Managed Device' to question 2 about what device you will be using to connect to the VPN
- Select 'Other' to question 3 and paste the following text into the text window:
I work in WBS and have been advised by my local IT team to connect regularly to the standard campus VPN to ensure my computer is kept updated and secure.
- Select Daily as the answer for how often you expect to use the VPN service
- Typically select Yearly for how long you require access
Windows users should continue to step 2 without waiting for VPN access to be granted. You will not be able to complete step 3 and actually use the VPN until you hear that your access has been granted. Mac users should not try to proceed to the instructions at the bottom of this page until they have confirmation that access has been granted.
Windows users (Mac instructions below)
Step 2 - install the VPN client. Should not be required if you are using a WBS-provided device
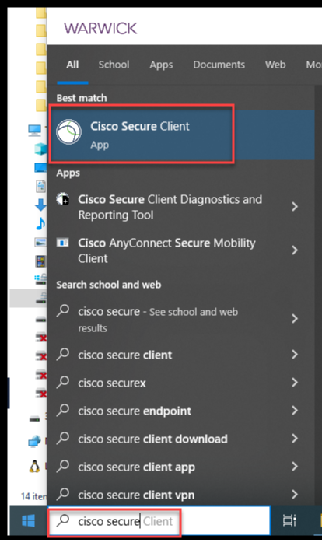
WBS-provided Windows computers configured since summer 2020 will already have the necessary VPN client installed. To check if you do, click the Start button and type 'Cisco Secure'. If you can see the 'Cisco Secure Client' in your list of results then you are good to go and can skip Step 2:
The VPN client should not be installed onto personal devices. If you feel you need to use a personal device to connect to the VPN please help at wbs dot ac dot uk to discuss.
Step 3 - Connect to the VPN
Click the Start button on your computer and type 'Cisco' (with the quotes). Click on the result shown
Type the address as 'campusvpn.warwick.ac.uk/staff' (without the quotes) and click Connect
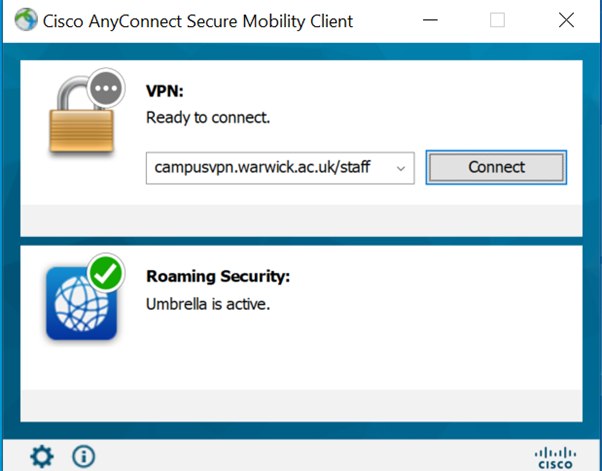
VPN address
After clicking connect, a new window will open. Enter your central university Microsoft account (typically something like u12345678@live.warwick.ac.uk) and password (if you been at the university for quite a long time your username may be all letters, something like 'bssaa@live.warwick.ac.uk'). Click next.
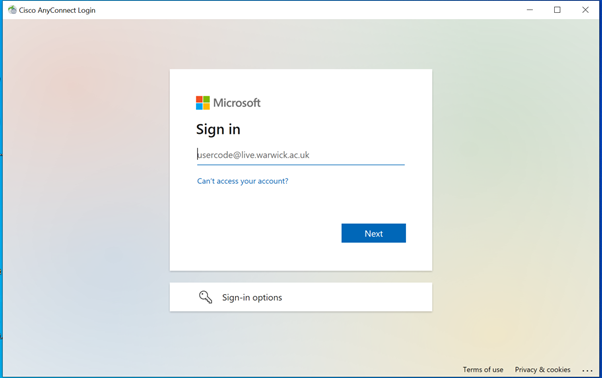
If you get a login failed message even though you are sure you are entering the correct username (either similar to u123456 or all letters such as bssss) and the correct password then please request VPN access by completing this form
After your username and password is accepted, you'll be prompted for a code - if you've set up a 2FA application for your ITS account previously, enter the code from your app here (the code for my.wbs.ac.uk will NOT work). If you haven't set up a code before, choose sign in another way and text a code to the mobile number registered against the account.
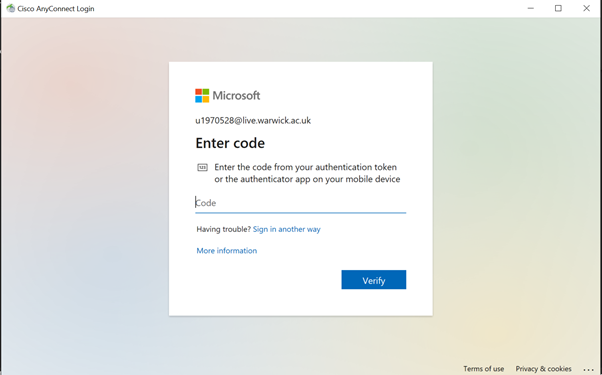
If the 2FA is failing, you will need to contact central ITS at helpdesk@warwick.ac.uk or 02476573737 to remedy this.
After verification is complete you'll be prompted one last time to accept the connection, after which you are fully connected to the VPN.
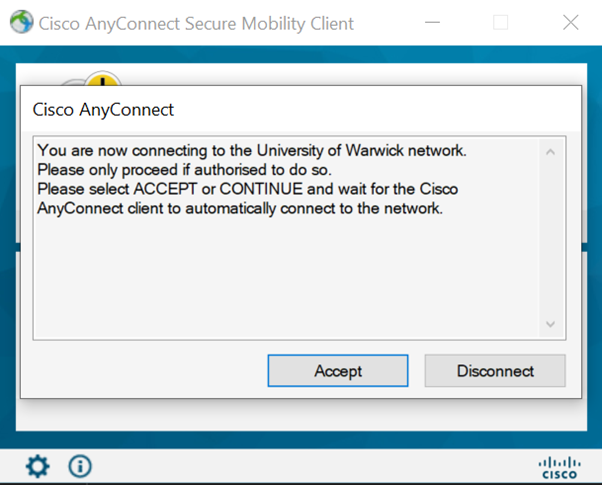
Accept the connection
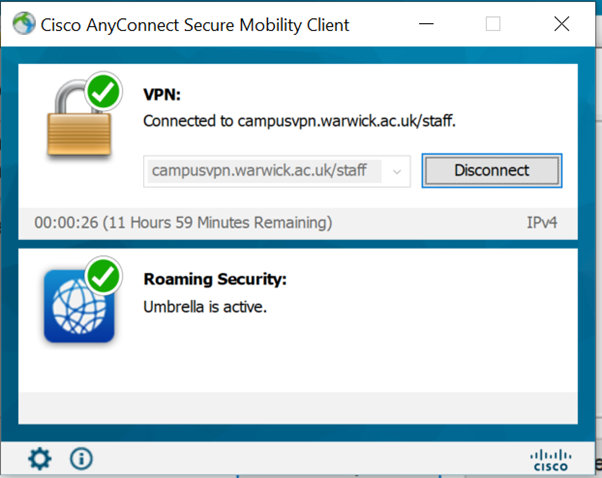
VPN is connected properly
Apple Mac users
Open a browser and visit https://campusvpn.warwick.ac.uk
Follow any wizard to install the VPN client (you will need to provide your Mac's administrator credentials to install the client).
Start the client and then enter the VPN address as 'campusvpn.warwick.ac.uk' (without the quotes). Click Connect.
Enter your central university username (typically something like u12345678) and password. Click Login. If you receive a message indicating you are not authorised to use the VPN please request access by completing this form