
Connect to High Capacity from Linux using SMB
This tip provides the necessary steps to mount a High Capacity share via SMB using Linux from the command line interface (Ubuntu in this case but should apply to all/most distros). NOTE: You must be on the campus network for this to work.
Step 1: Install the cifs-utils pkg
sudo apt-get install cifs-utils
Step 2: Create a local mount point
sudo mkdir /home/chris/Shared (please customise this to something more appropriate to your system)
Step 3: Mount the volume
sudo mount -t cifs //ads.warwick.ac.uk/shared -o username=mdsah,domain=ADS /home/chris/Shared (please replace username 'mdsah' with your Warwick username along with your local mount path)
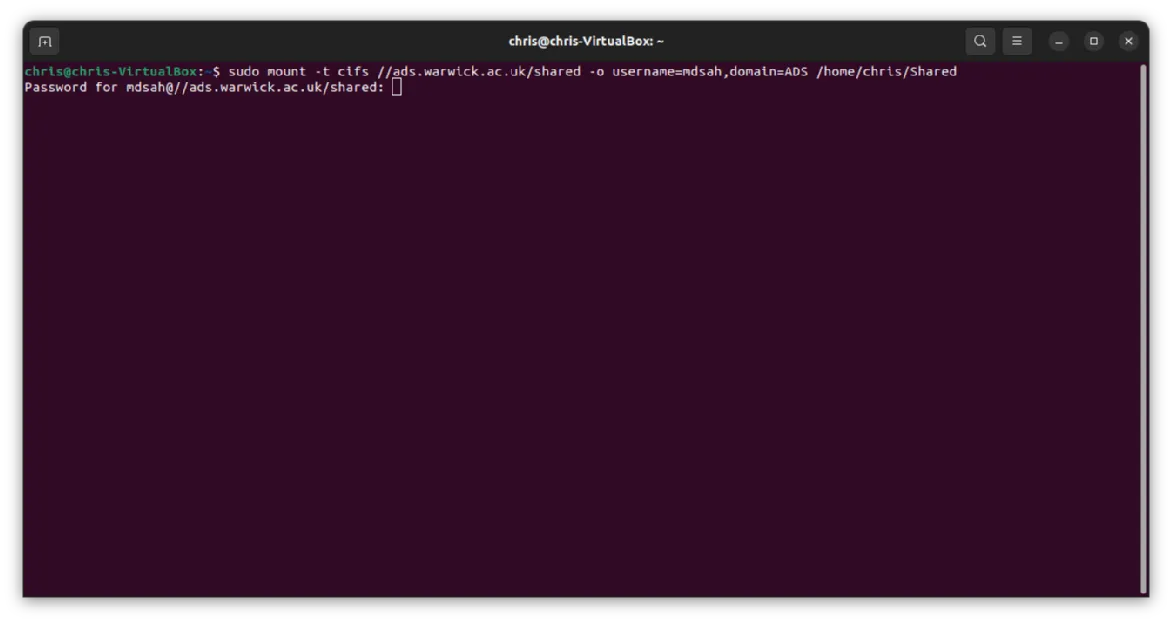
Step 4: Enter your password
Enter your Warwick password and hit enter.
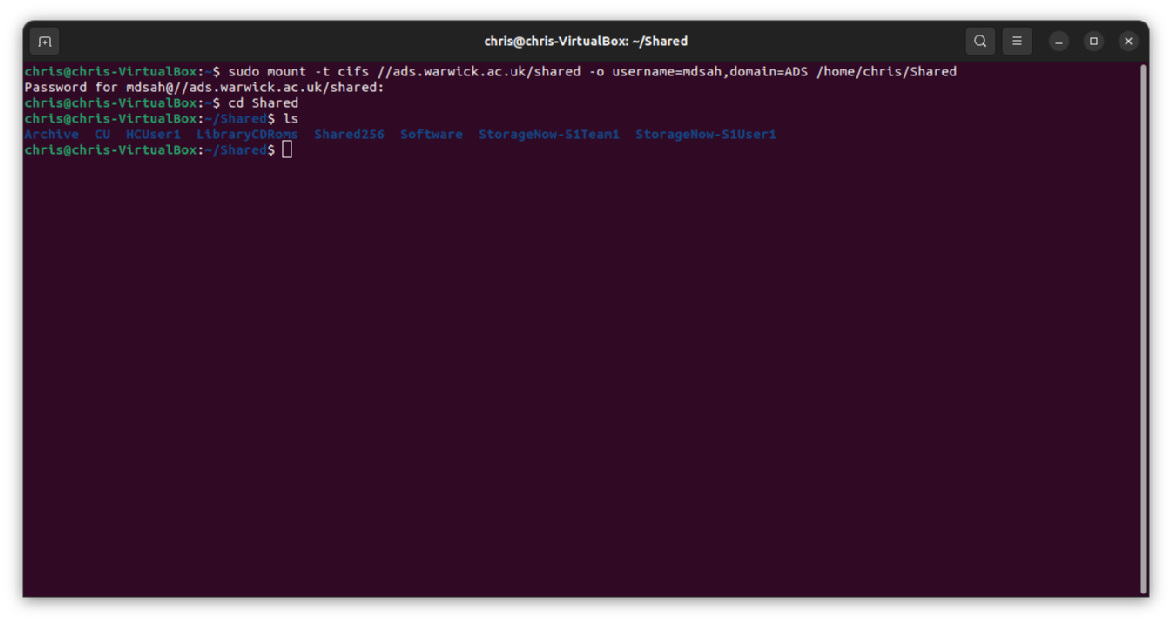
You have now successfully connected.
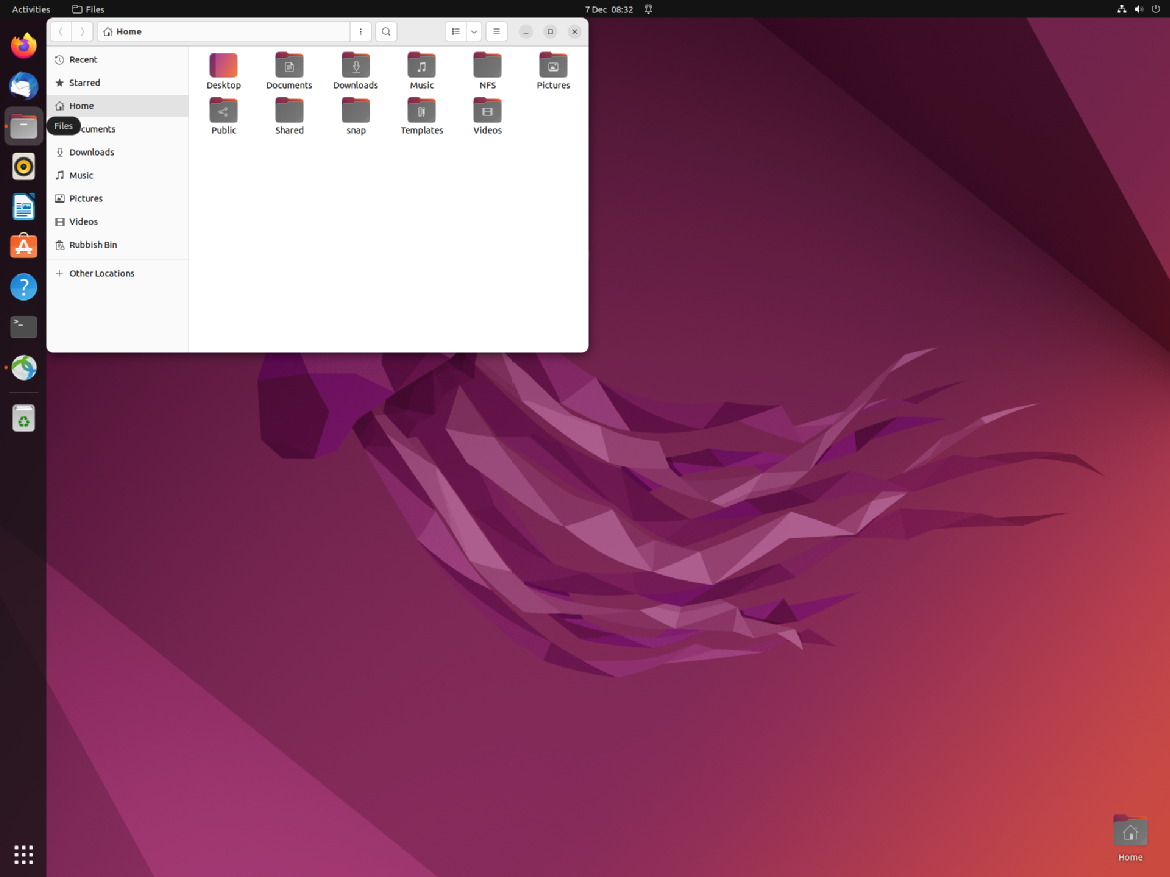
If you wish to mount a High Capacity share from the GUI on a Linux machine then use the following steps (Ubuntu in this case but should apply to all/most distros).
Step 1: Launch your File Explorer
Step 2: Select 'Other Locations' from the side menu
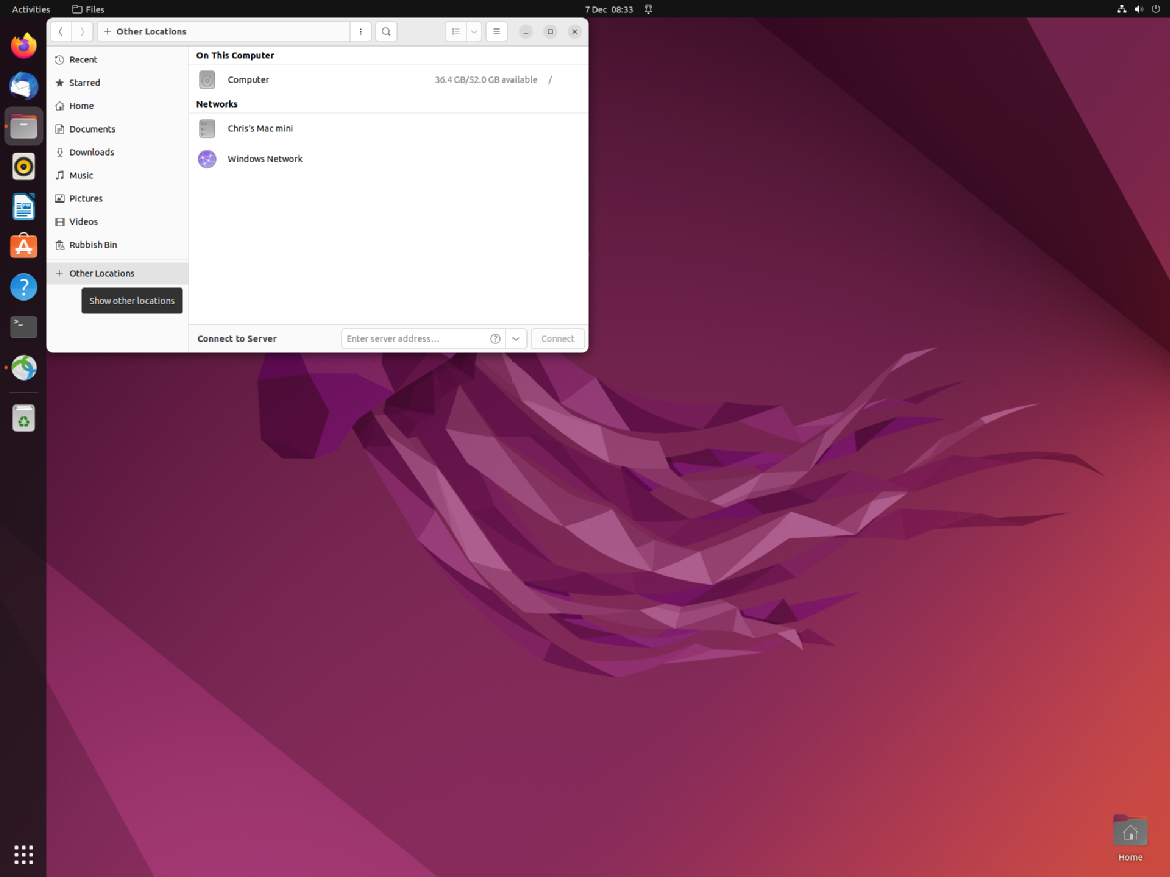
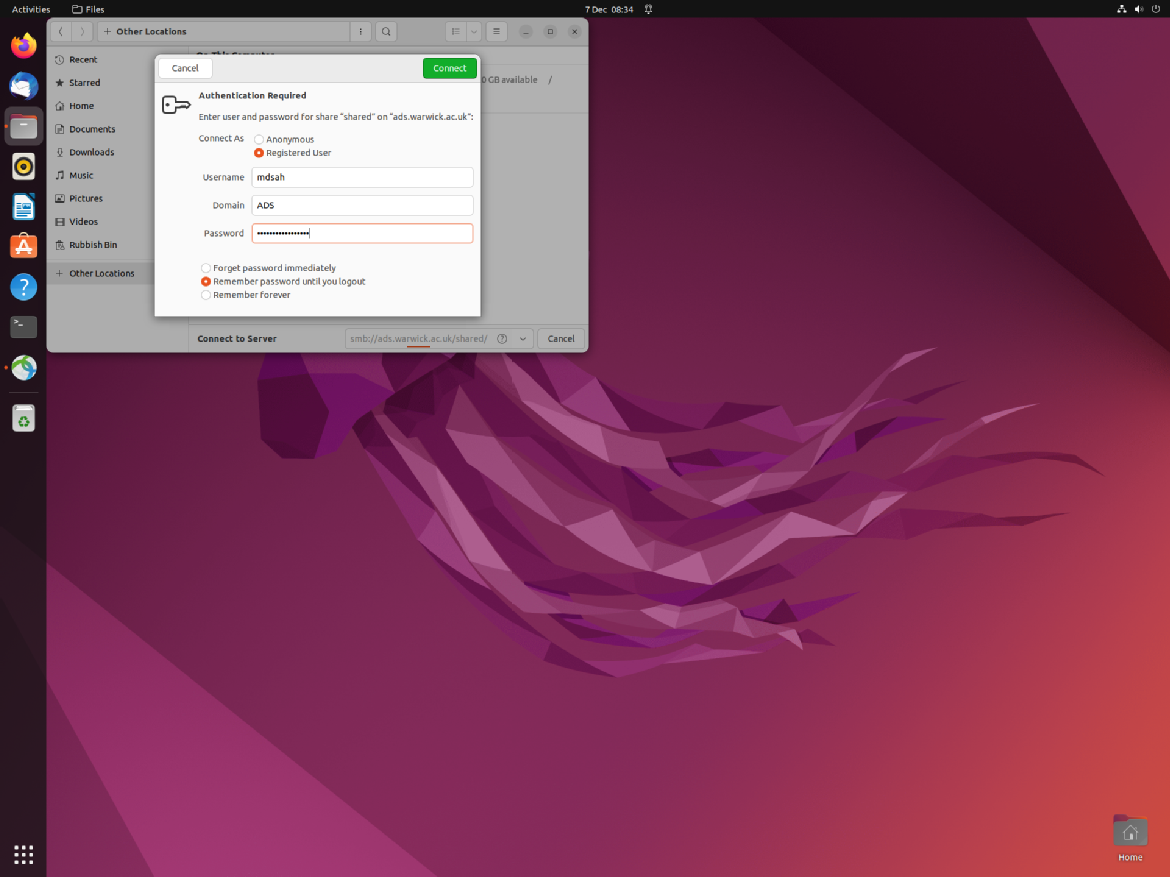
Step 3: In the 'Connect to Server' text field enter smb://ads.warwick.ac.uk/shared

Step 4: In the new popup window select 'Registered User' and enter your Warwick username and password including the letters ADS in the domain field.
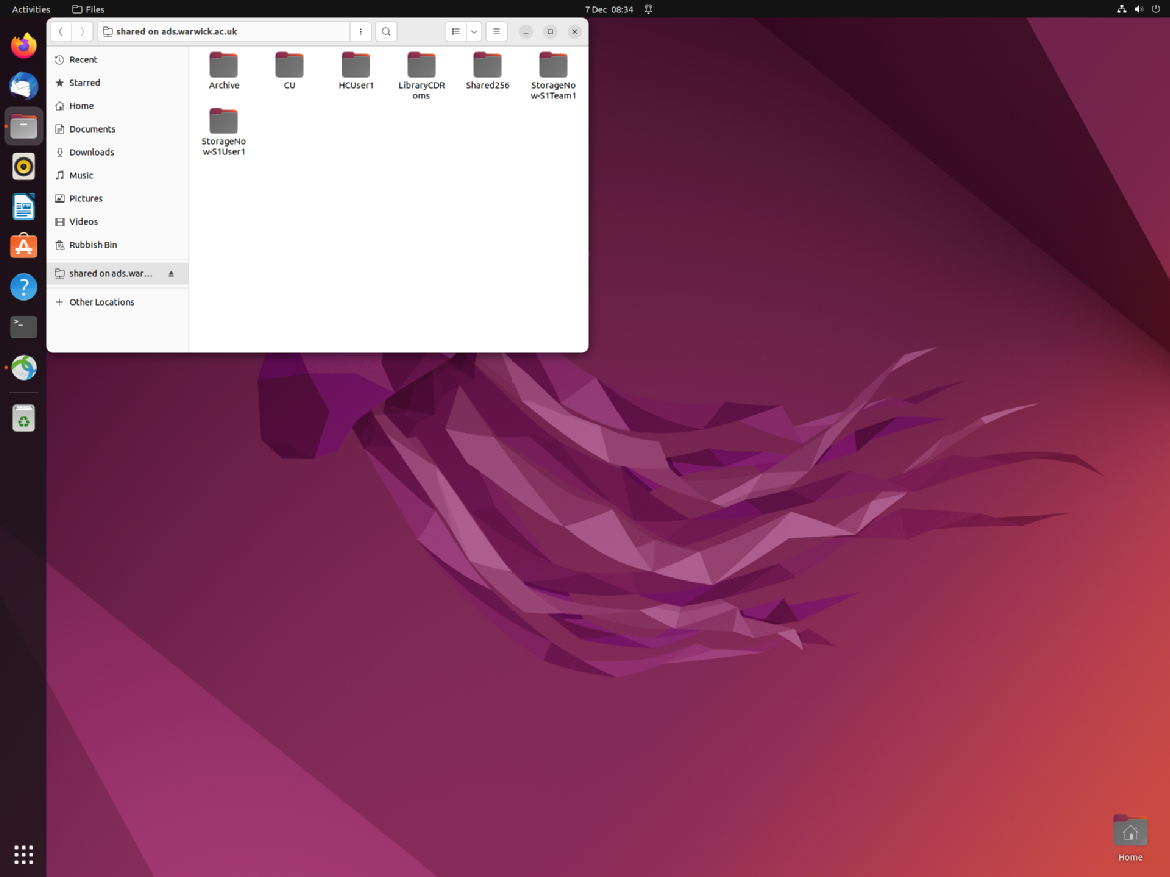
Step 5: You have successfully connected to your High Capacity share
If you have any issues or questions around connecting to High Capacity from your Linux computer then please feel free to drop us an email at teamstorage@warwick.ac.uk