Battery Manufacturing
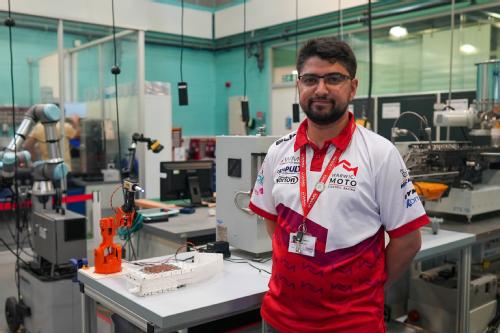
Battery Manufacturing - Rohin Titmarsh
Meet the Academic
What advice would you give to a young people aspiring to get into a STEM Career?
“Get a good understanding of lots of different career paths. There are so many jobs and routes out there that may interest you.”
To learn more about Rohin and his journey:
Download the transcriptLink opens in a new window
Bringing Science to Life
What is the role of robots in battery manufacturing?
This demo shows a mini Gigafactory! The robots working here are just some examples of the types of jobs robots would in a real Gigafactory, like testing and sorting the hundreds and thousands of individual cells, building those cells into modules and connecting the modules together in the final battery pack that goes into the electric vehicle.
The batteries shown in this demo are small and light, but the ones in real life can weigh between 1000 and 1500 kg! Imagine the size of the robots required to lift, turn and move these! Now consider the thousands of electric vehicles, not just electric cars, that we need to make a year to achieve cleaner transport, and that’s millions of batteries a year. Robots and automation will help us do that by keeping workers safe and doing repetitive jobs. Robots and automation are also really great at tackling jobs that need very fine accuracy, like welding batteries together to get the energy we need to power a car. There are thousands of welds in a battery pack, and these have to be tightly controlled for the battery to perform correctly, so repeatability is key, something robots are much better at.
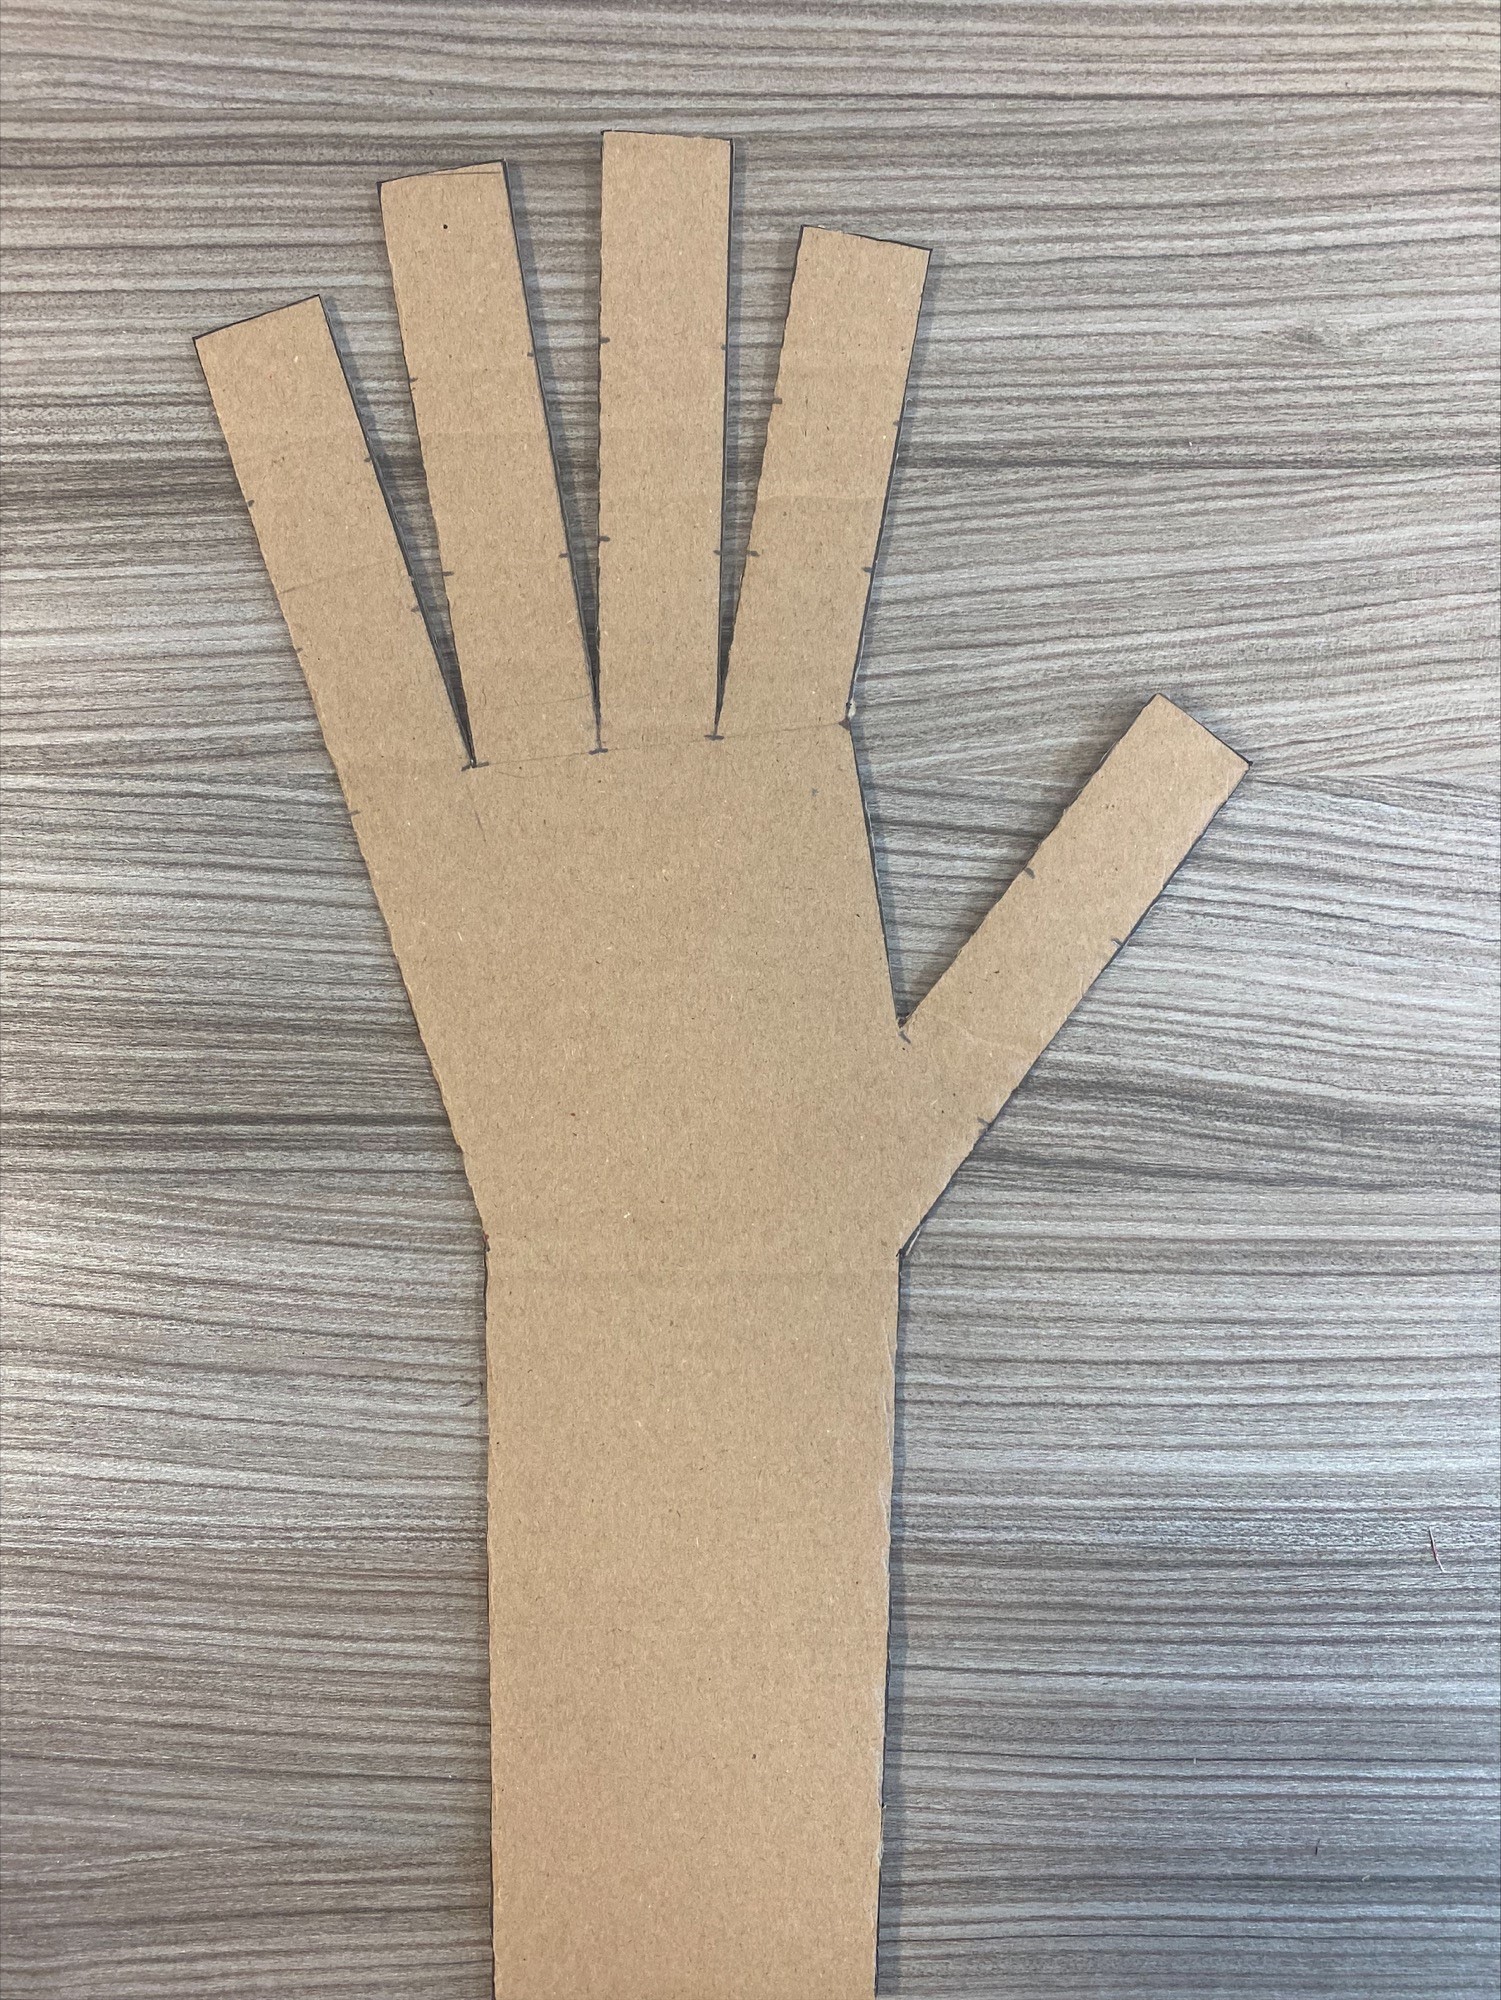
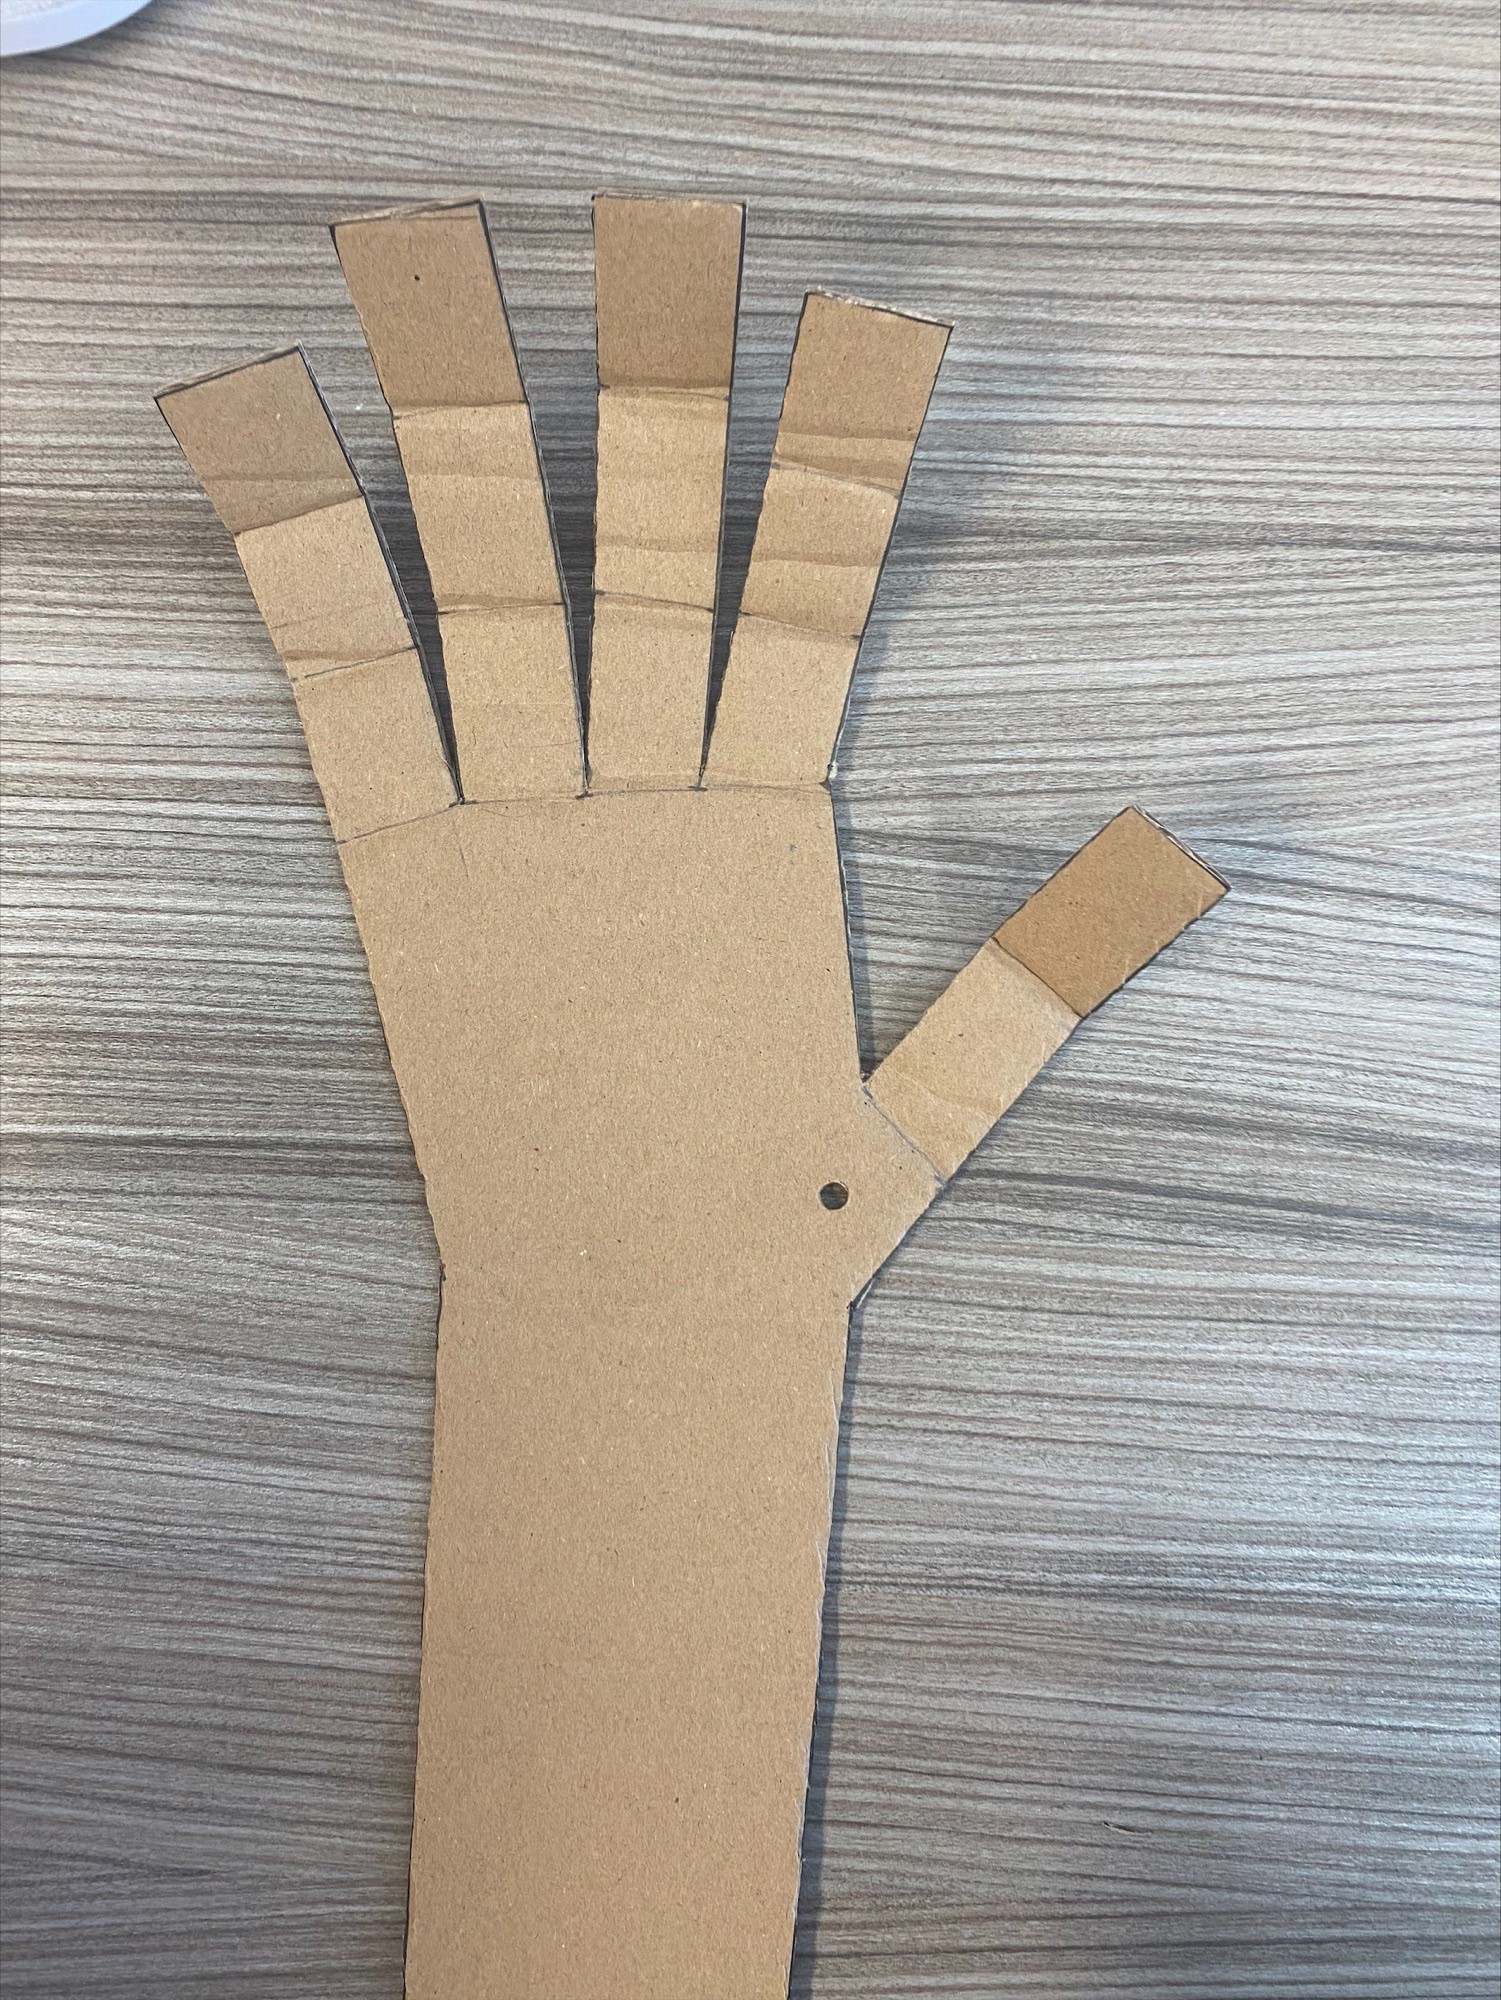
How to make your own robot arm
Materials required:
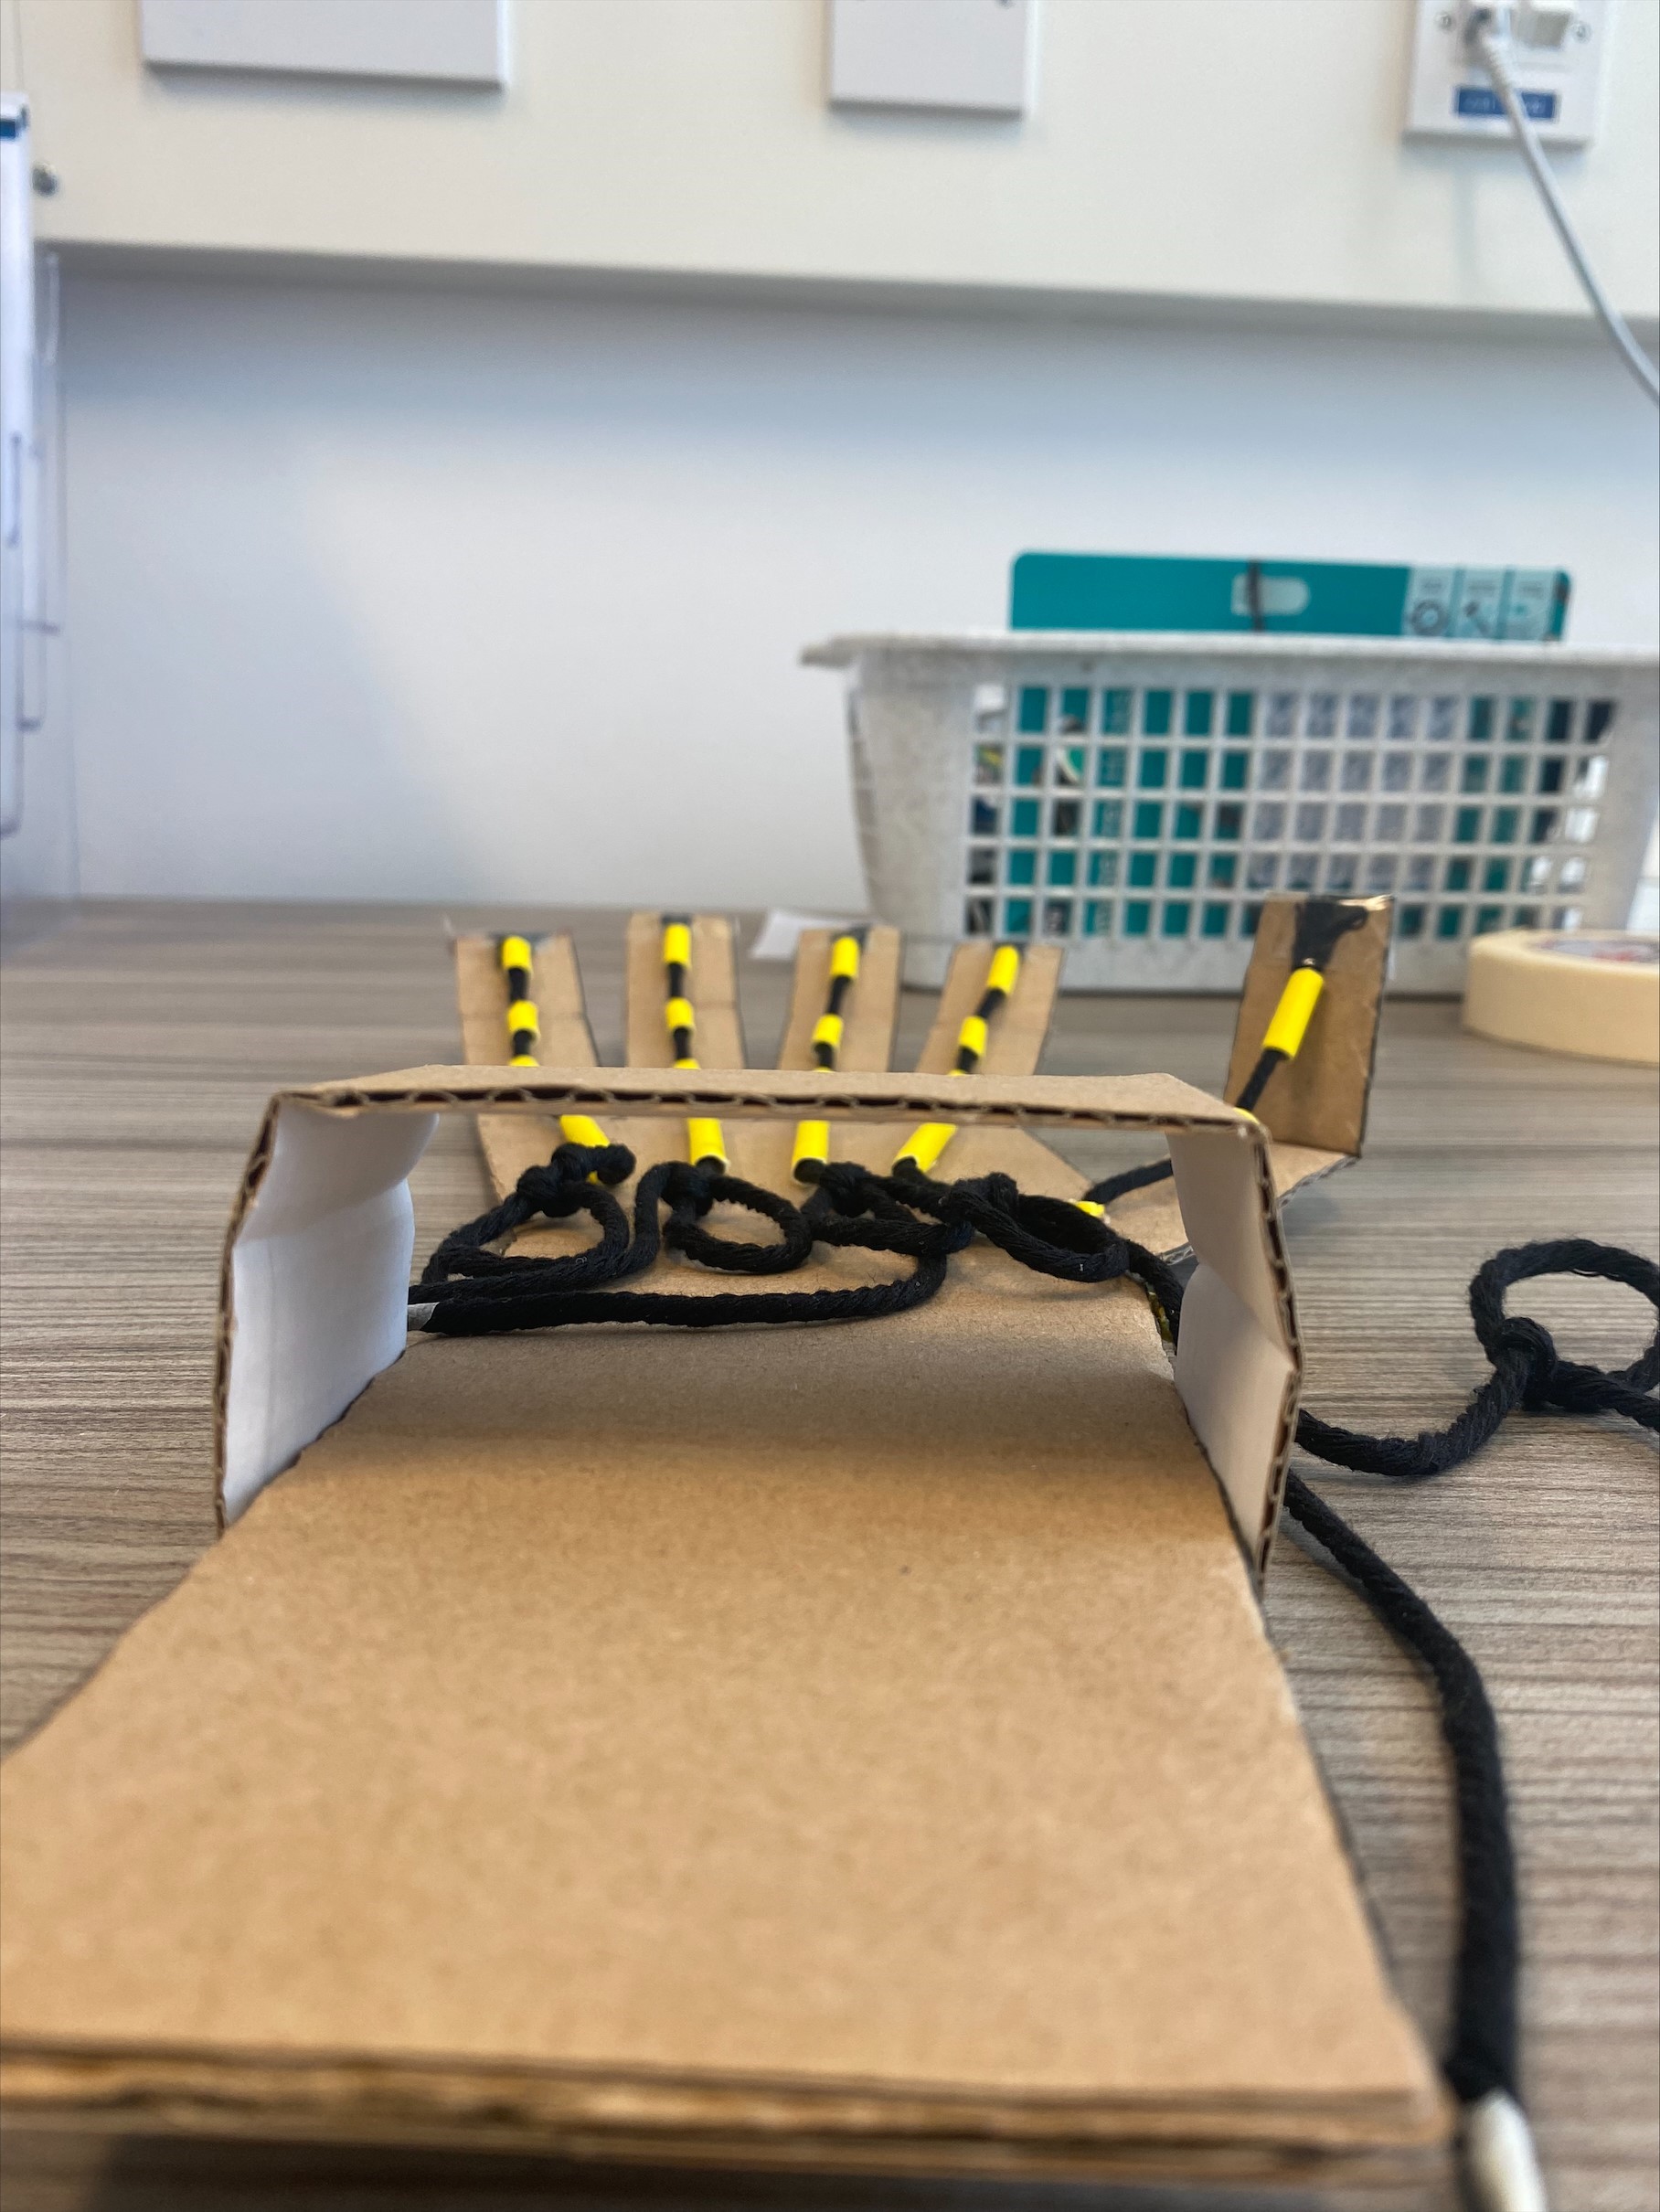
- Cardboard box
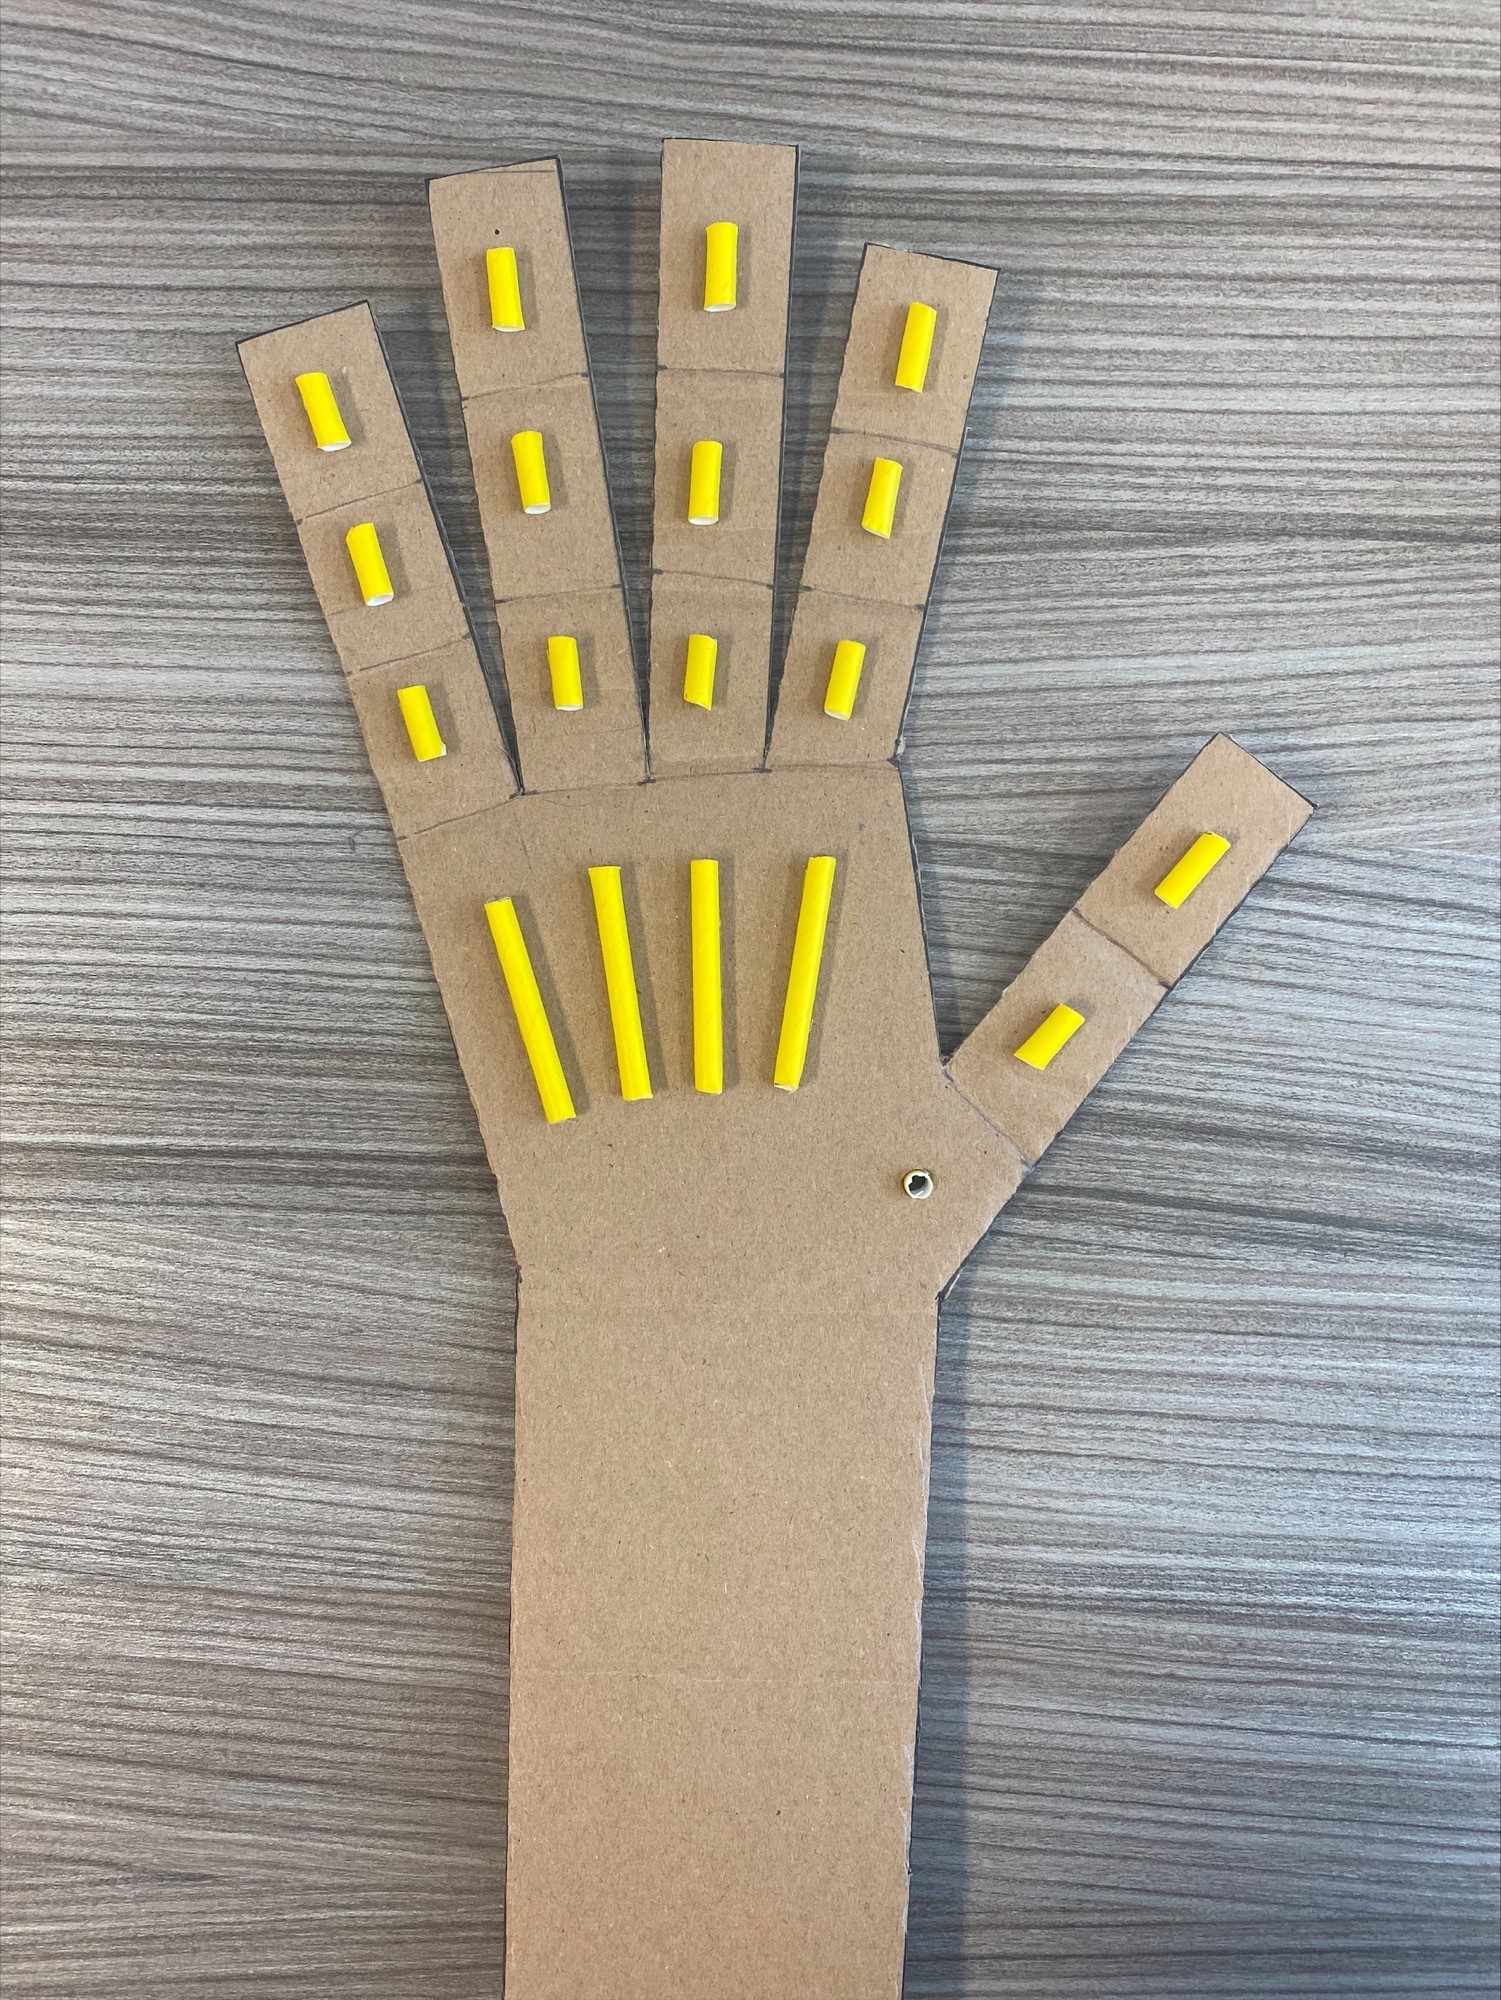
- Three straws
- Scissors
- PVA glue
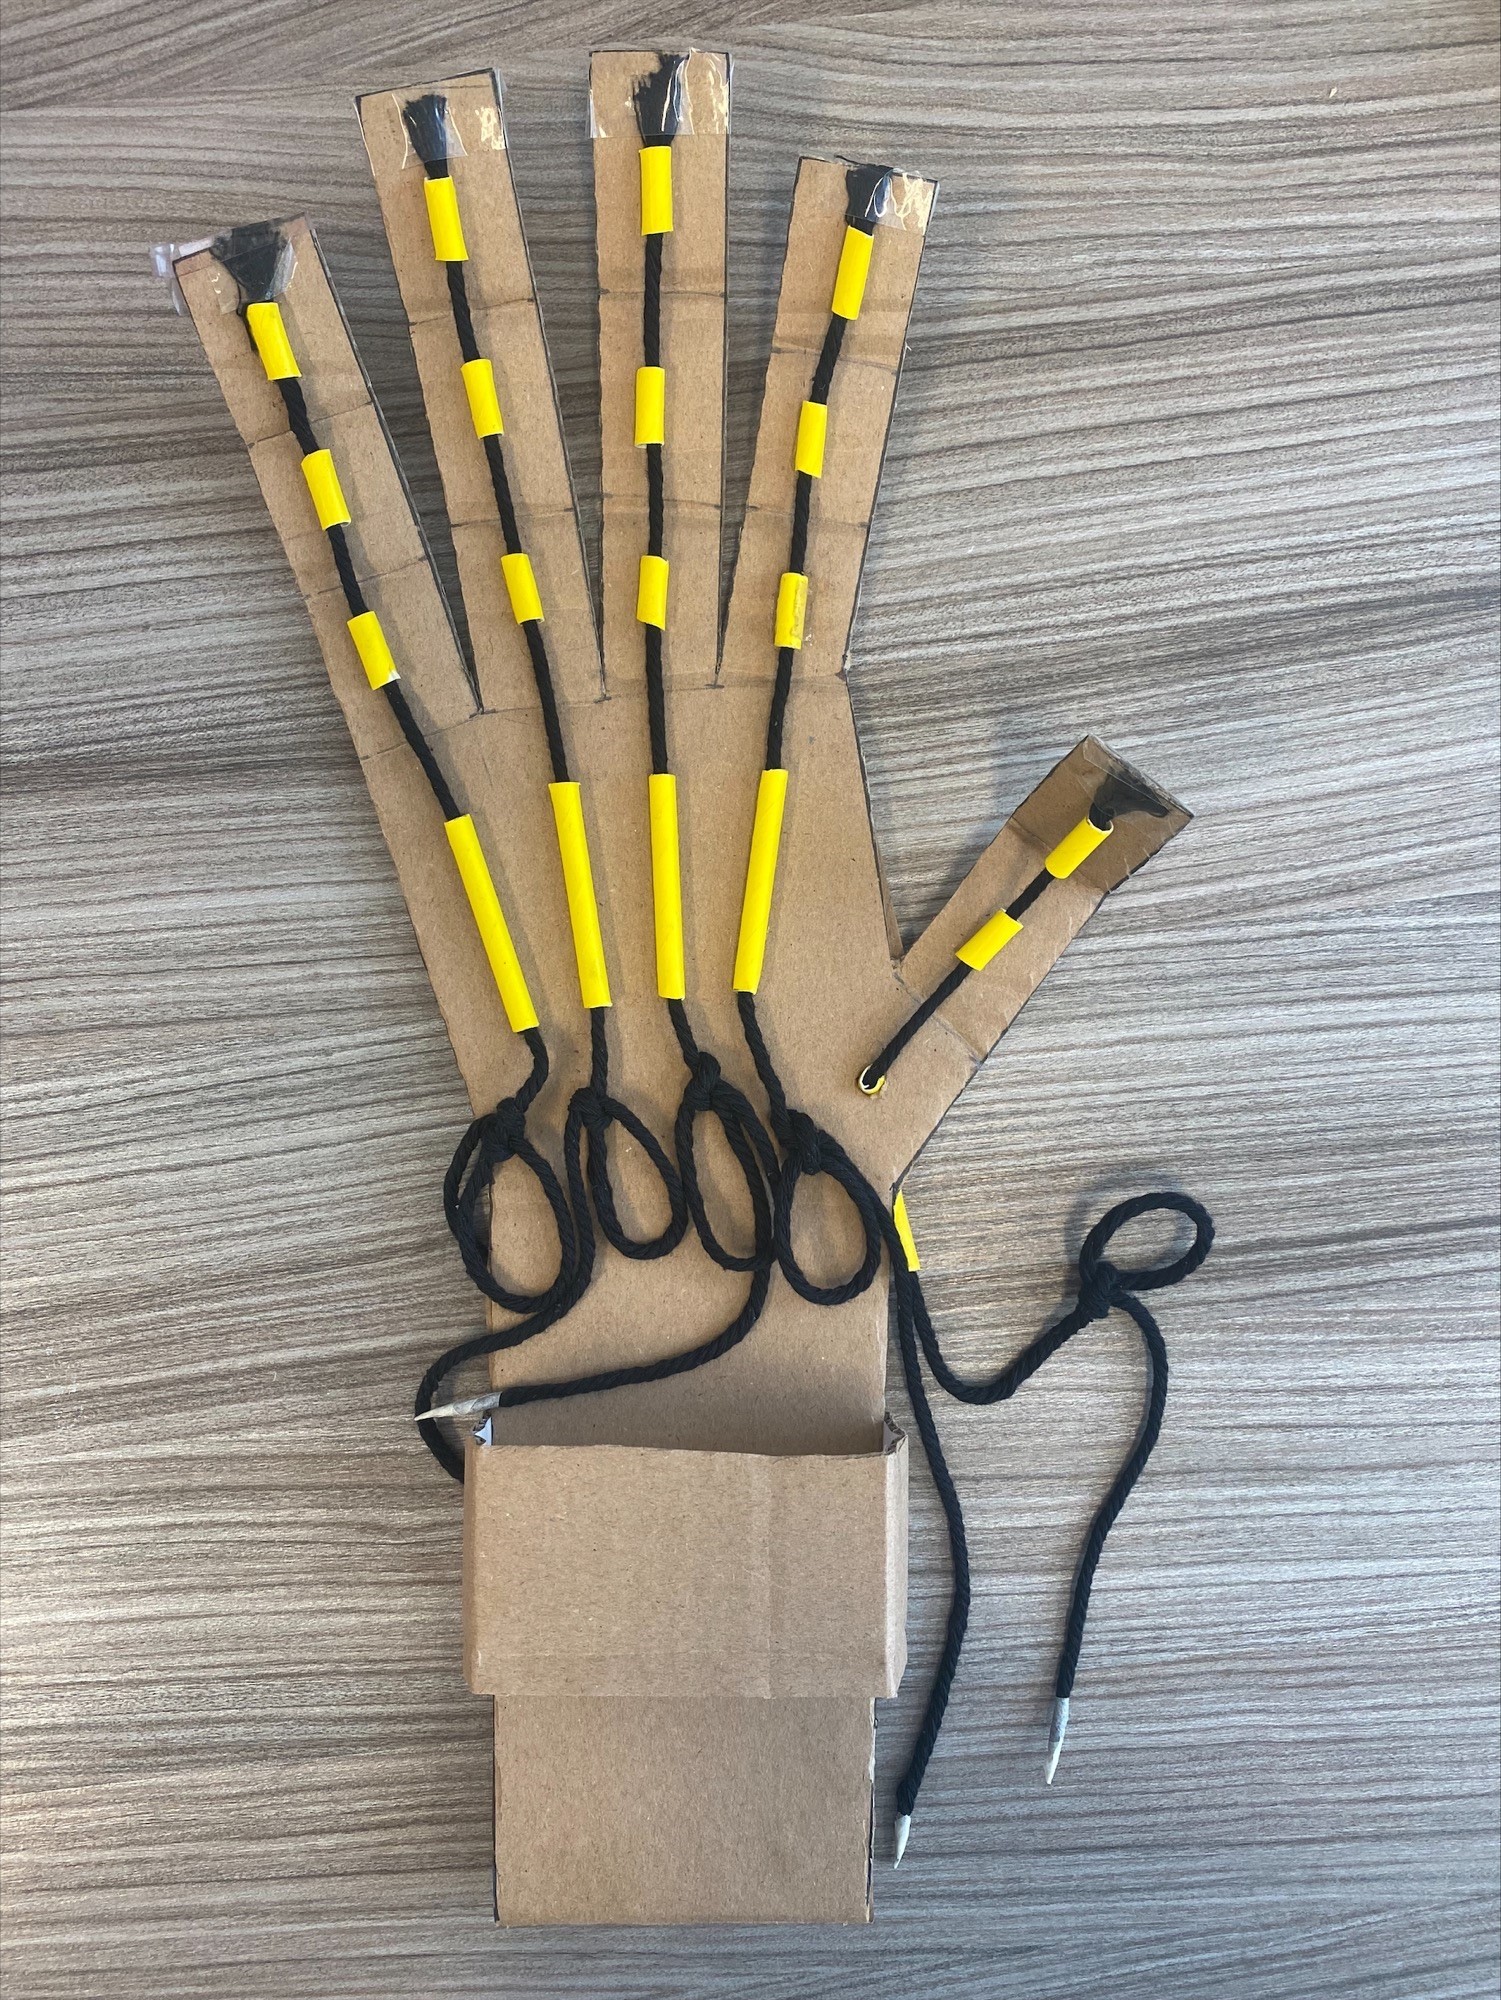
- Strings
- transparent tape
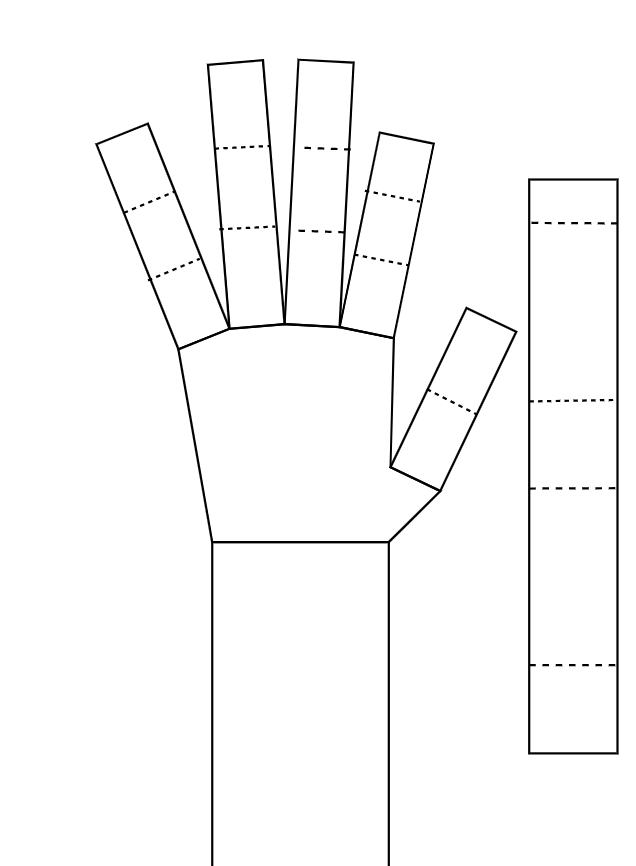
The robot arm template can be scaled down depending on hand size. The width of the wrist of the cardboard should be similar to your hand size.
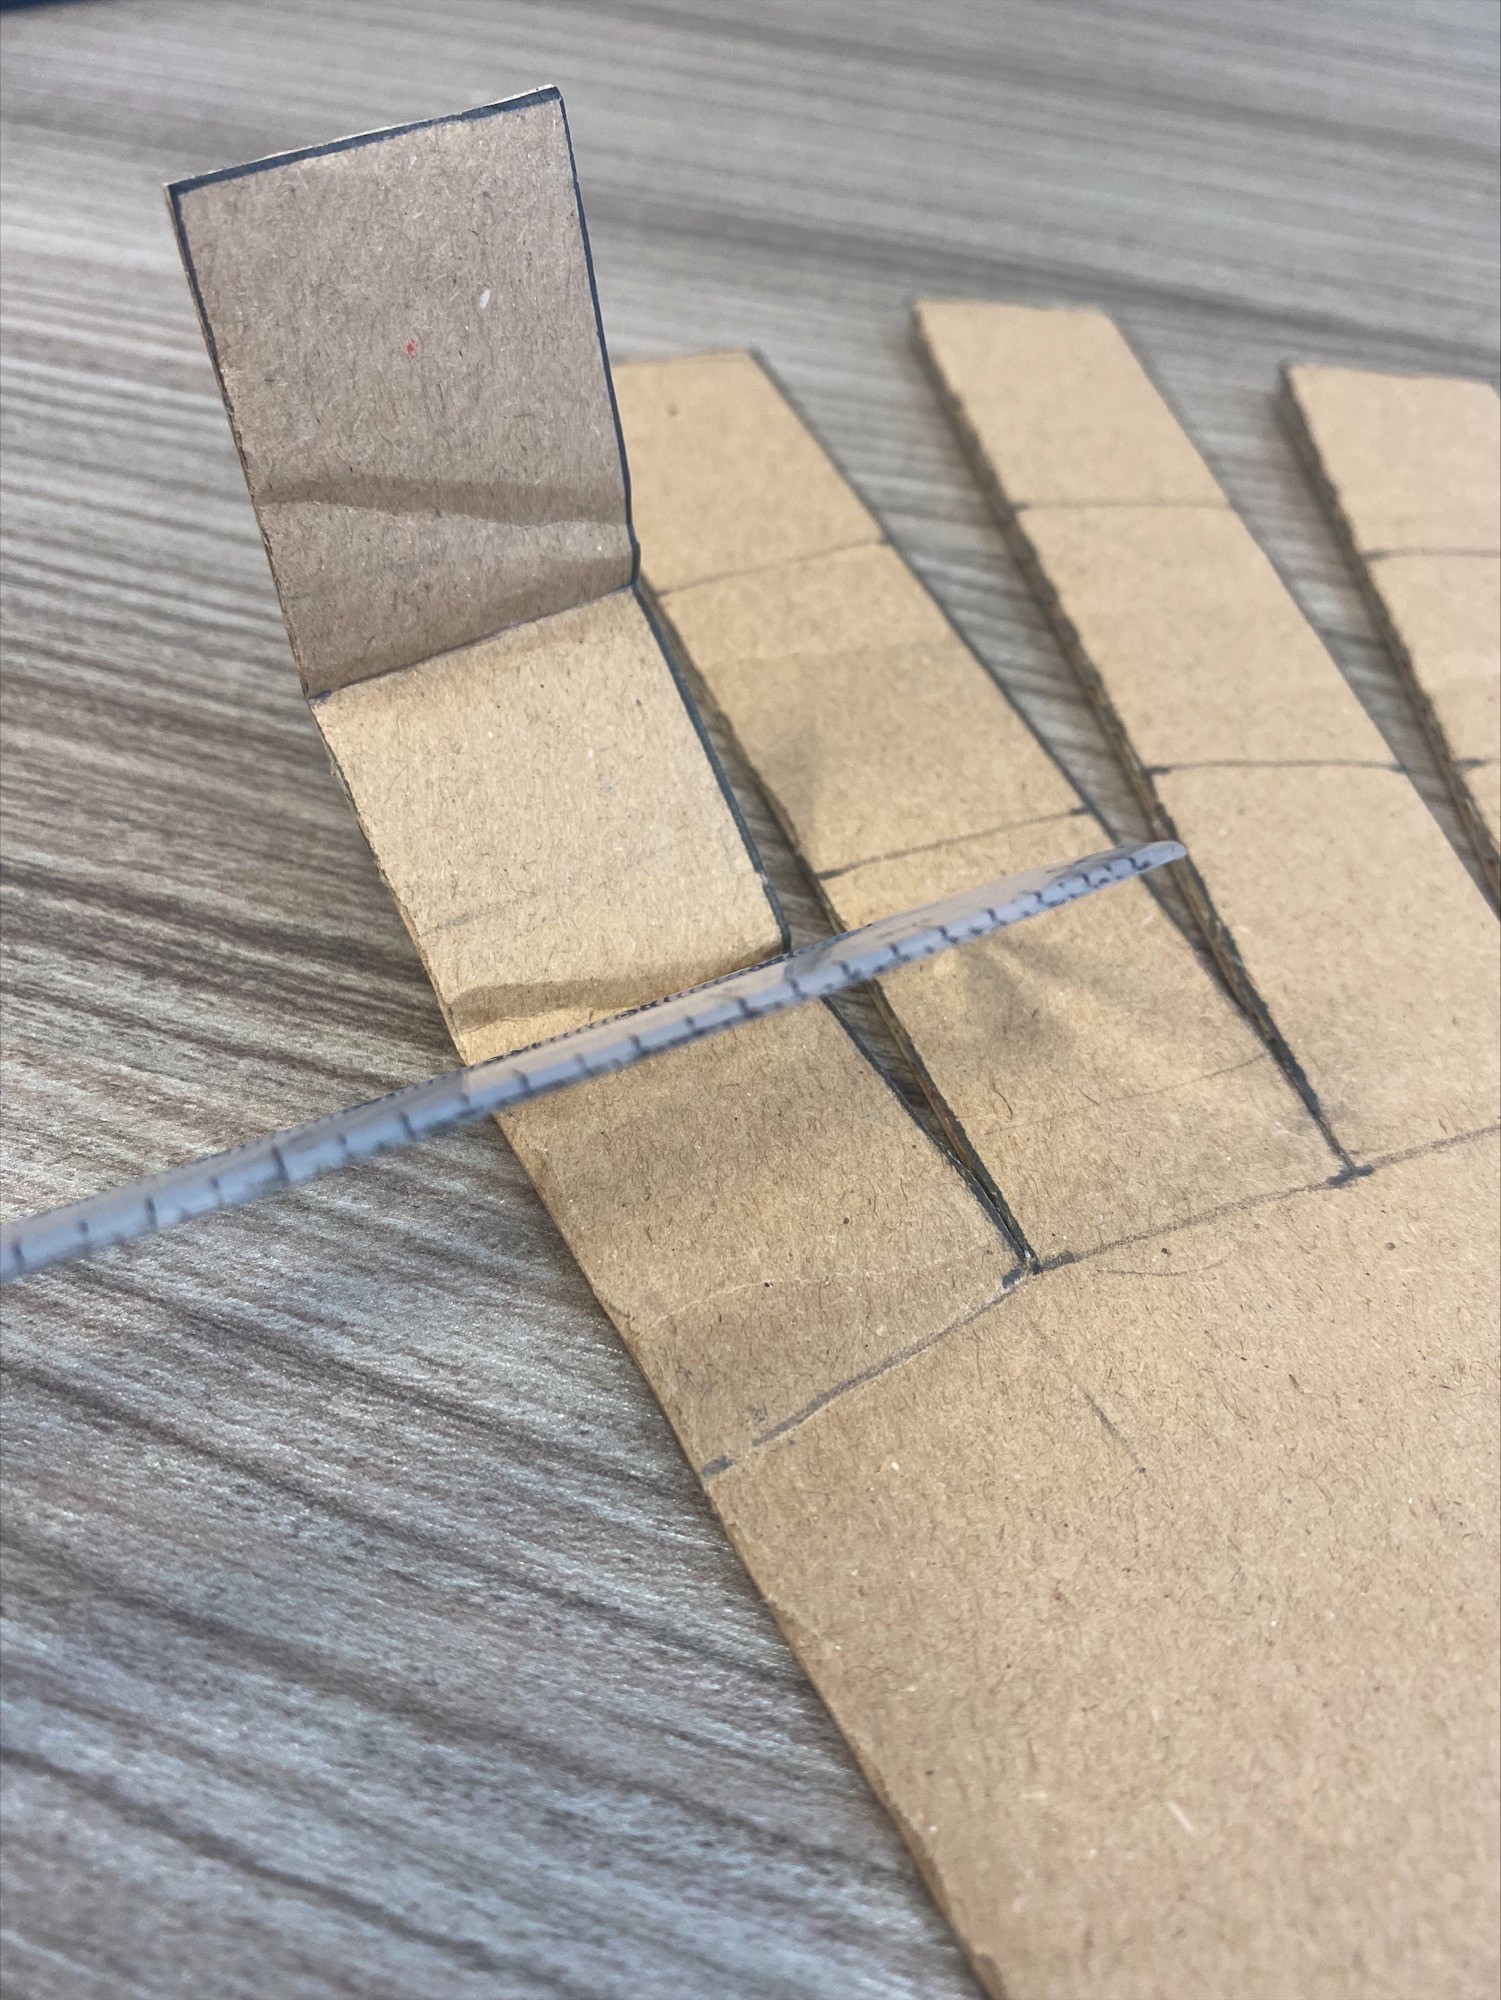
Step by step instructions:
1. Download a template of the robot arm.
To explore this concept further:
- Would the use of different types of string and cardboard make robot arm stronger?
- Program the robot challenge:
In pairs or groups, choose one person to be the robot and the rest of you will be the programmers. The robot must have their eyes closed for this activity. Draw a grid like the one shown below and choose and start and an end point. Place an object on the start position. The programmers need to give instructions to the robot to pick up the object and move it to the end position. The instructions should be simple to follow and precise.
Have a go at switching roles and discuss what you have learned from the activity.
Bringing Science to Life resources were created by interns: Laura Lotkowska and Seorin Park.