Digital Health
Digital Health - Dr Tom Goodman
Meet the Academic
What advice would you give to a young people aspiring to get in to a STEM Career?
“Do not be afraid of failure and be yourself. Things will go wrong but that is when you learn the most.”
To learn more about Tom and his academic journey:
Download the transcript Link opens in a new window
Bringing Science to Life
How does motion capture work?
Motion capture has various techniques that are used to record movements and translate it to data which can be interpreted and represented by the computer. Optical-passive motion capture uses retroflective markers which are attached to the person or object and these reflect the infrared light generated by the camera. The computer can then analyse the light to produce a 3D image of the movement. While optical-active motion capture uses markers that emit LED light which are then captured by the camera and analysed in a similar way. Inertial motion capture doesn’t rely on cameras and instead use inertial movement units with built in sensors to detect position and movement. Markerless motion capture doesn’t require cameras and uses multiple depth sensitive cameras to record the movement which can then be reconstructed into the 3D image. The method used is dependent on the application.
Motion captures can be used to design characters and their movements in video games. It can also be used to play video games by monitoring players movements and using that to control the game. These techniques are also used in medicine to track patients movements to help with treatments of injuries.
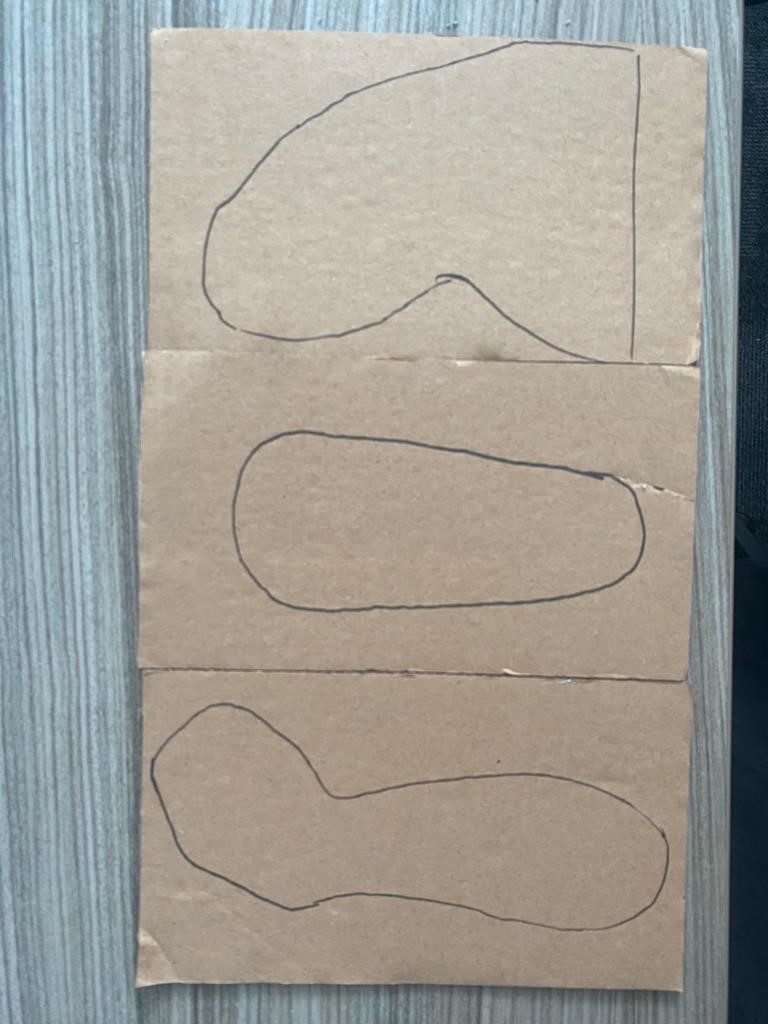
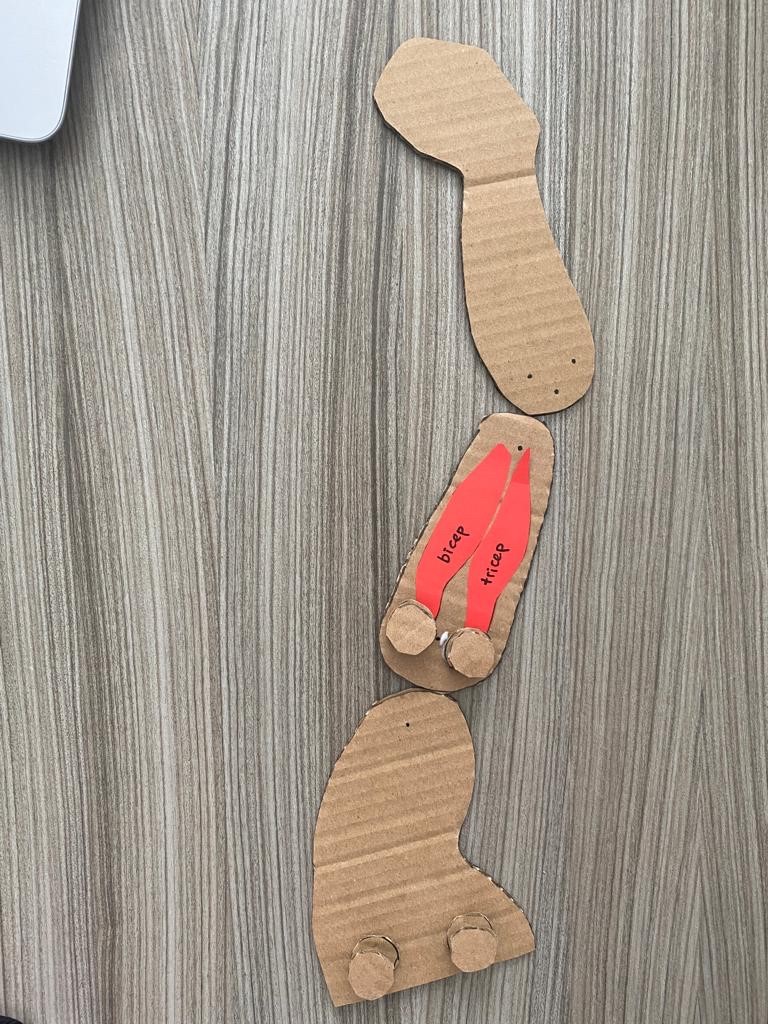
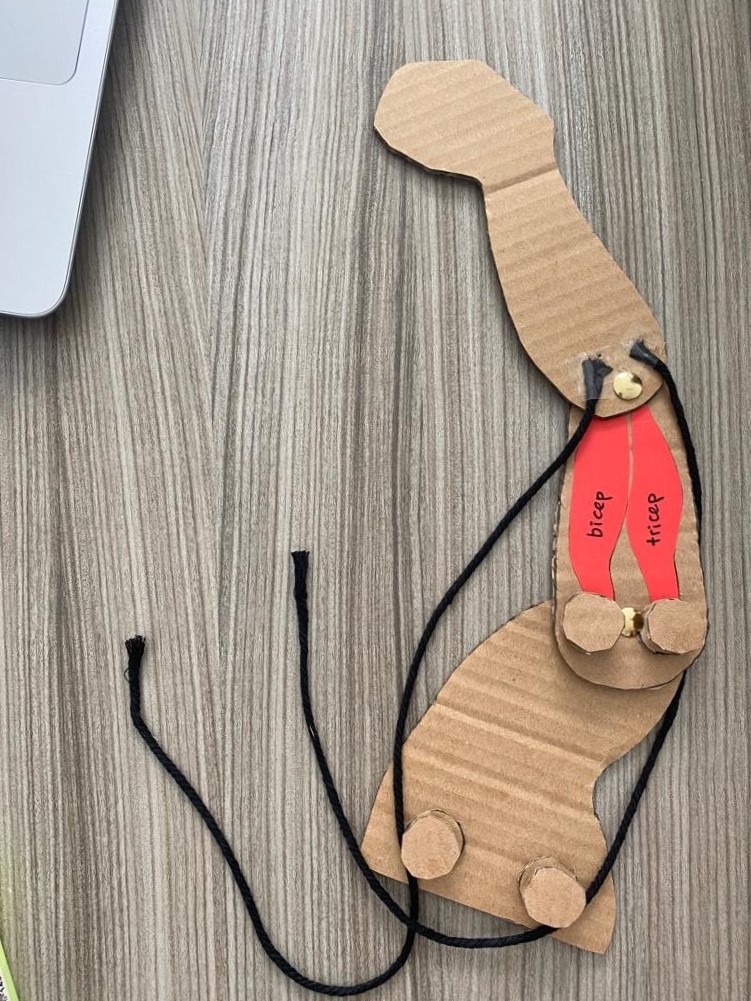
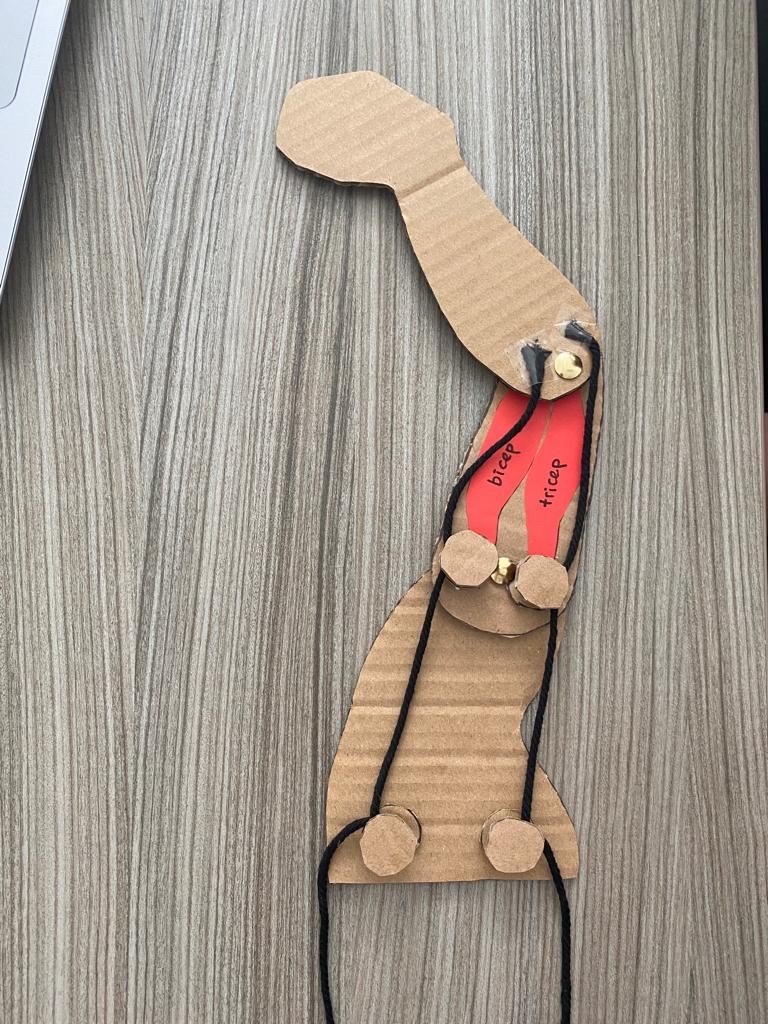
How to make your own muscle machine
Materials required:
- Cardboard
- Scissors
- String
- Pins
- Straws
- Tape
- Glue
- Toilet paper or kitchen roll tube
- Paper
- Pencils or markers
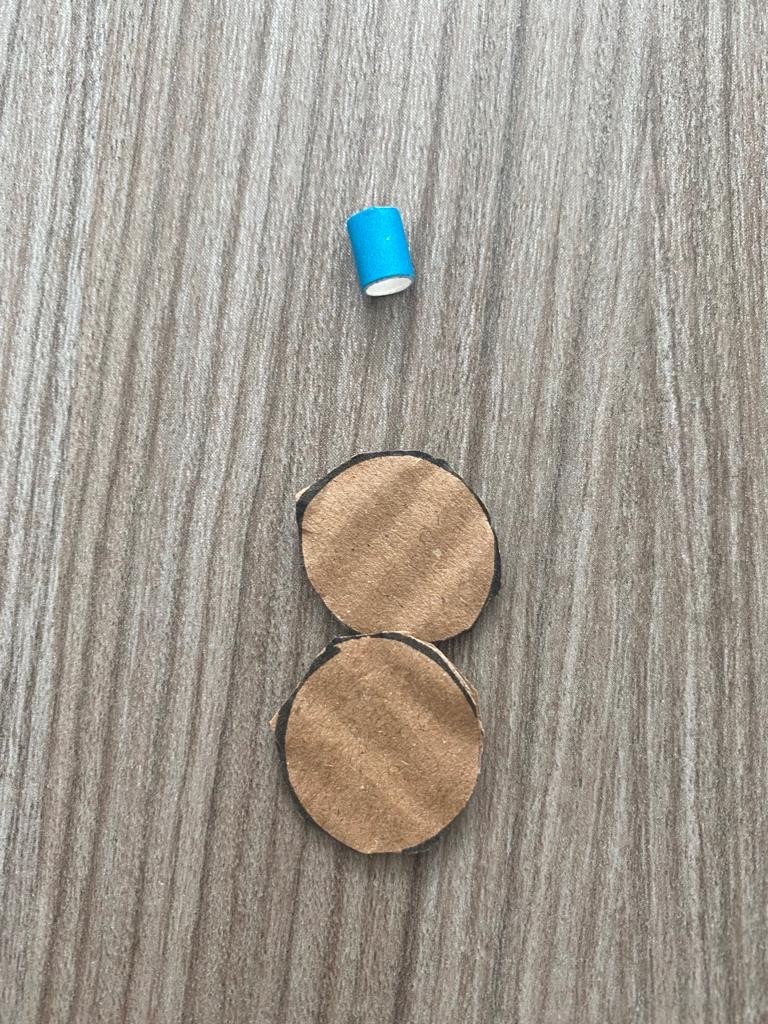
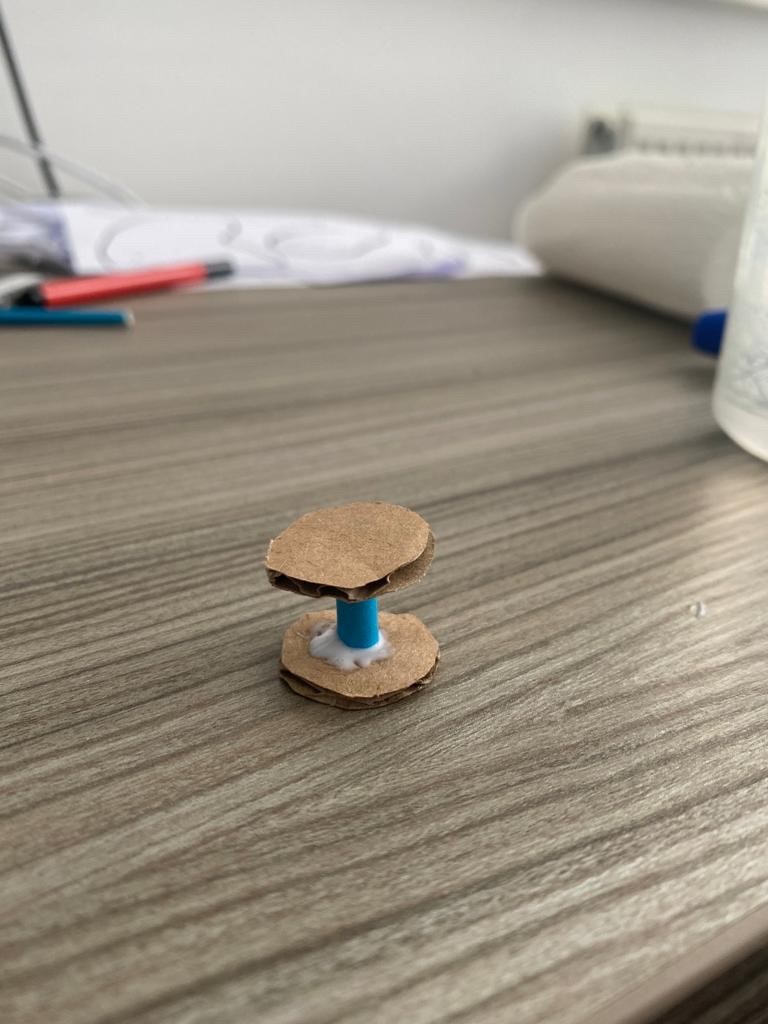
Step by Step instructions

To explore this concept further:
- How is the muscle machine different from the actual arm? What can you notice about it?
- Could you design a similar machine for a leg?
- What happens when you pull both strings at the same time? What does this represent?
Bringing Science to Life resources were created by interns: Laura Lotkowska and Seorin Park.