Injection Moulding
Injection Moulding - Kevin Coulding
Meet the Academic
What inspired you to become a scientist?
“I have a love for challenges. There is something in my mind that is fascinated by how something is built and what has gone in to achieve that.”
To learn more about Kevin and his journey:
Download the transcriptLink opens in a new window
Bringing Science to Life
How does injection moulding work?
We’ve all used a glue gun to stick our fingers together, what if we moulded it into a shape through a mould? Injection moulding is exactly that. Melt a plastic till its liquid, force it into a steel moulded shape, let it cool and then eject it. Simple and effective, it can be repeated again and again, making thousands of parts quickly. Your mobile phone, TV, food mixer, shower, anything plastic would have been made using this technology because for high numbers of parts it is cheap to make.
However it is expensive to set up, with metal tools costing up to and beyond £100,000, and can take months to prepare depending on complexity – your wheelie bin was injection moulded! The injection moulding machines themselves cost even more.
Innovation, we want it cheaper and faster, what about using 3D printed plastics to mould other plastics? These are cheep to produce relative to metal tooling for moulding and can be completed quicker.
Wait, what? You want to use plastic to mould plastic? Different plastics have different properties, melt temperatures being one of them. You have to pick differing materials to work together, each depending on the application, but once you understand a material and how it works, you can develop techniques towards compatibility. You would not use a chocolate kettle to boil water, it’s a waste of good chocolate, but you can boil water in plastic, but not all plastics. Try pouring water onto an empty plastic milk bottle, great for storing milk at low temperatures, but the HDPE Polyethylene has a low melting temperature of 110-130 degrees Celsius, it will deform under the boiling water.
How to make your own playdough moulds
Materials required:
- Playdough
- Hot glue
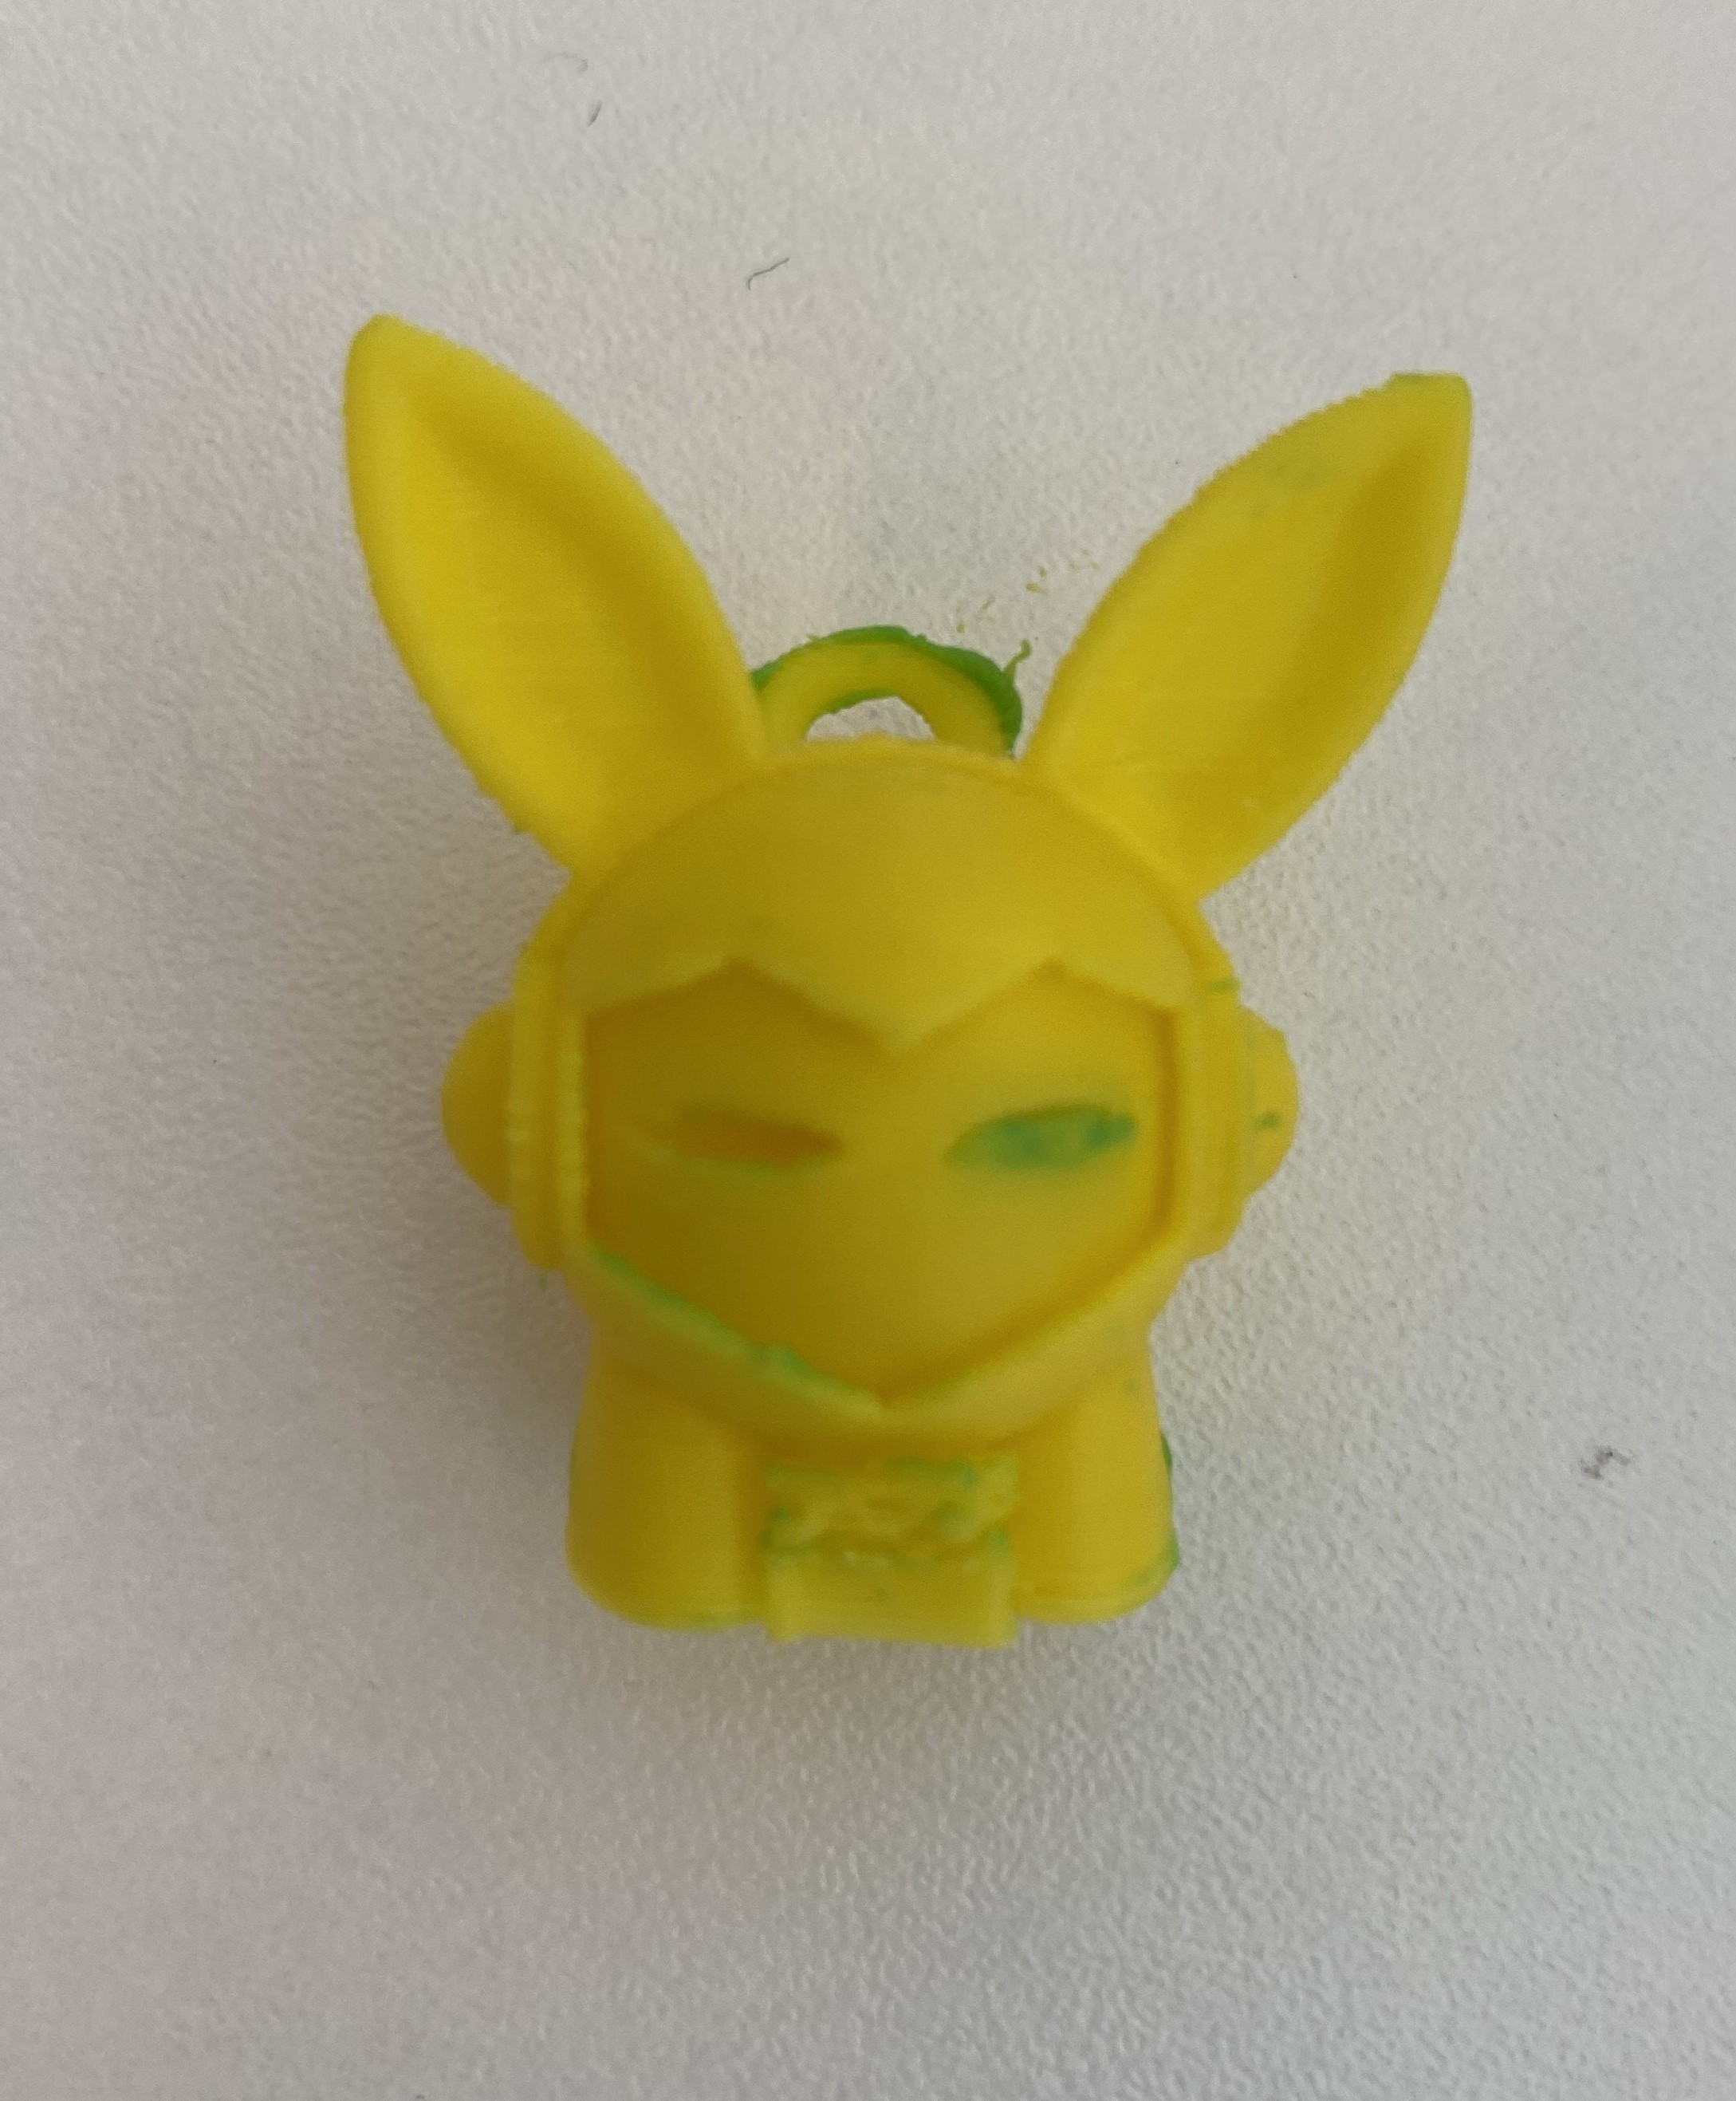
- Plastic toy (flat toy for the one-part moulding, and 3D toy for the two-part moulding)
Step by step instructions for one-part moulding:
1. Prepare a playdough and a plastic toy that you like.
.
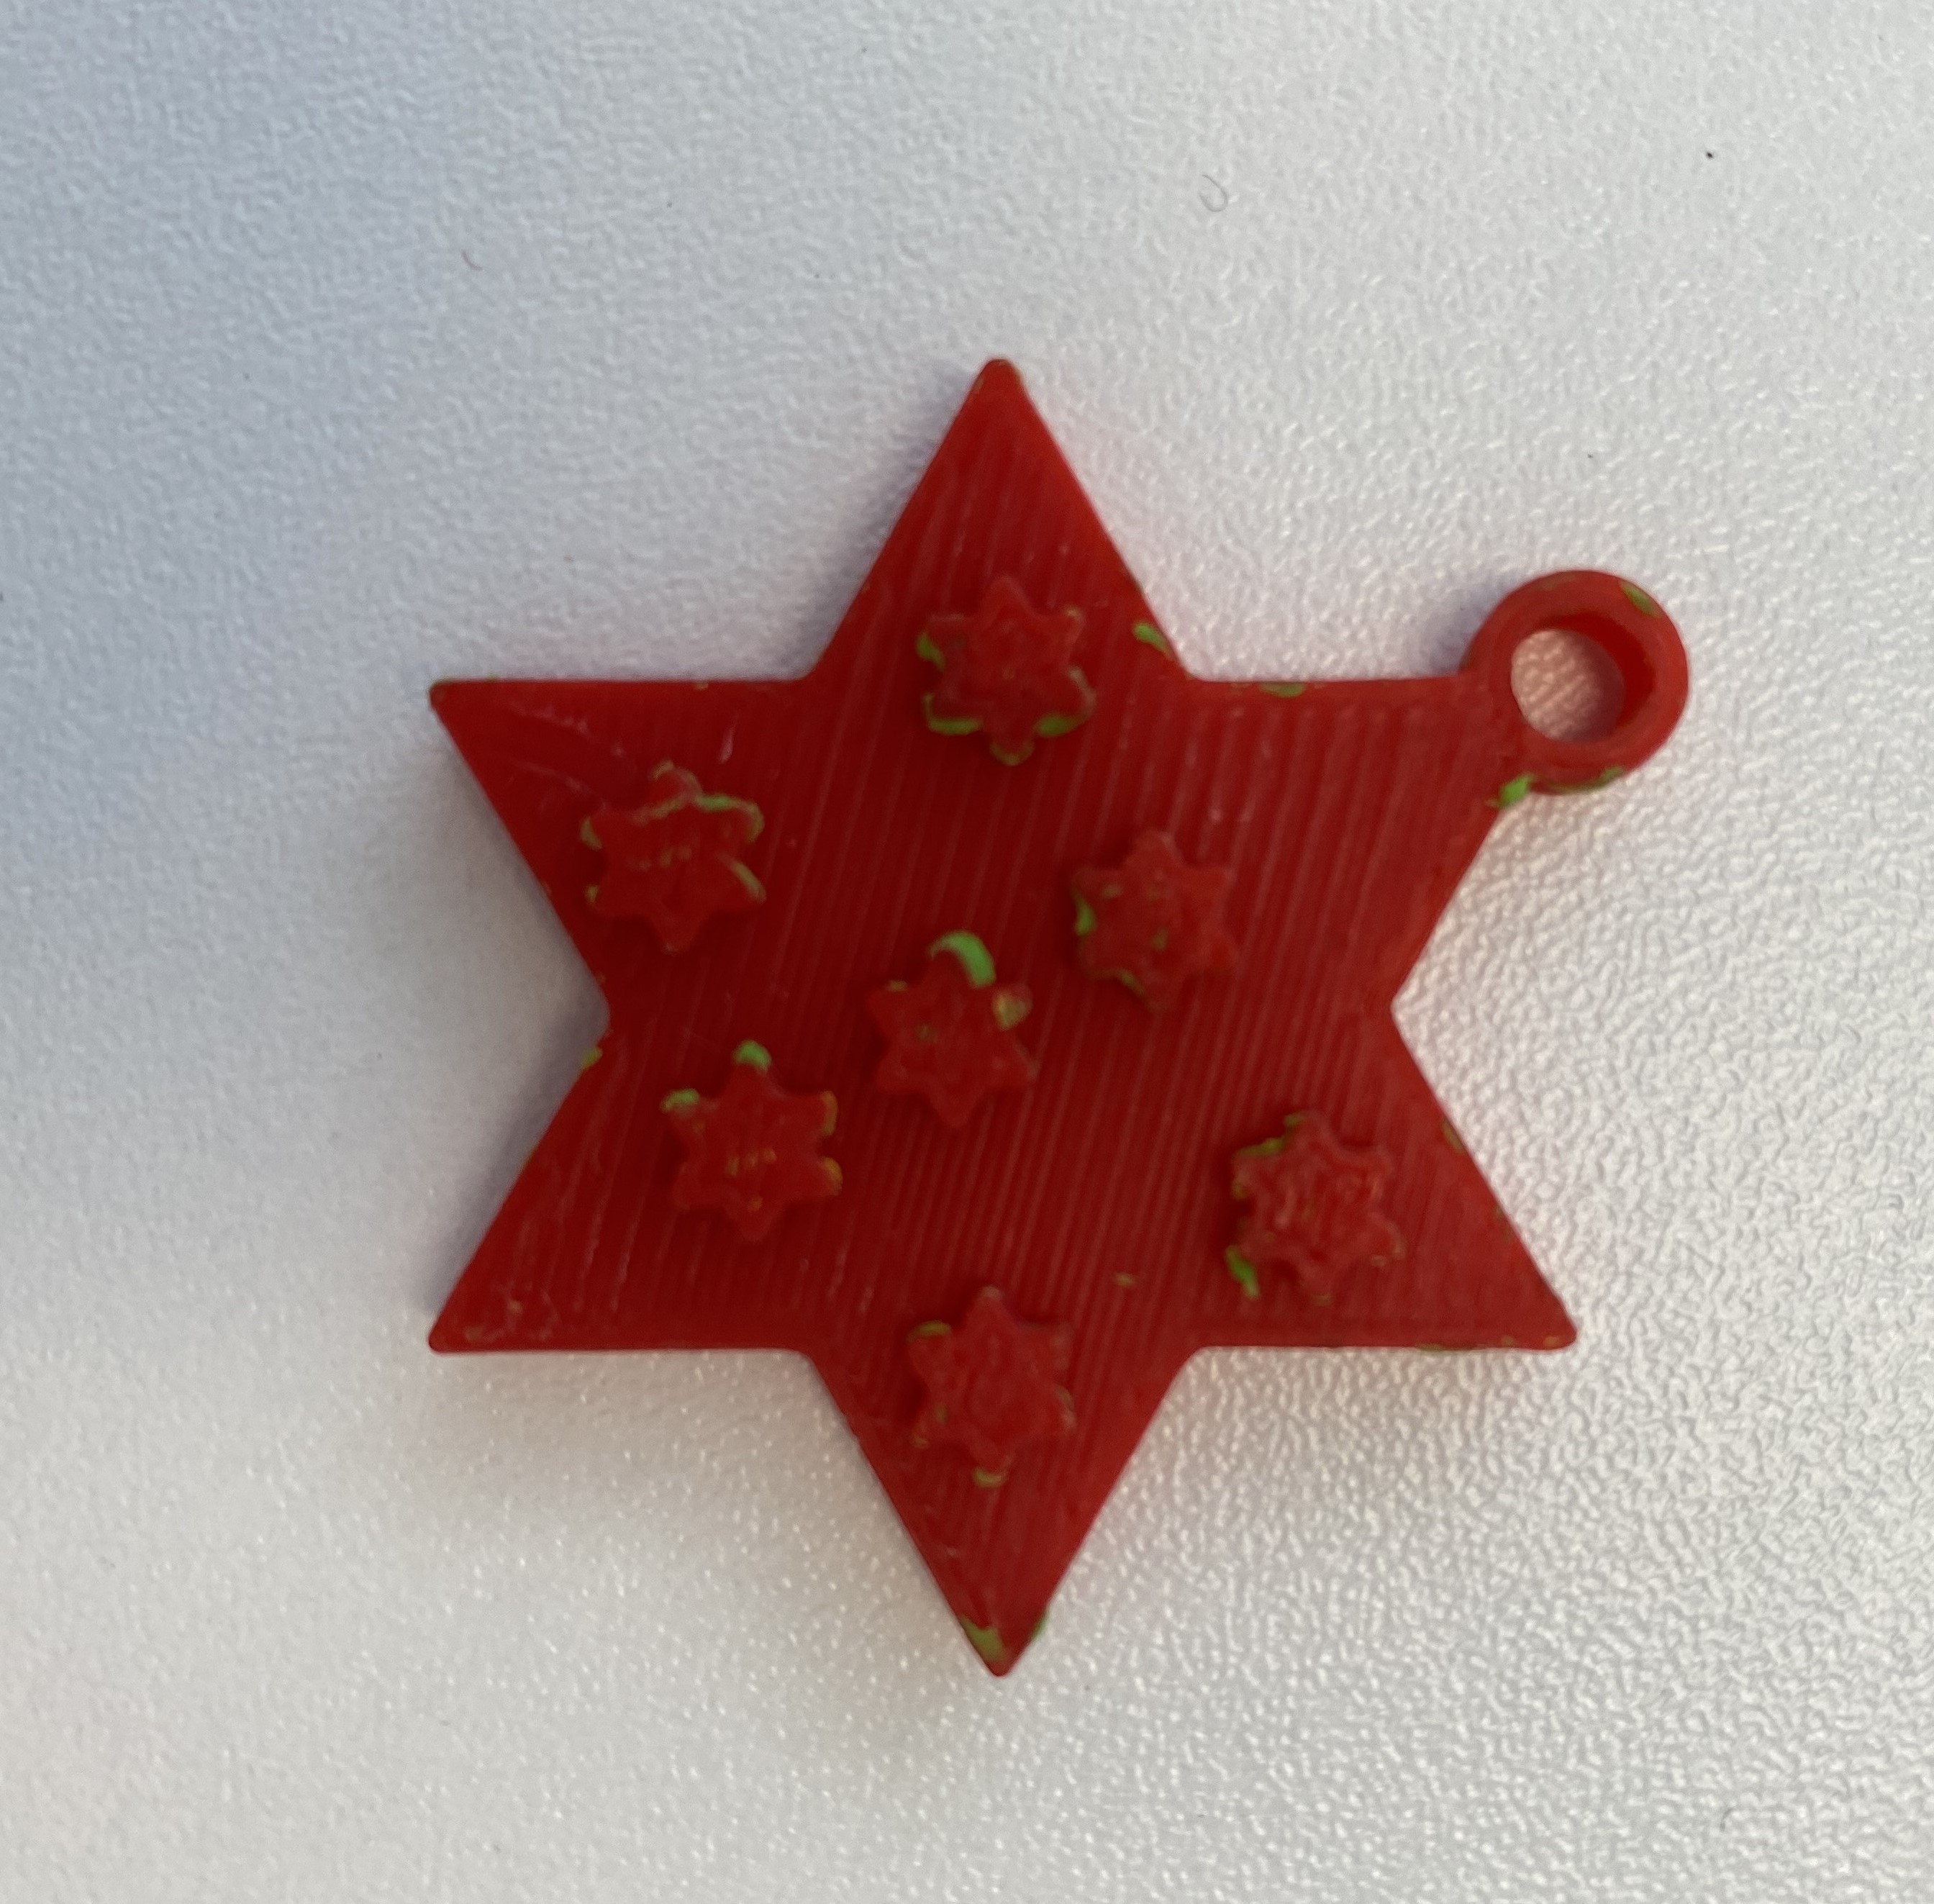
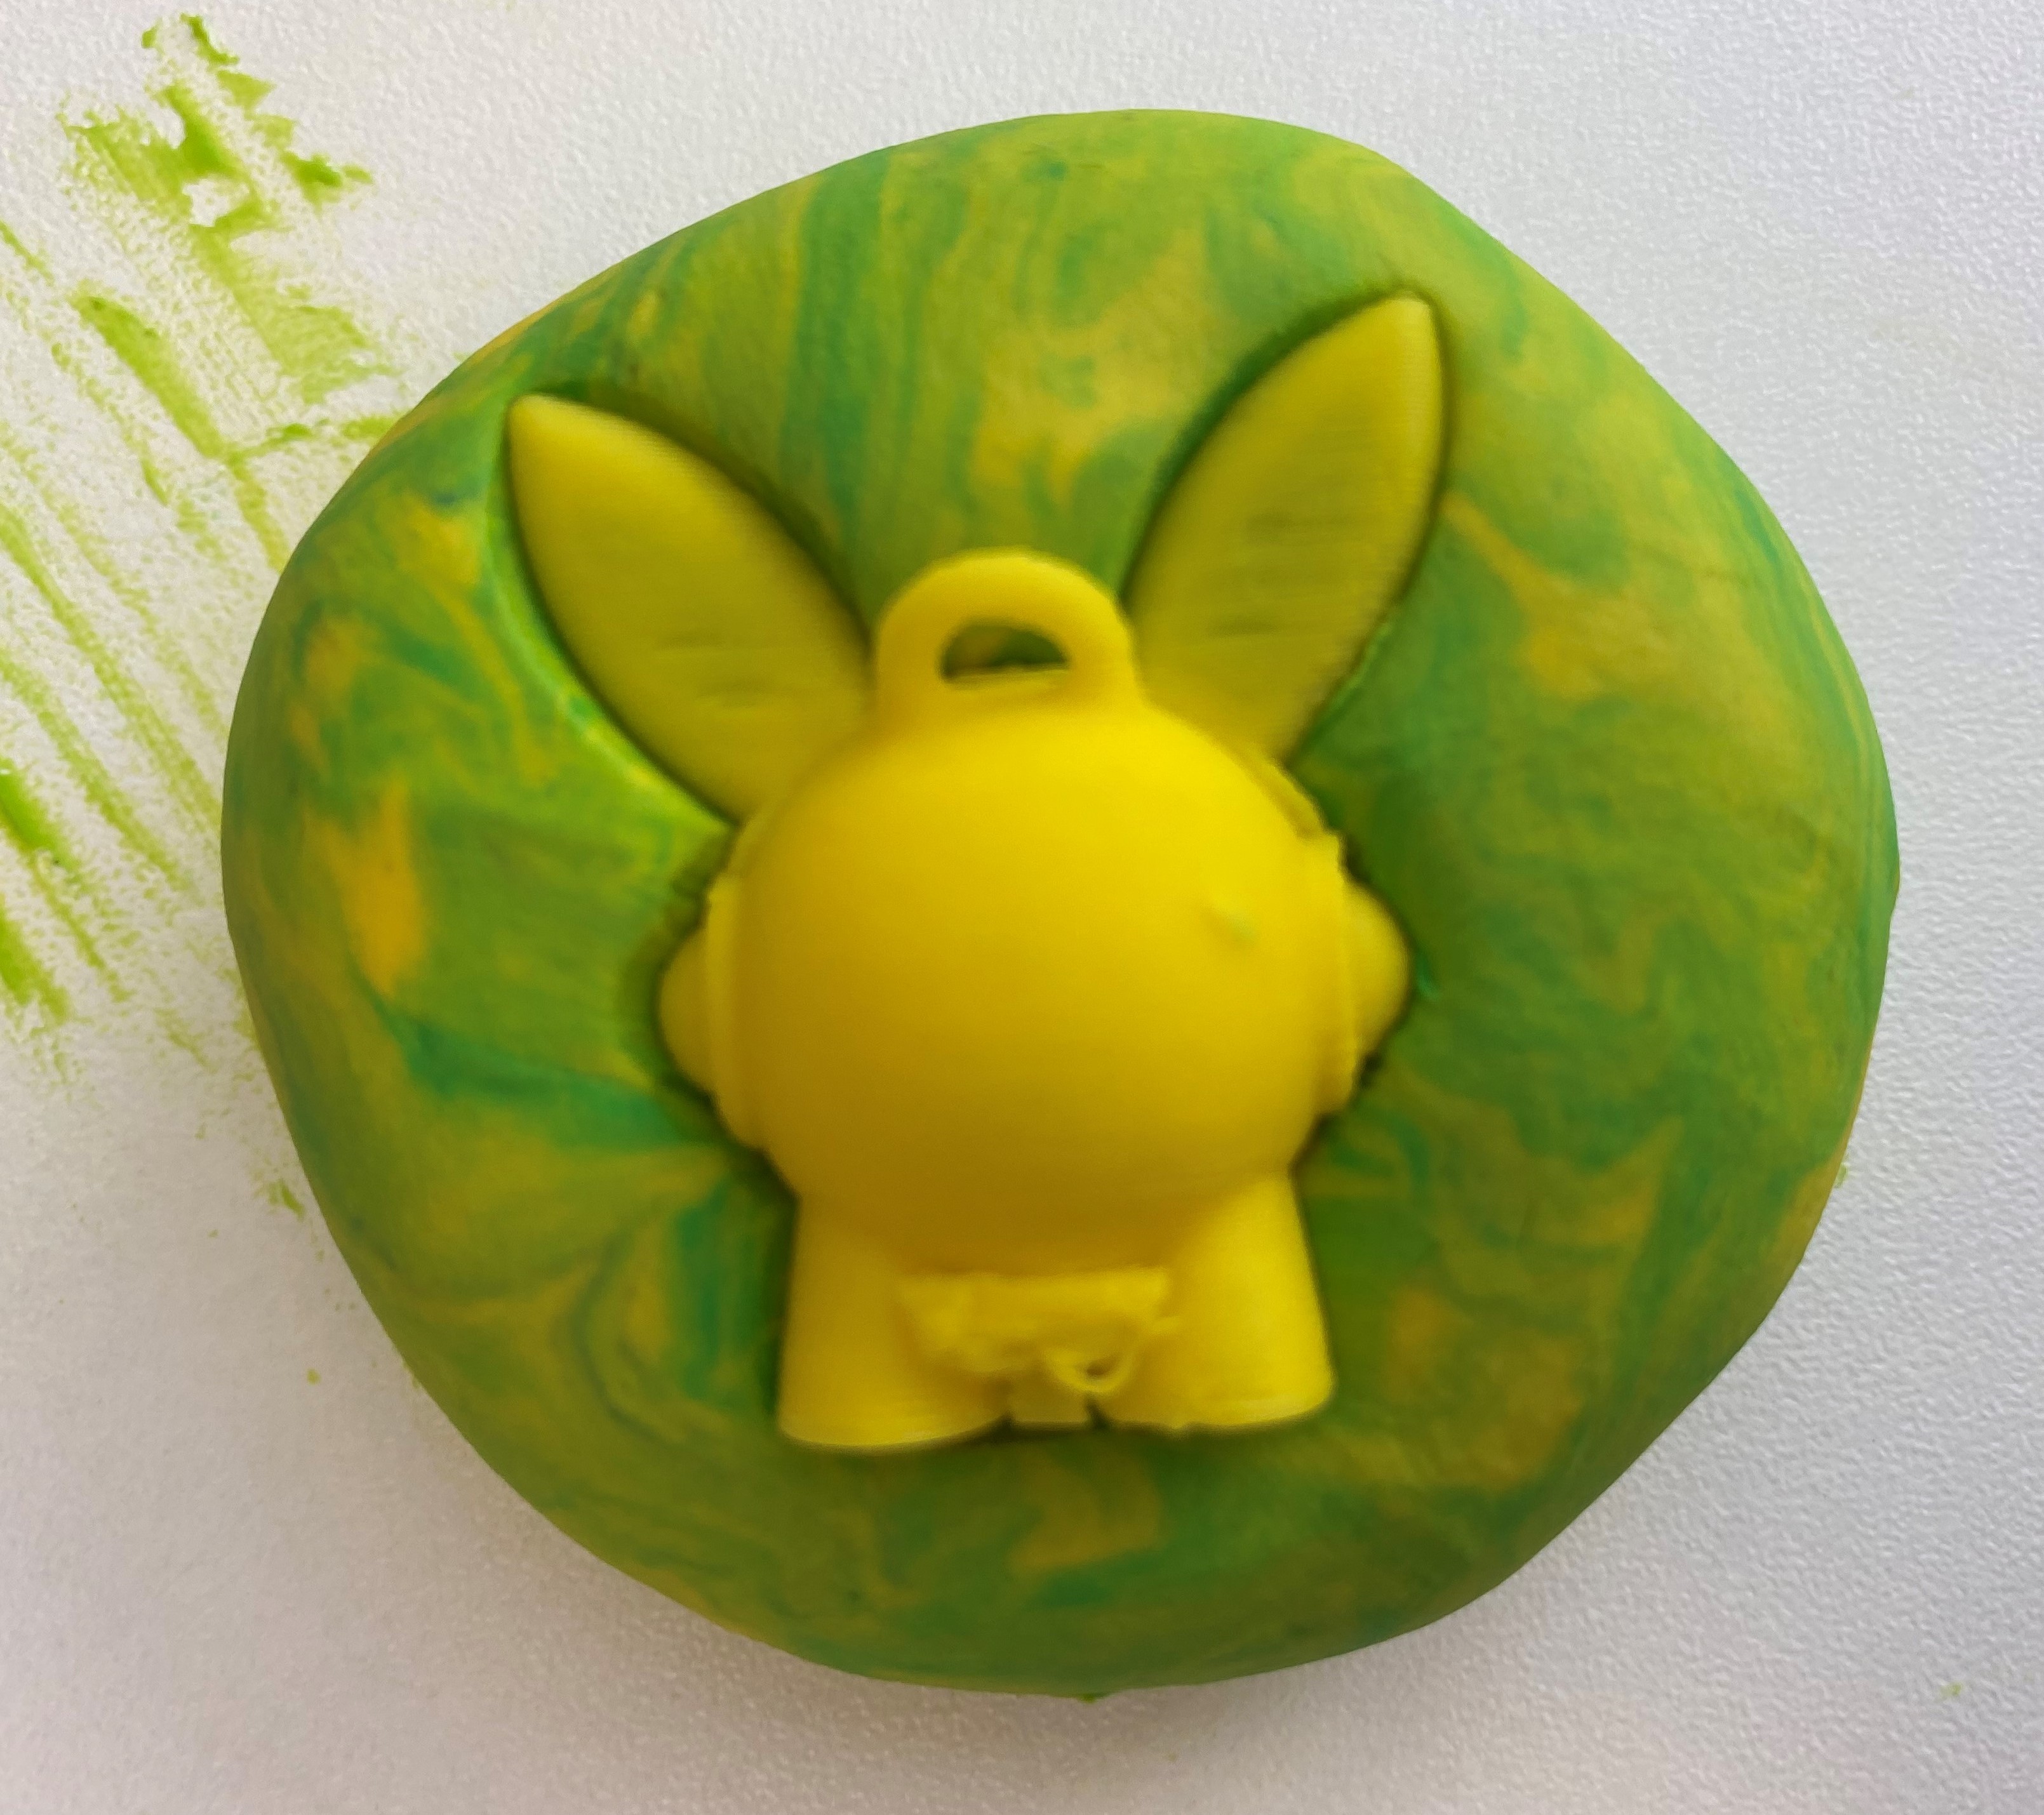
2. Press the plastic toy down to the playdough.
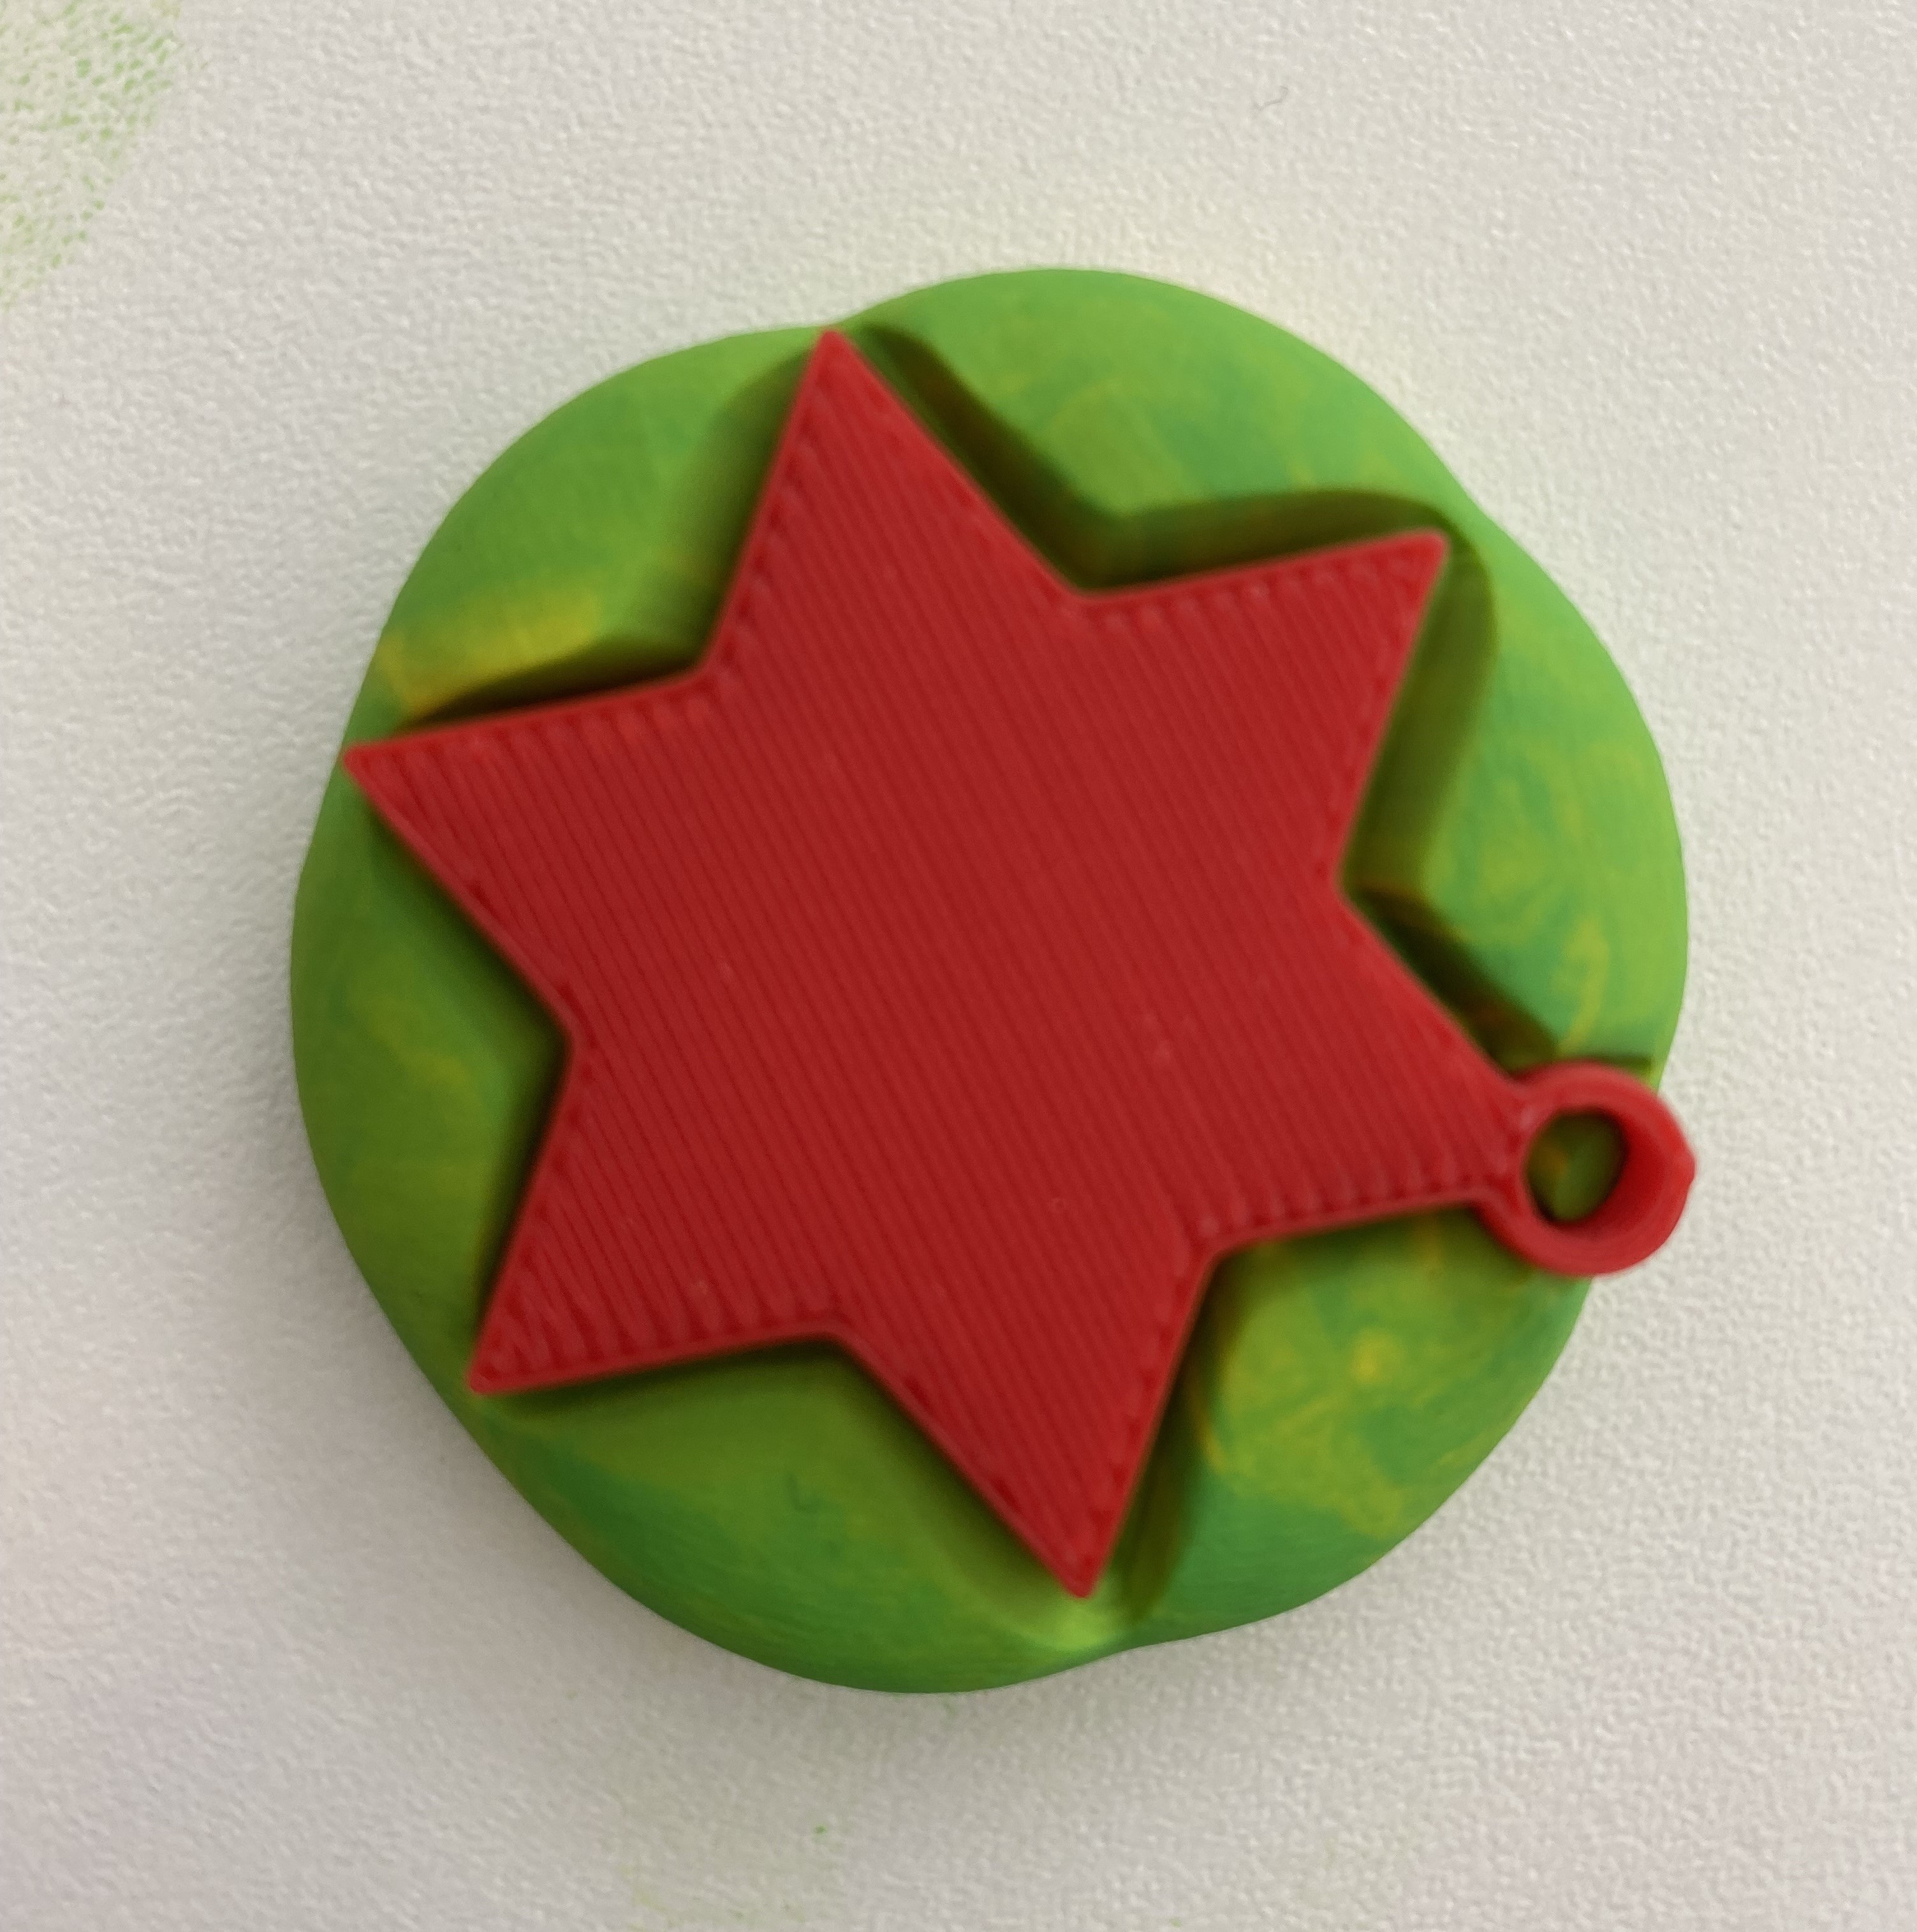
3. Carefully remove the plastic toy to form a playdough mould.
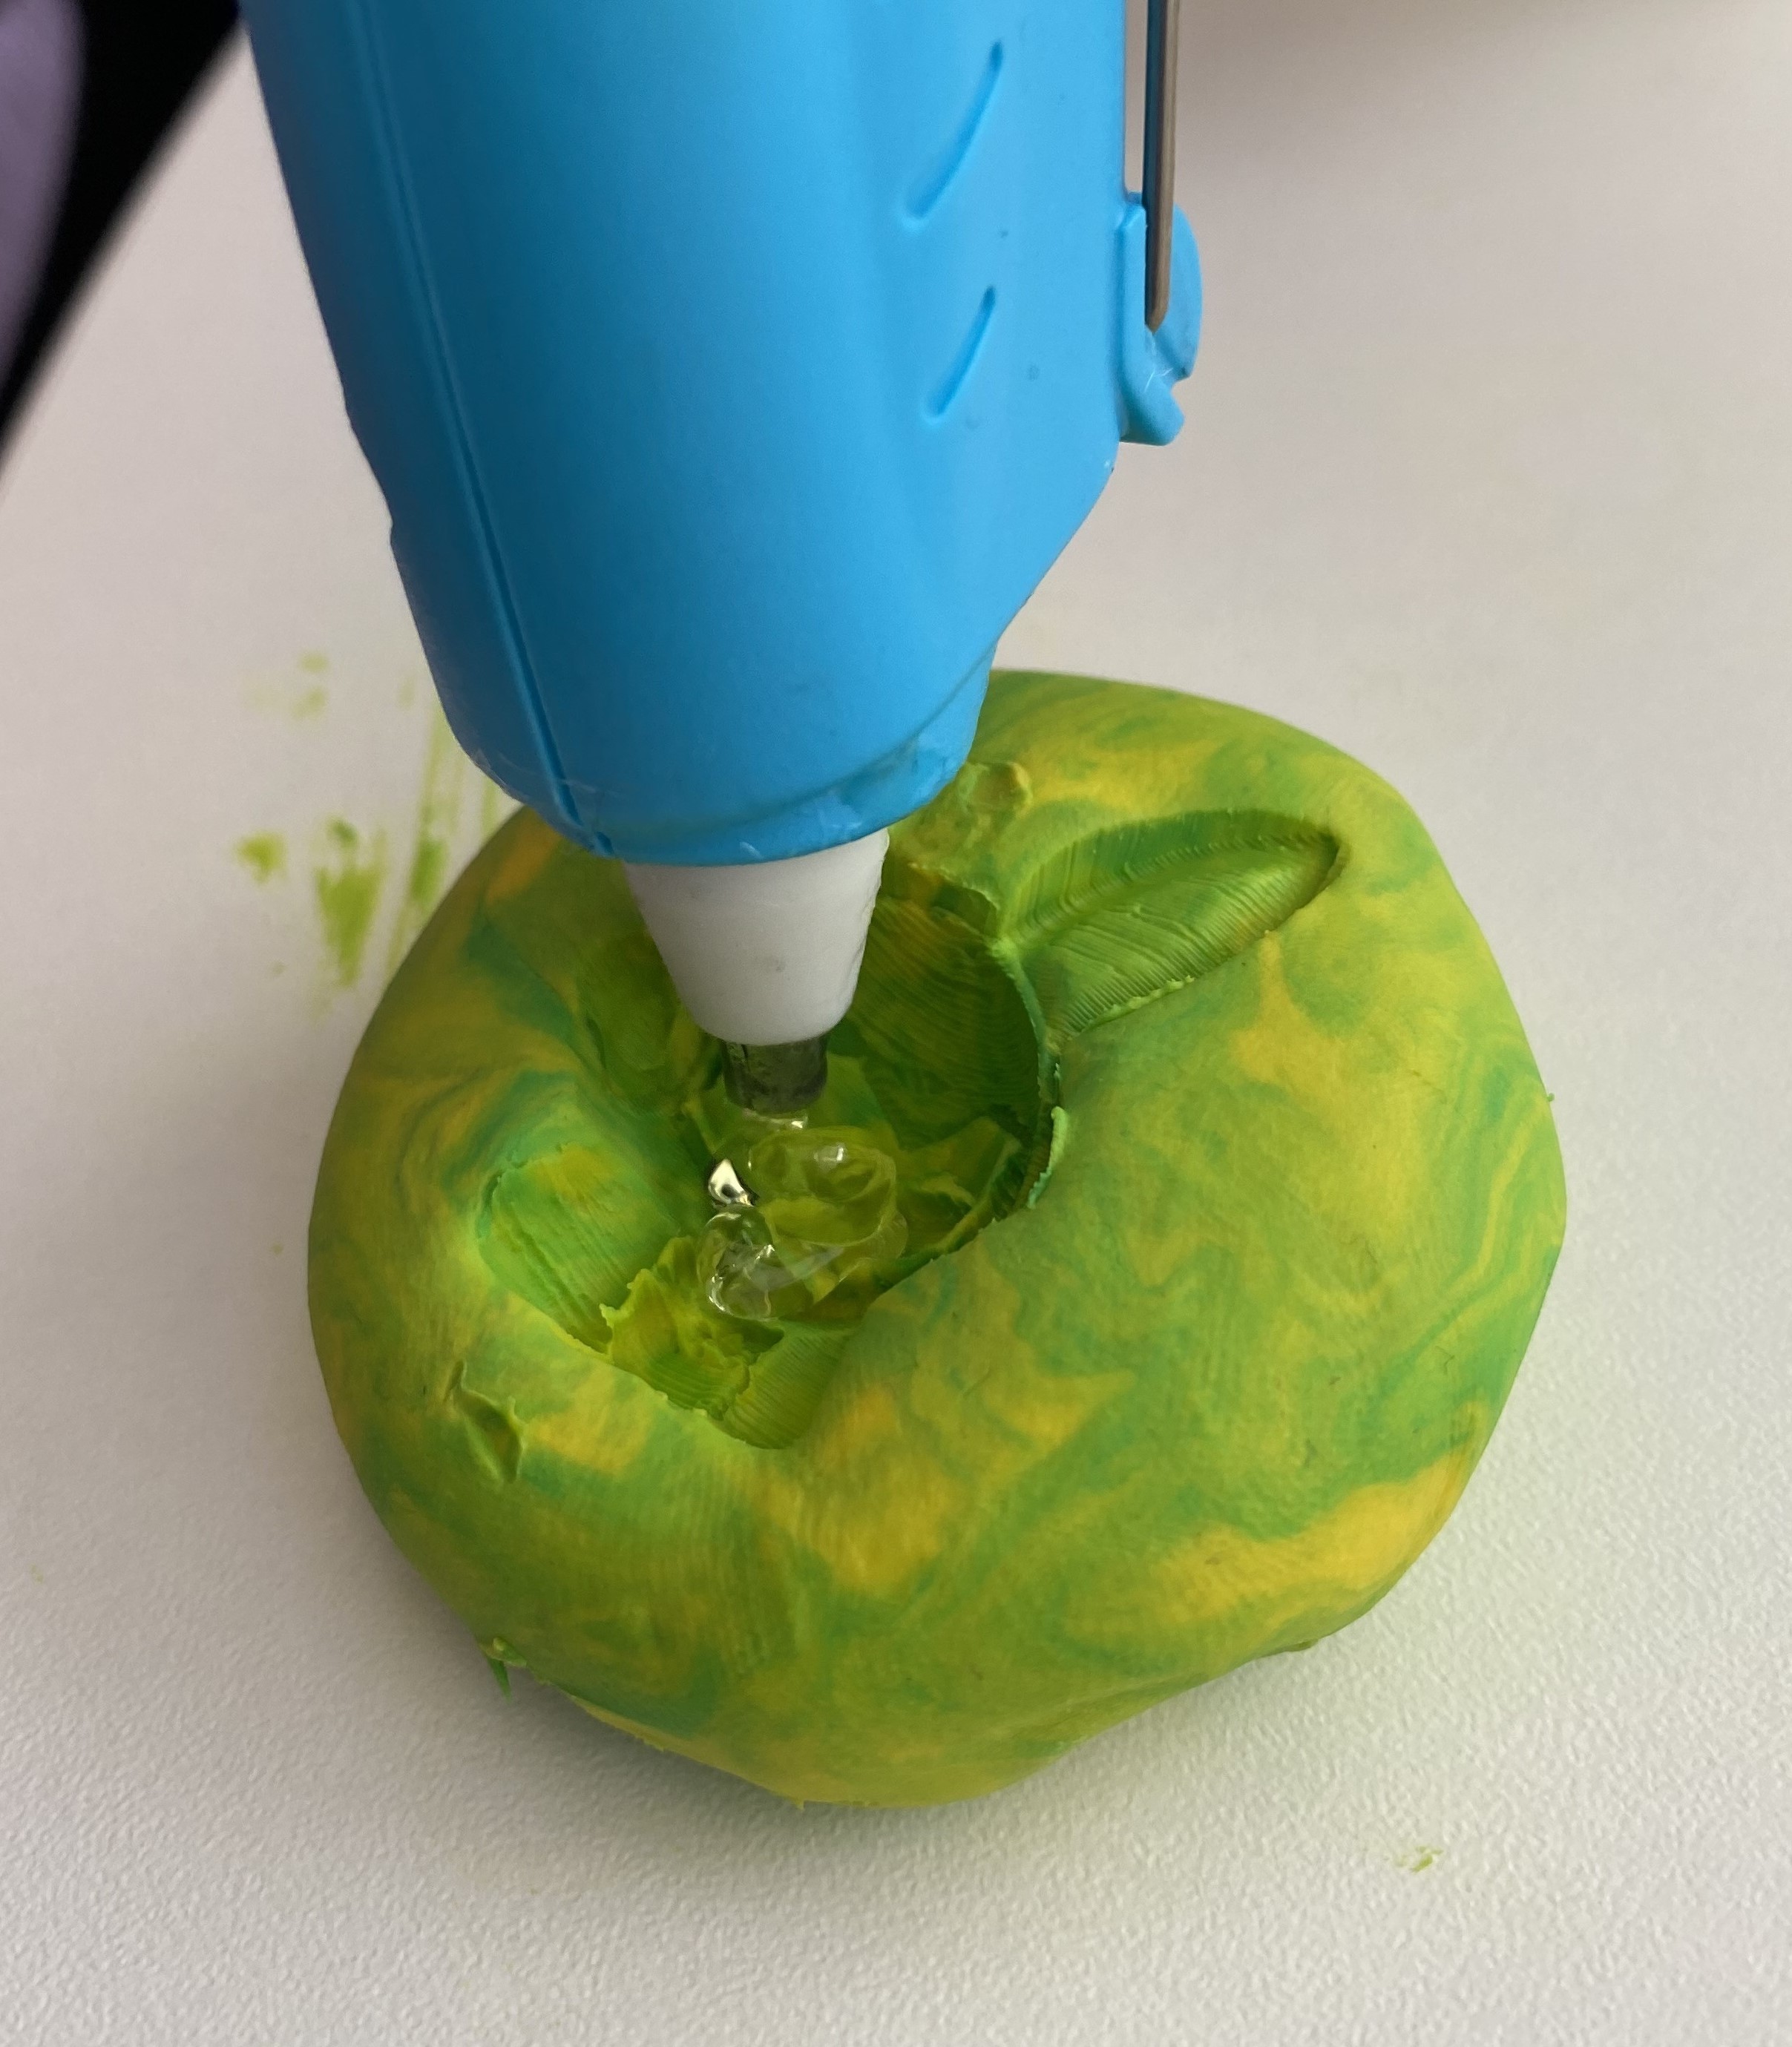
4. Use hot glue to fill the mould.
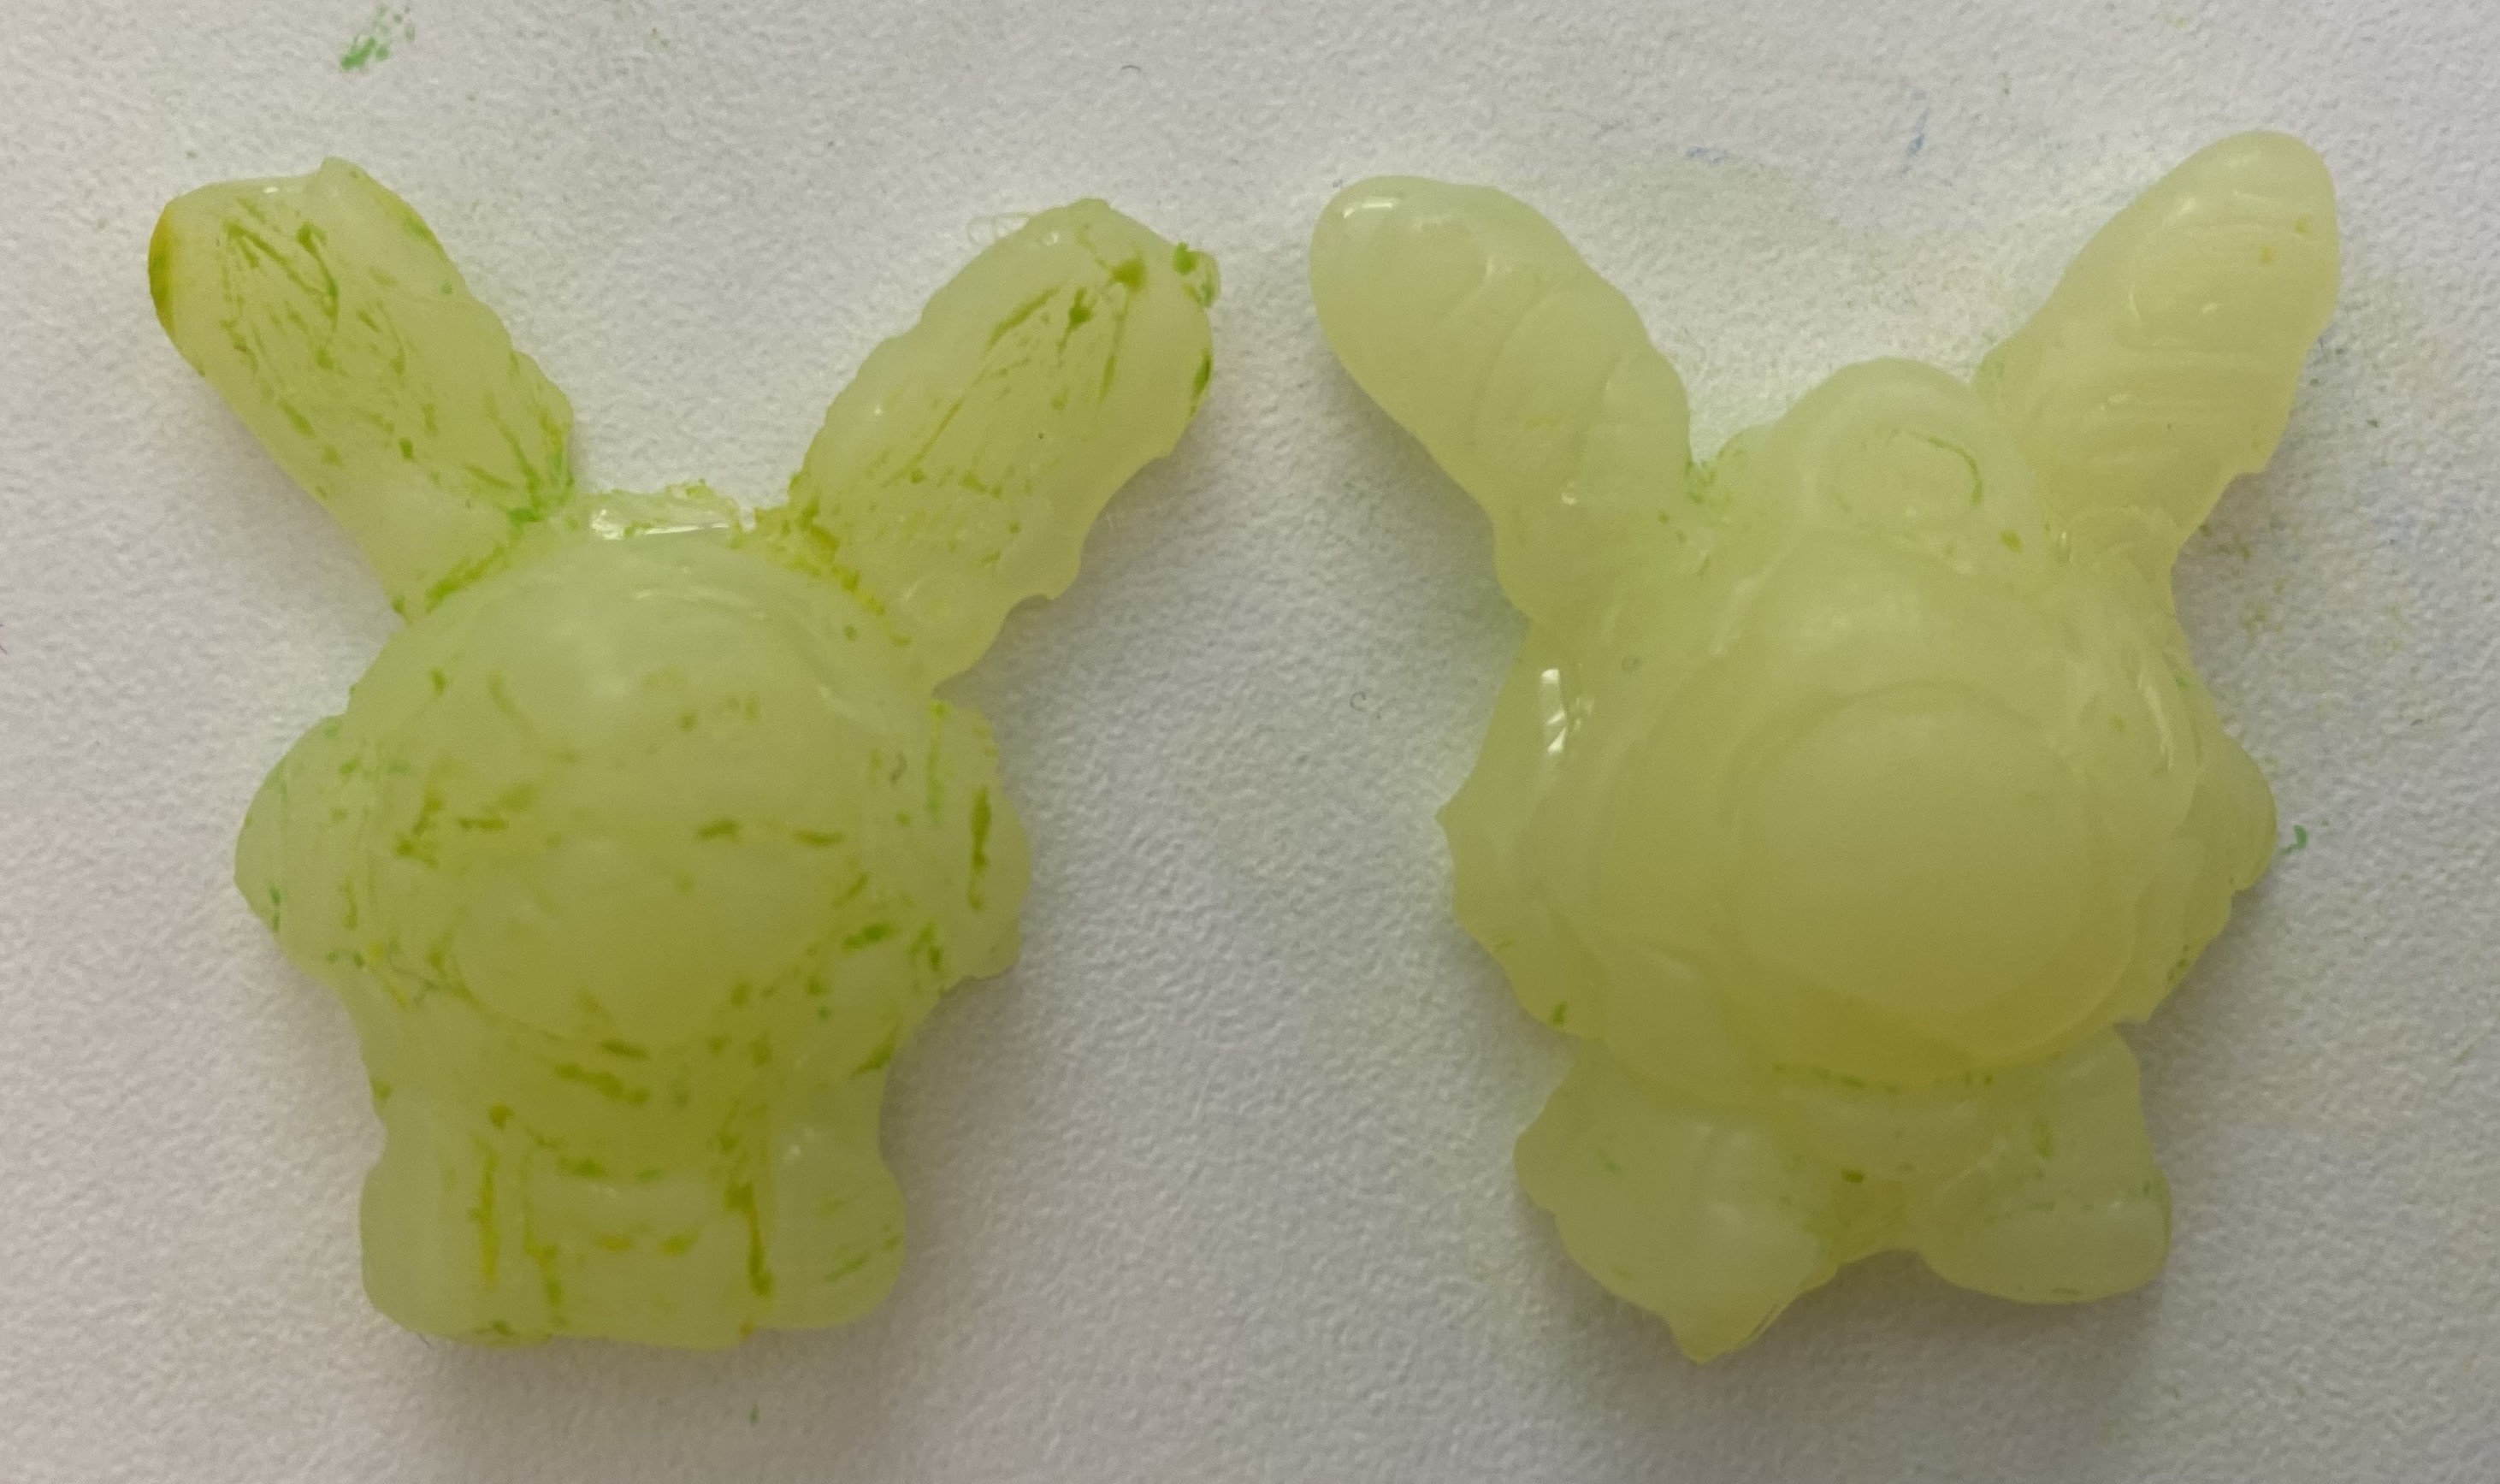
5. Once the hot glue is dried, carefully remove the product out of the mould.
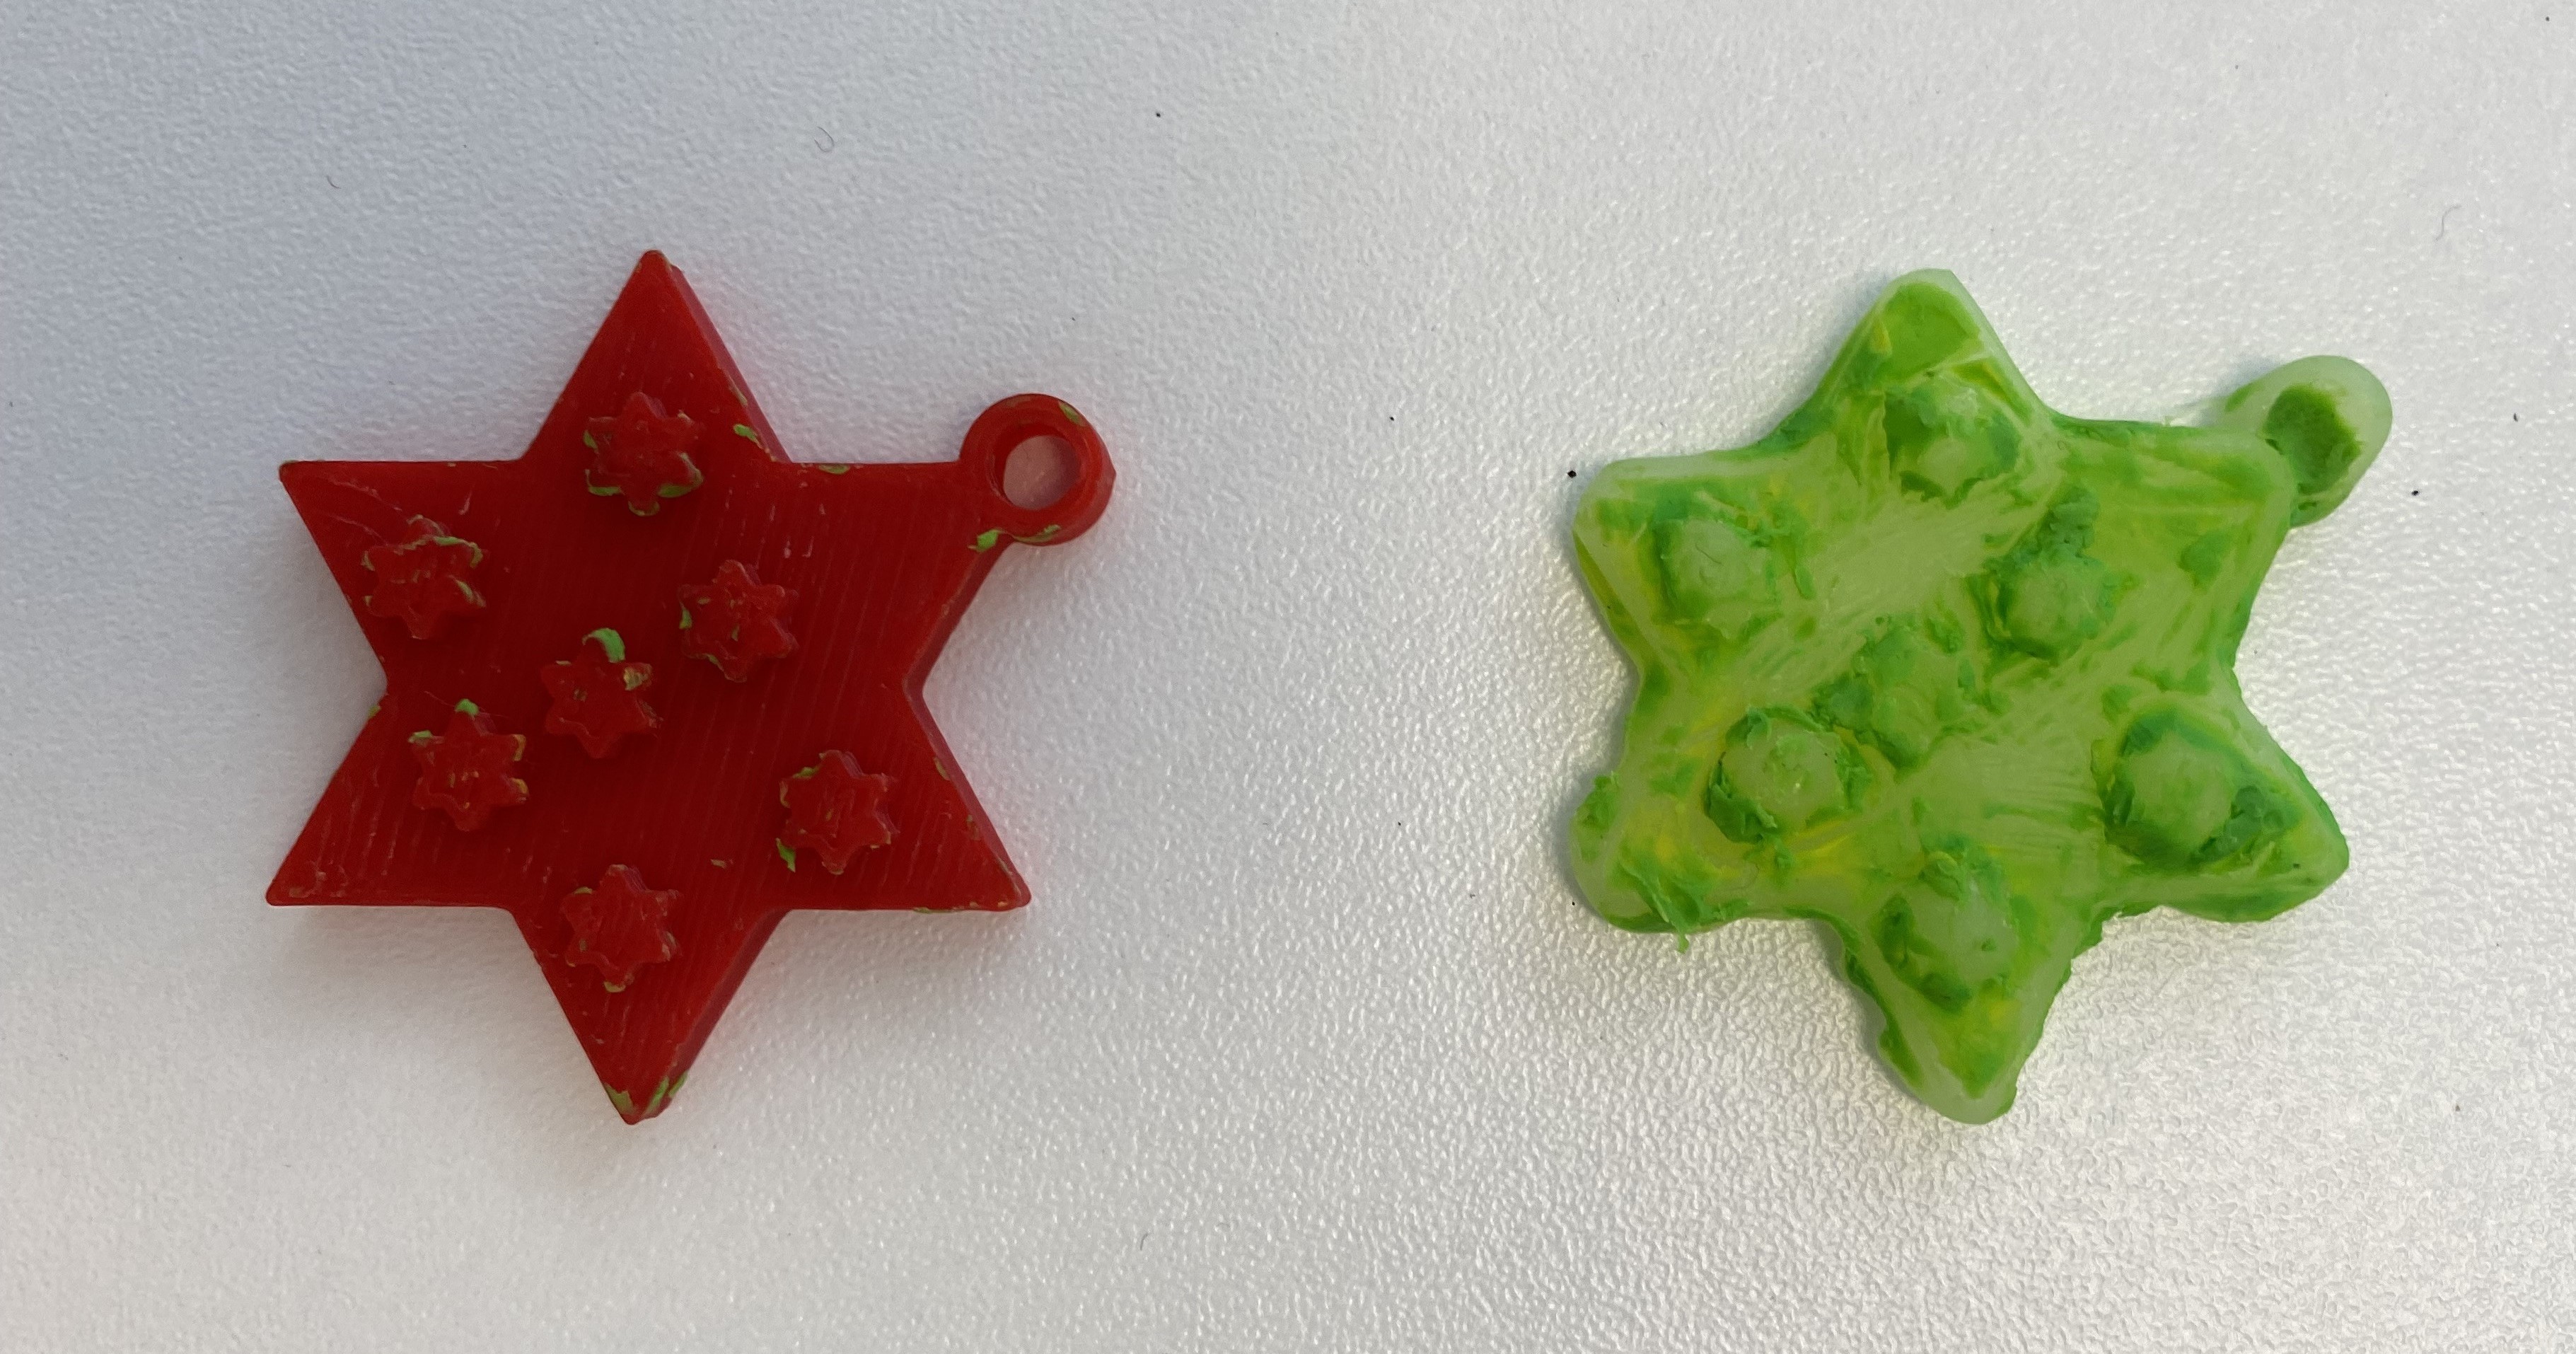
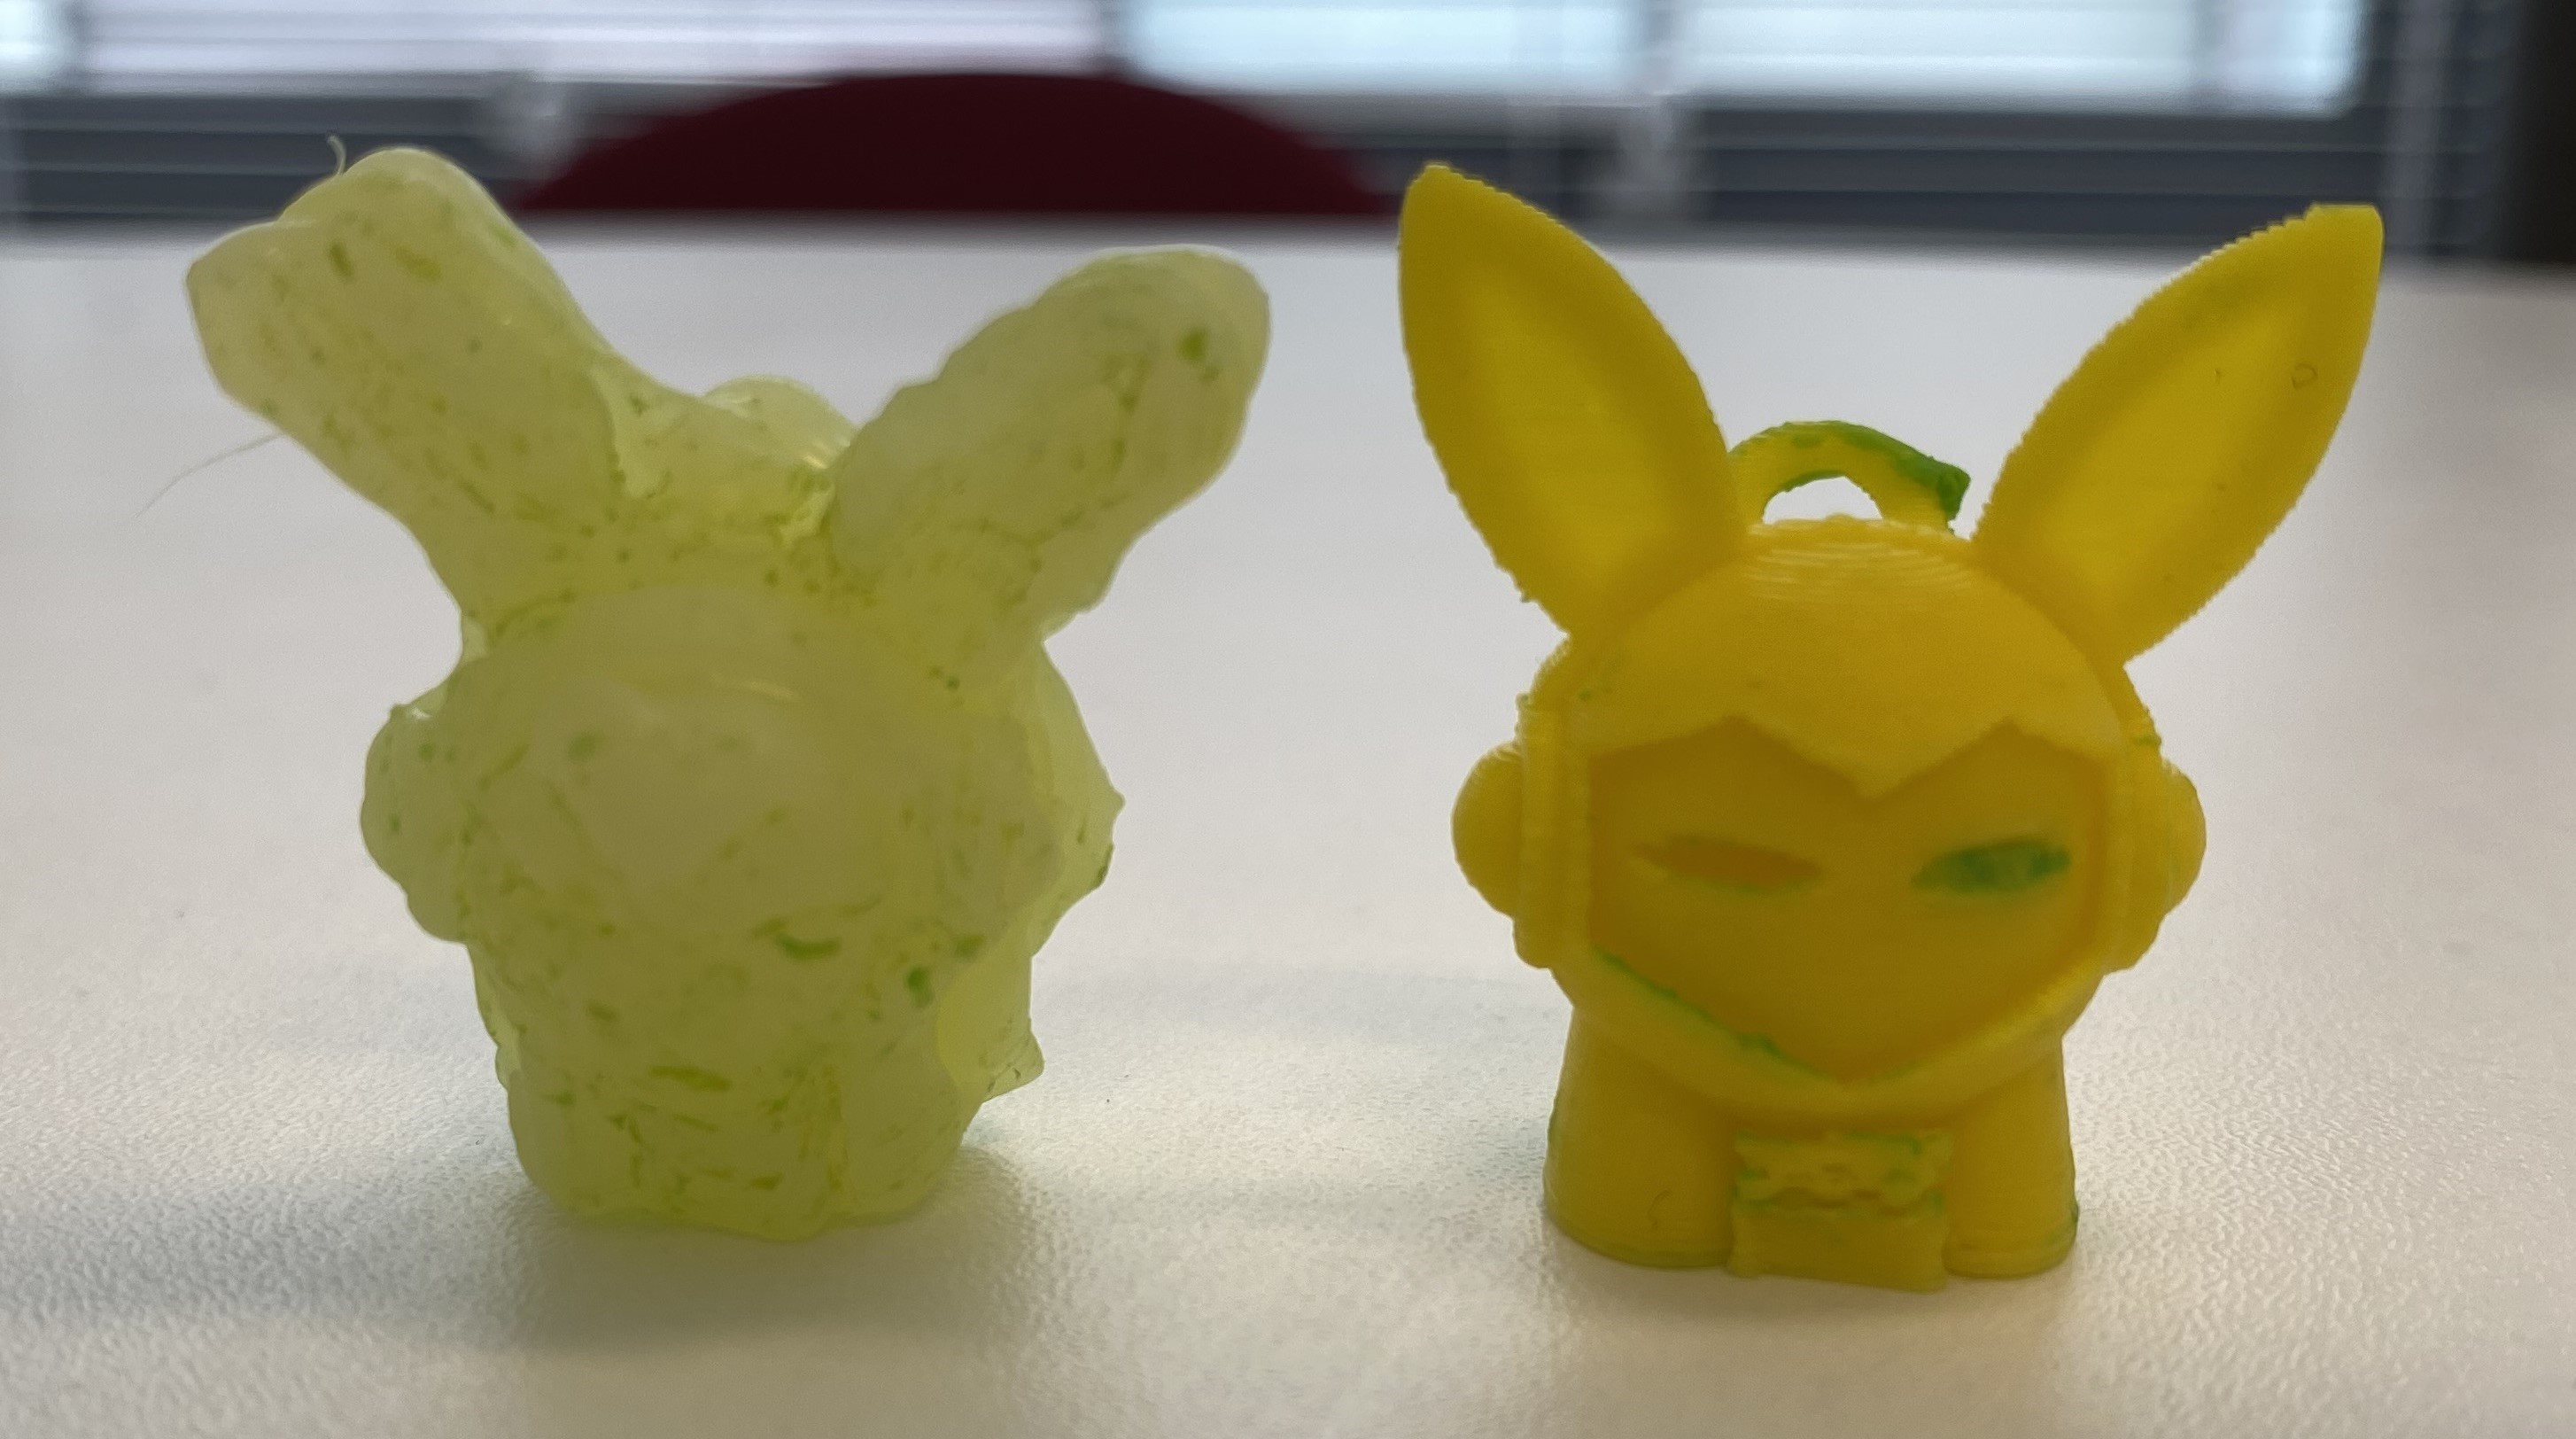
6. Have fun playing with the mould!
Step by step instructions for two-part moulding
3. Carefully remove the plastic toy to form a playdough mould.
5. Once the hot glue is dried, carefully remove the product out of the mould.
7. Use hot glue to stick two different pieces of the plastic toy.
To explore this concept further:
- When using hot glue, why do different layers form? How can you overcome this?
- How could you make a reusable mould that keeps it shape after every use?
Bringing Science to Life resources was created by interns: Laura Lotkowska and Seorin Park.