
Eduroam for Windows 10
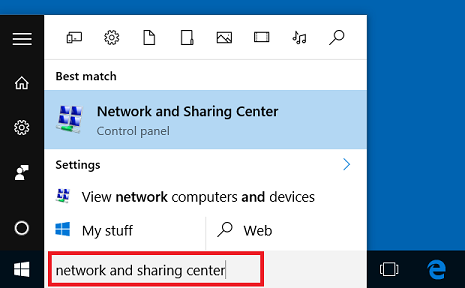
Click Start and search for Network and Sharing Center
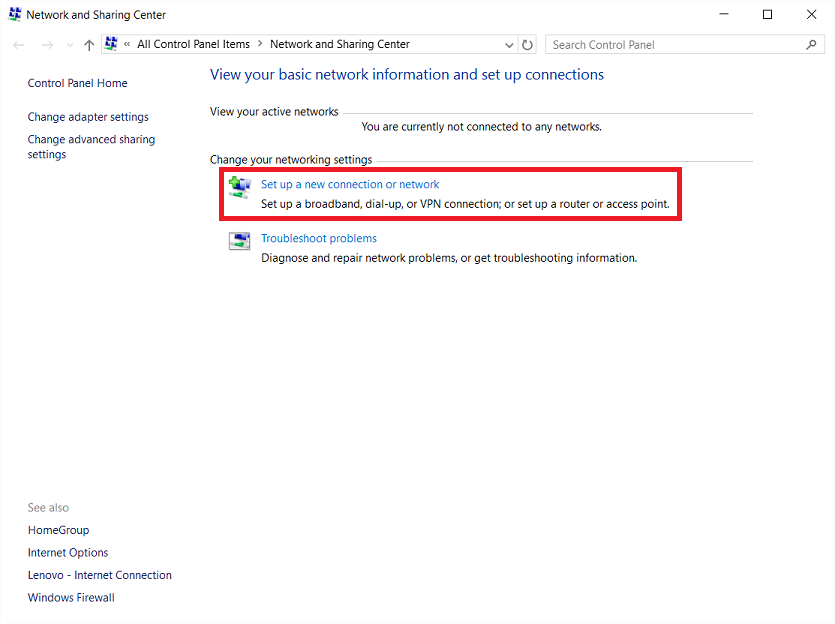
Click Set up a new connection or network
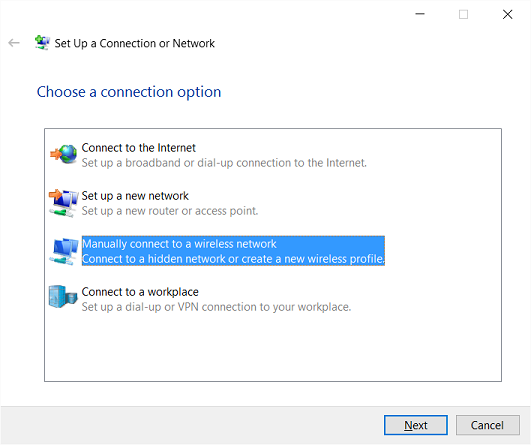
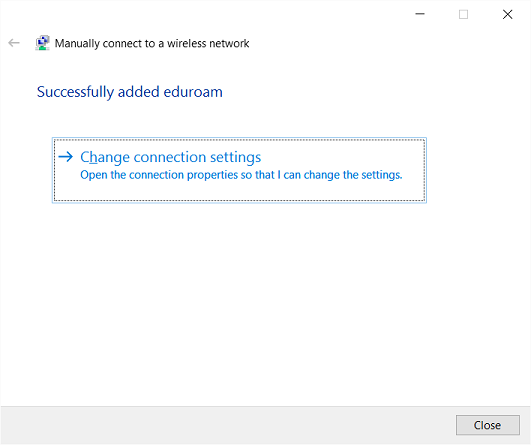
Click Manually connect to a wireless network
Configure the network as follows:
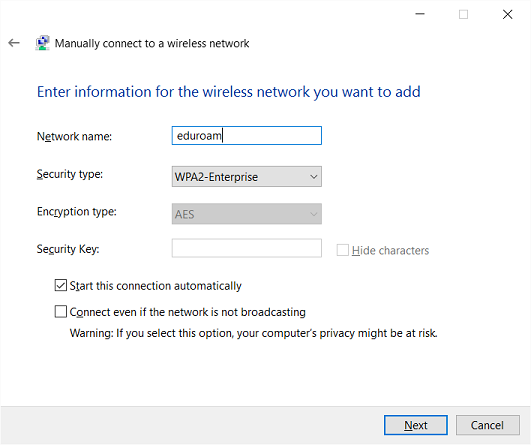
- Network Name: eduroam
- Security Type: WPA2-enterprise
- Encryption type: AES
- Security Key: <Leave Blank>
- Untick Start this connection automatically and Connect even if the network is not broadcasting
- Click Next and then Change connection Settings
Choose the Security tab and then click on the Settings button next to Microsoft: Protected EAP (PEAP)
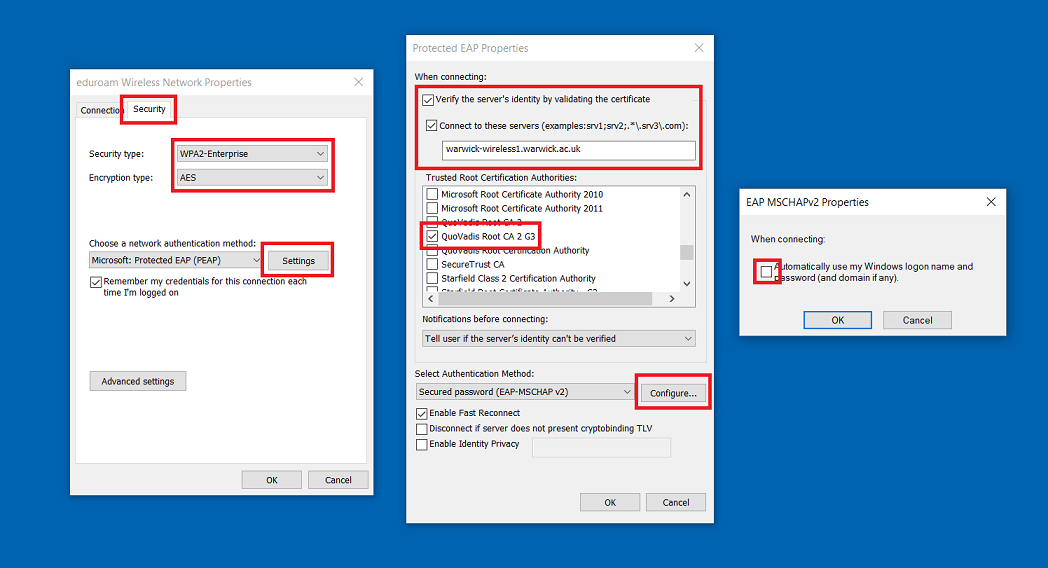
- Tick the Validate server certificate box and tick QuoVadis Root CA 2
NOTE: External (Non Warwick) visitors may not have the same list of Trusted root certification authorities and settings. External visitors should follow the instructions provided by their home insitution.
- Under Select Authentication Method, make sure Secured password (EAP-MSCHAP v2) is selected.
- Click on Configure
- Untick Automatically use my Windows logon name and password
Click on OK three times to close all windows.
Once within a wireless coverage zone, click on the Network Icon in the bottom right of the screen and select eduroam from the possible connections. You should then get an automatic information box which will give a login prompt when selected.
- At the prompt, enter your University of Warwick ITS username followed by "@warwick.ac.uk" and your password
- i.e. u1234567@warwick.ac.uk