
Podcasting
We are excited to offer podcasting facilities.
Key features:
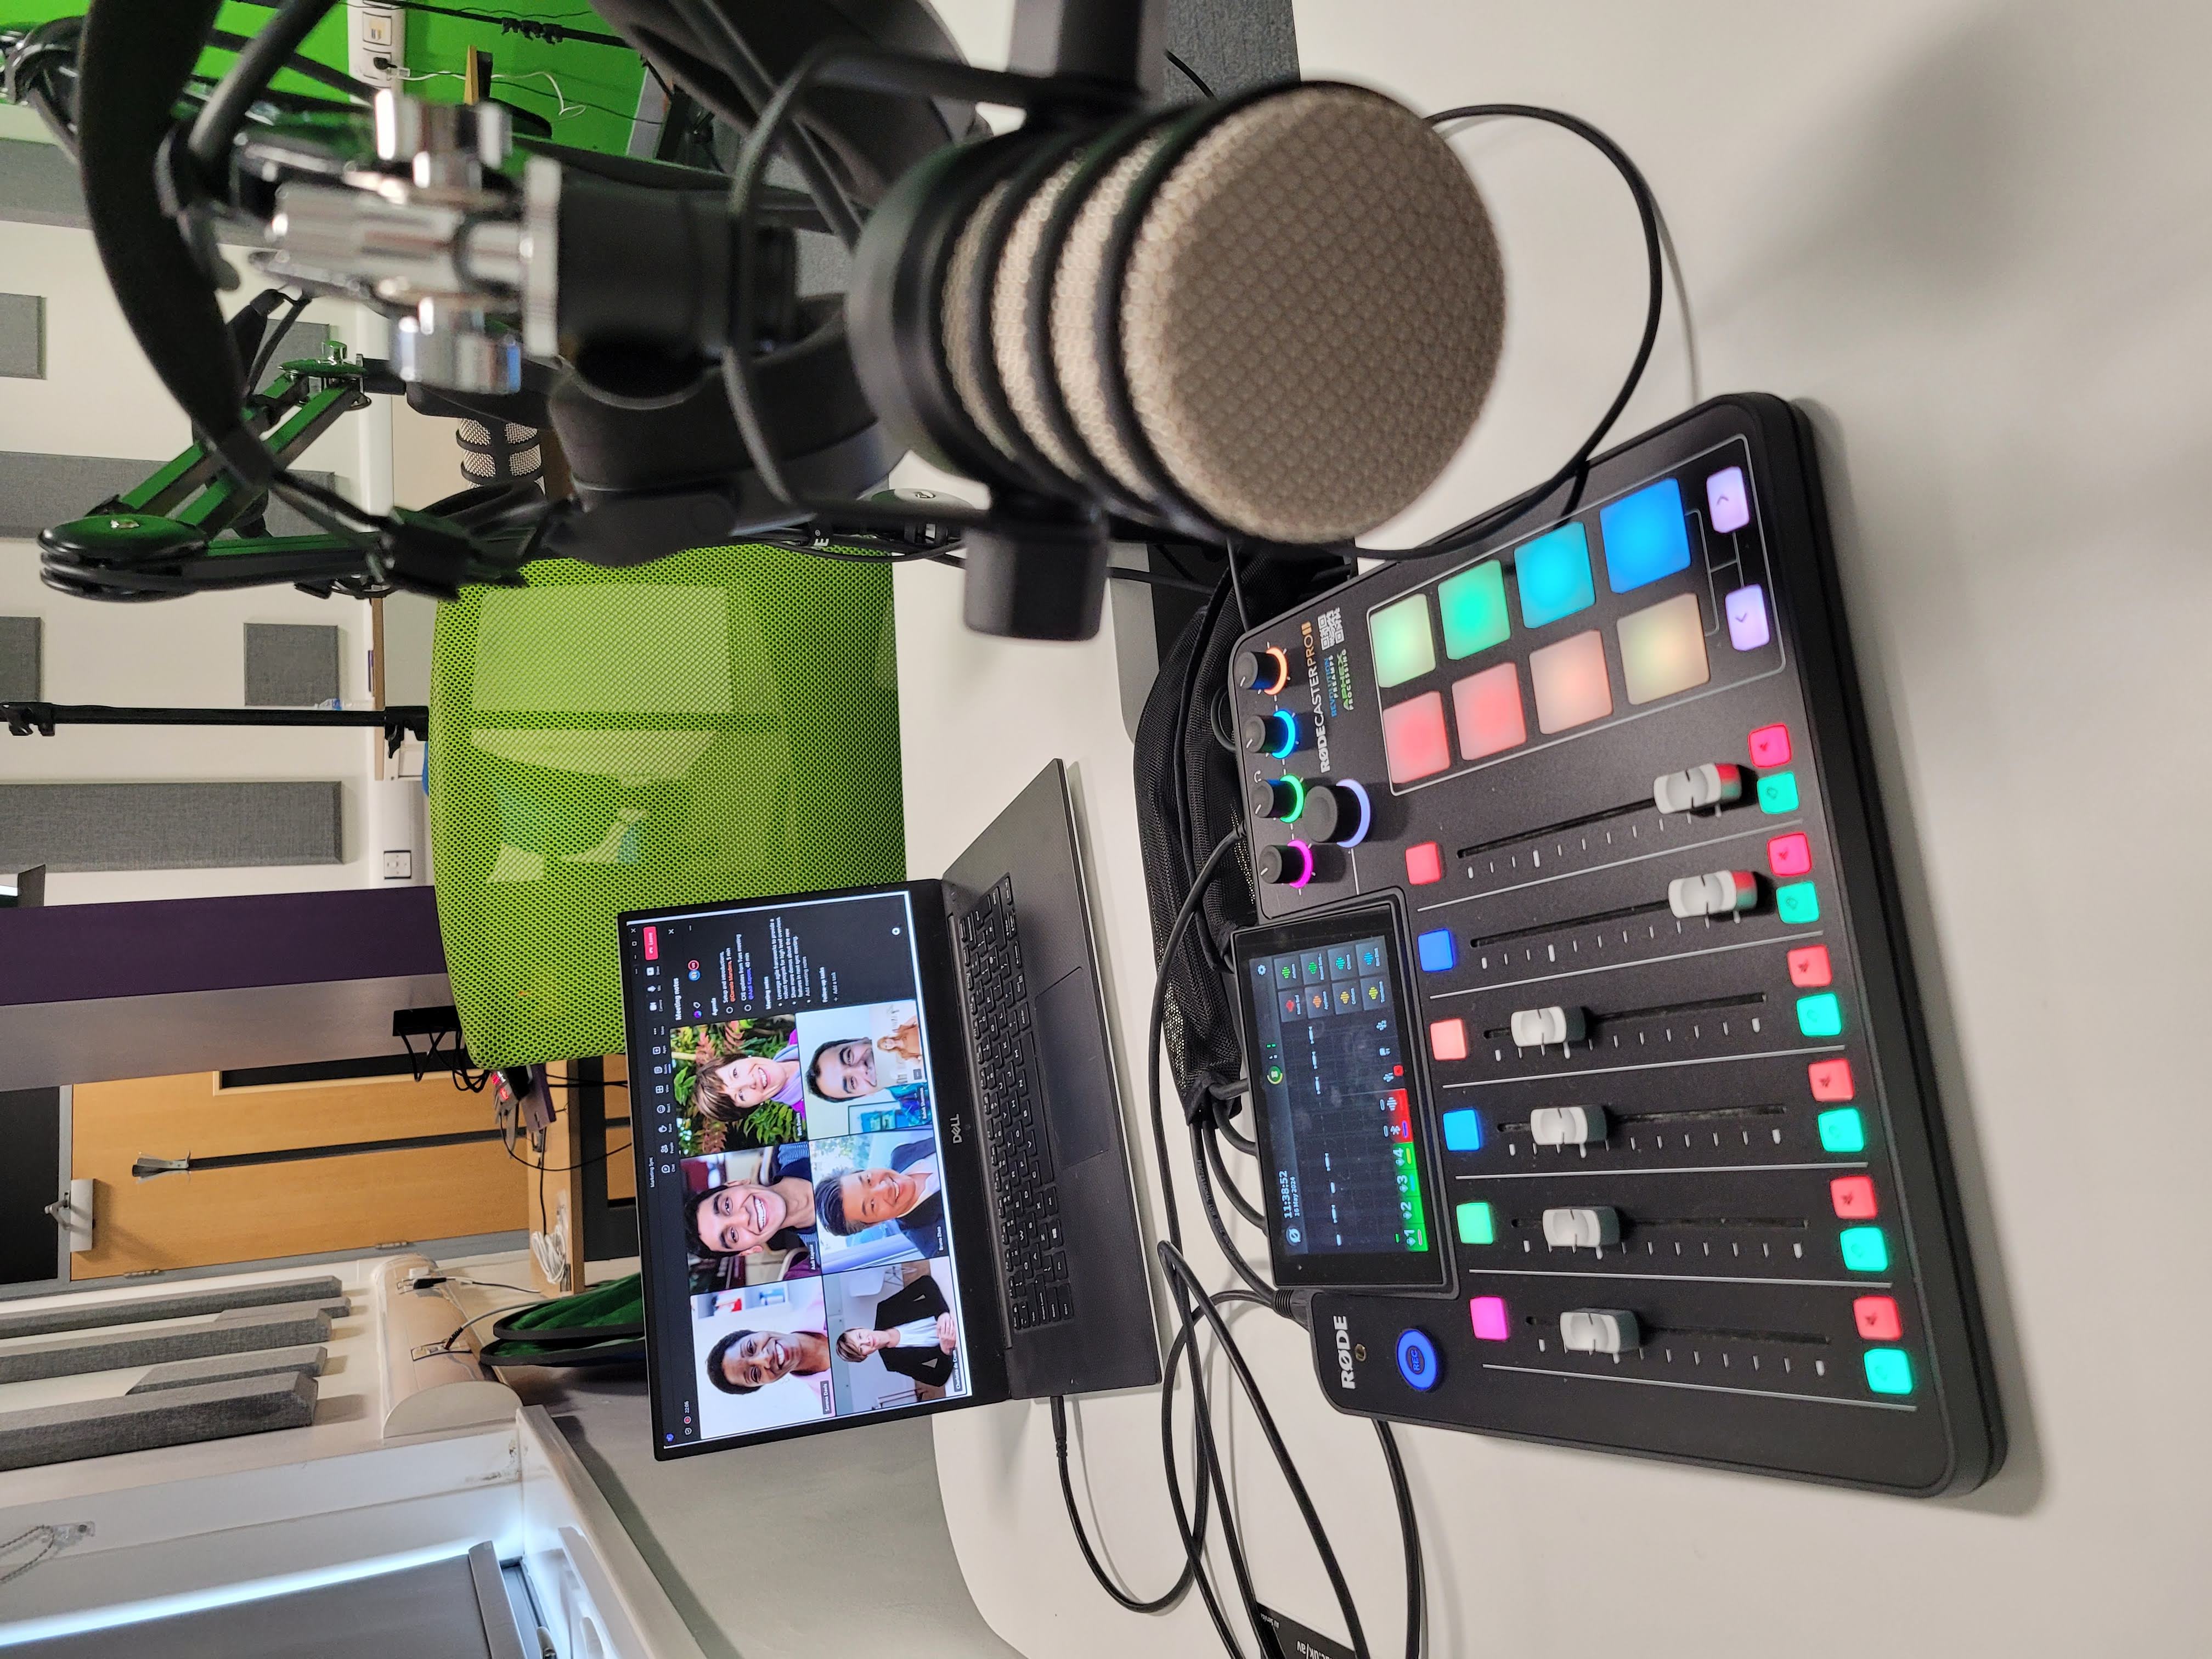
- Rodecaster Pro IILink opens in a new window, 2 x Rode Podmic'sLink opens in a new window on PSA1+ stands, 2 x Nth 100 headphonesLink opens in a new window. You'll need a microSD (SDXC / SDHC preferably) card to take the files off, although if you have an *unmanaged computer you can also install the Rode central app Link opens in a new windowand connect using this via USB-C.
- The Rodecaster can be set to record in multitrack but is usually set to record a single stereo track.
- You can connect external people dialling in via Teams, Zoom etc on a laptop or a tablet using the USB-C connectorLink opens in a new window - the external people will be able to hear you through the Rodecaster, while you control their volume from the device being used.
- Rode wireless ME (x6) Compact Wireless Microphone System
- Rode wireless PRO (x2) Premium Wireless Microphone System
See this Rodecaster link for more info Link opens in a new window (and drill down into the specific guides).
* for managed devices submit a USB use case request to IDG.
Rodecaster Pro II also available in the Westwood RapidMooc Studio
The information below is pulled from the Westwood studio guidance.
Podcasting in the Rapidmooc Studio (WA0.21)
Podcasting has exploded in popularity in recent years, becoming a powerful tool for both creators and listeners. With its on-demand format and ability to delve into niche topics, podcasts offer a unique space for learning, entertainment, and community building.
Digital Learning and Audio Visual Services have collaborated to set up a podcasting station within our Rapidmooc Studio in Westwood. The equipment in the room comprises a Rodecaster Pro IILink opens in a new window, 4 x Rode Podmic'sLink opens in a new window on PSA1+Link opens in a new window stands and 4 x Nth 100 headphonesLink opens in a new window.
FAQs
Rodecaster Pro II Tutorial
Plan your podcast
Define your podcast's purpose and target audience
- Determine the main topic or theme of your podcast.
- Identify your target listeners and their interests.
- Decide on the tone and style you want to convey (informative, entertaining, conversational, etc.).
Plan your content and format
- Decide on the structure of your episodes (interview-based, solo commentary, co-hosted, etc.).
- Create an episode outline or script, especially for your first few episodes.
- Decide on the frequency and length of your episodes.
Promote and build your audience
- Create social media accounts and a website for your podcast.
- Develop a 'marketing' plan to promote your podcast and attract listeners.
- Consider guest appearances or cross-promotions with other podcasts in your niche.
Prepare for recording
- Book the studio via the Rapidmooc Booking page.
- Practice your delivery and ensure you're familiar with the content.
- Confirm how external presenters will connect and check that your device supports Bluetooth or USB-C (or you have a suitable adapter).
- Decide if you are going to record onto a microSD cardLink opens in a new window, or use a DAW such as Garageband or AudacityLink opens in a new window and purchase / install the required option.
- Choose between recording a single stereo track or as multitrack, as this affects the Rodecaster settings; multitrack allows adjusting individual speaker levels in edit but uses more storage.
- Bring a bottle of water and any notes or resources you need.
Record your podcast
Prepare the recording equipment
- Turn on the Rodecaster using the small red button on the back of the unit.
- Basic: If you are using a microSD card for recording, place this into the microSD card slot on the back of the unit near the power button.
- Expert: If you are using a laptop to record, plug the USB-C cable into your laptop, open your DAW software and select the appropriate Rodecaster audio device.
Connect your remote guestsLink opens in a new window
- Have a laptop or tablet ready with Teams or other software installed.
- Connect the laptop or tablet to the Rodecaster Pro II via USB-C cable, enabling remote guests to join the recording session. Select 'Rodecaster Pro II Chat' as the speaker on your device. Volume is controlled from your device.
- Alternatively, use Bluetooth to connect to the Rodecaster. This will be linked to the 5th fader (which has a blue light).
Perform audio checks
- Check the 4 Rode PodMic microphones are properly positioned for each speaker - ideally about 10 to 15cm from your mouth.
- Ask participants to speak into their assigned microphones and adjust levels as needed. Tip: for a 'warmer' sound, speak across the end of the microphone to reduce sibilance and 'pops'.
- Check the headphone monitoring levels for all participants.
Record your session
- Press the record button on the top left-hand side of the Rodecaster. Press it again to Pause, and hold it to stop recording. Red means recording; Amber means paused; Green means not recording.
- Make a test recording if possible to confirm everything is working
- Your session will save automatically to the microSD card and you can transfer the recording using the Rode Central appLink opens in a new window or by inserting your SD card into your laptop.
Edit and publish your podcast
Edit and post-process the audio
- Import the recorded audio files into your preferred audio editing software e.g.
- Remove any unwanted sections, such as long pauses or mistakes.
- Apply noise reduction and leveling to enhance the audio quality.
- Add intro and outro music, if desired.
- Export the final audio file in a suitable format (e.g., MP3, WAV).
Create show notes and metadata
- Write a brief episode description and create show notes with timestamps for important topics or segments.
- Include relevant links, references, or additional resources mentioned during the recording.
- Add appropriate metadata, such as episode title, description, keywords, and artwork.
Upload and distribute the podcastLink opens in a new window
- Upload the final audio file and accompanying metadata to your preferred podcast hosting platform.
- Submit your podcast's RSS feed to major directory platforms like Apple Podcasts, Spotify, Google Podcasts, and others.
- Share the new episode on your podcast's website and social media channels.
Promote and engage with your audience
- Encourage listeners to leave reviews and ratings, which can help increase visibility and attract new listeners.
- Respond to comments and feedback from your audience, fostering a sense of community.
- Consider creating additional promotional content, such as video teasers or blog posts related to the episode topic.
Teaching and Learning with Podcasts
Digital Pedagogy Library - Representing History Podcast AssessmentLink opens in a new window
LDCU - Talking Online Learning Link opens in a new window(created using this equipment in WA0.21)
DAHL - 'Podcasting - using simple tools and techniques' with Dr Robert O'Toole and Youn Affejee
Help and Community
Please join our Team's channelLink opens in a new window to discuss and learn from other users of our Podcasting service.