
Archiving Oral History

Archiving Oral History
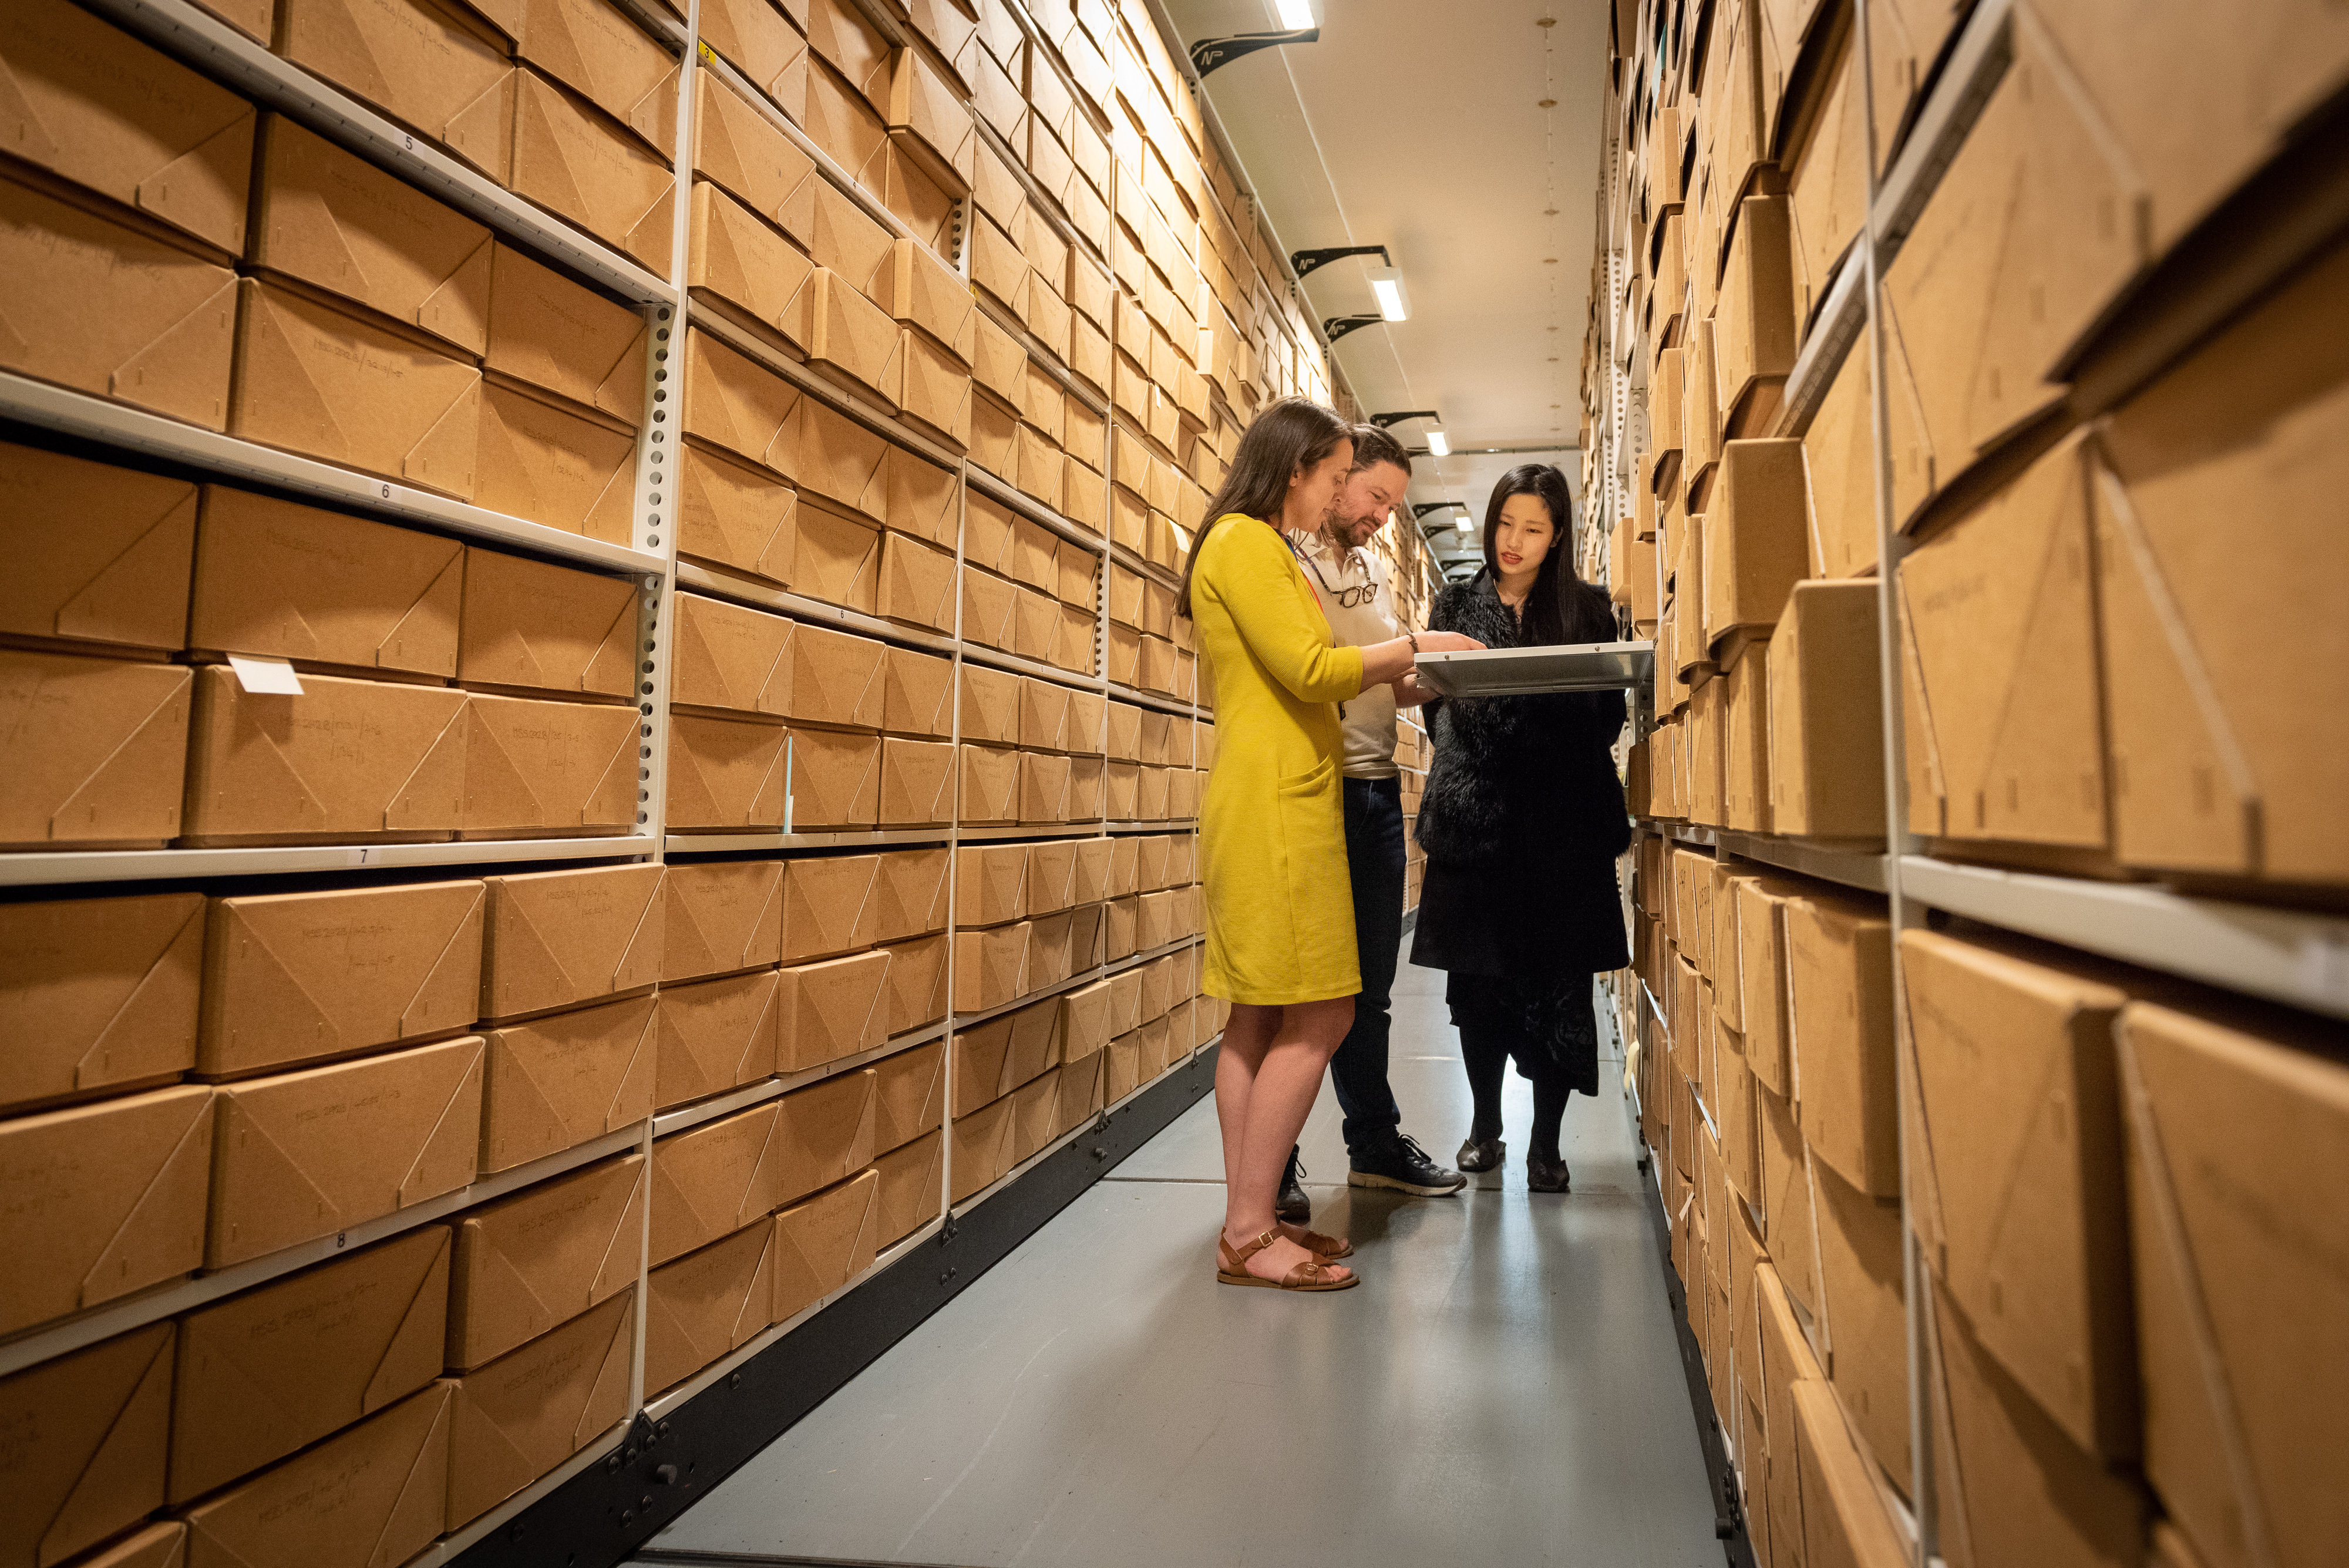
Step 1: Find an Archive
You should start any oral history project by finding an archive that will take care of your recordings and accompanying material. Archives should be contacted in advance to check what documentation is required and to ensure that any wording about conditions of access and reference to the archive is accurately presented to interviewees and project partners.
The Modern Records Centre collects Oral History recordings which fit in with its Collection Policy.
Step 2: Plan for the future
At the outset consider the purpose of the interviews and the range of future uses to which they might be put e.g. research, educational use, as an archive, exhibition, transcription, broadcasting and internet use.
Use this to inform how you create, edit, store and manage your recordings and accompanying documentation.
For example summaries of interviews may become part of the archive catalogue entry used by future researchers to gain access.
Step 3: Document it
It is important to keep a strict paper or digital trail of all stages of the oral history project, in order to ensure that all steps have been properly completed. This approach will result in a successful and robust end product where the material will survive into the long term and the parameters for how the gathered data can be used are clearly delineated.
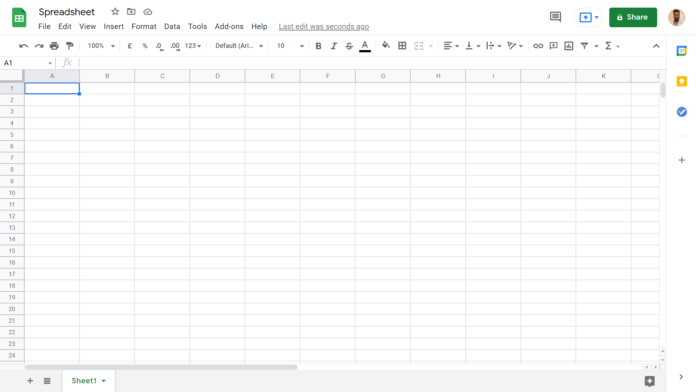
Keeping a detailed Project SpreadsheetLink opens in a new window will ensure all parts of the oral history processed are logged.
Project check list
- Define project scope including aims and themes
- Write InvitationLink opens in a new window to interviewees including an Information SheetLink opens in a new window about the project
- Send Confirmation Letter to interviewees with a date, time and place for the recording to take place, and a Participation Agreement
- Create a Project SpreadsheetLink opens in a new window and allocate each interviewee an ID
- Ensure you have all the necessary equipmentLink opens in a new window, that it works and that you know how to use it all
- Prepare Recording AgreementLink opens in a new window to be signed by the interviewee and Recording GuidanceLink opens in a new window
- Take steps to ensure your personal safety on the day
- Send the interviewee a Thank You LetterLink opens in a new window and ensure the Recording AgreementLink opens in a new window is signed
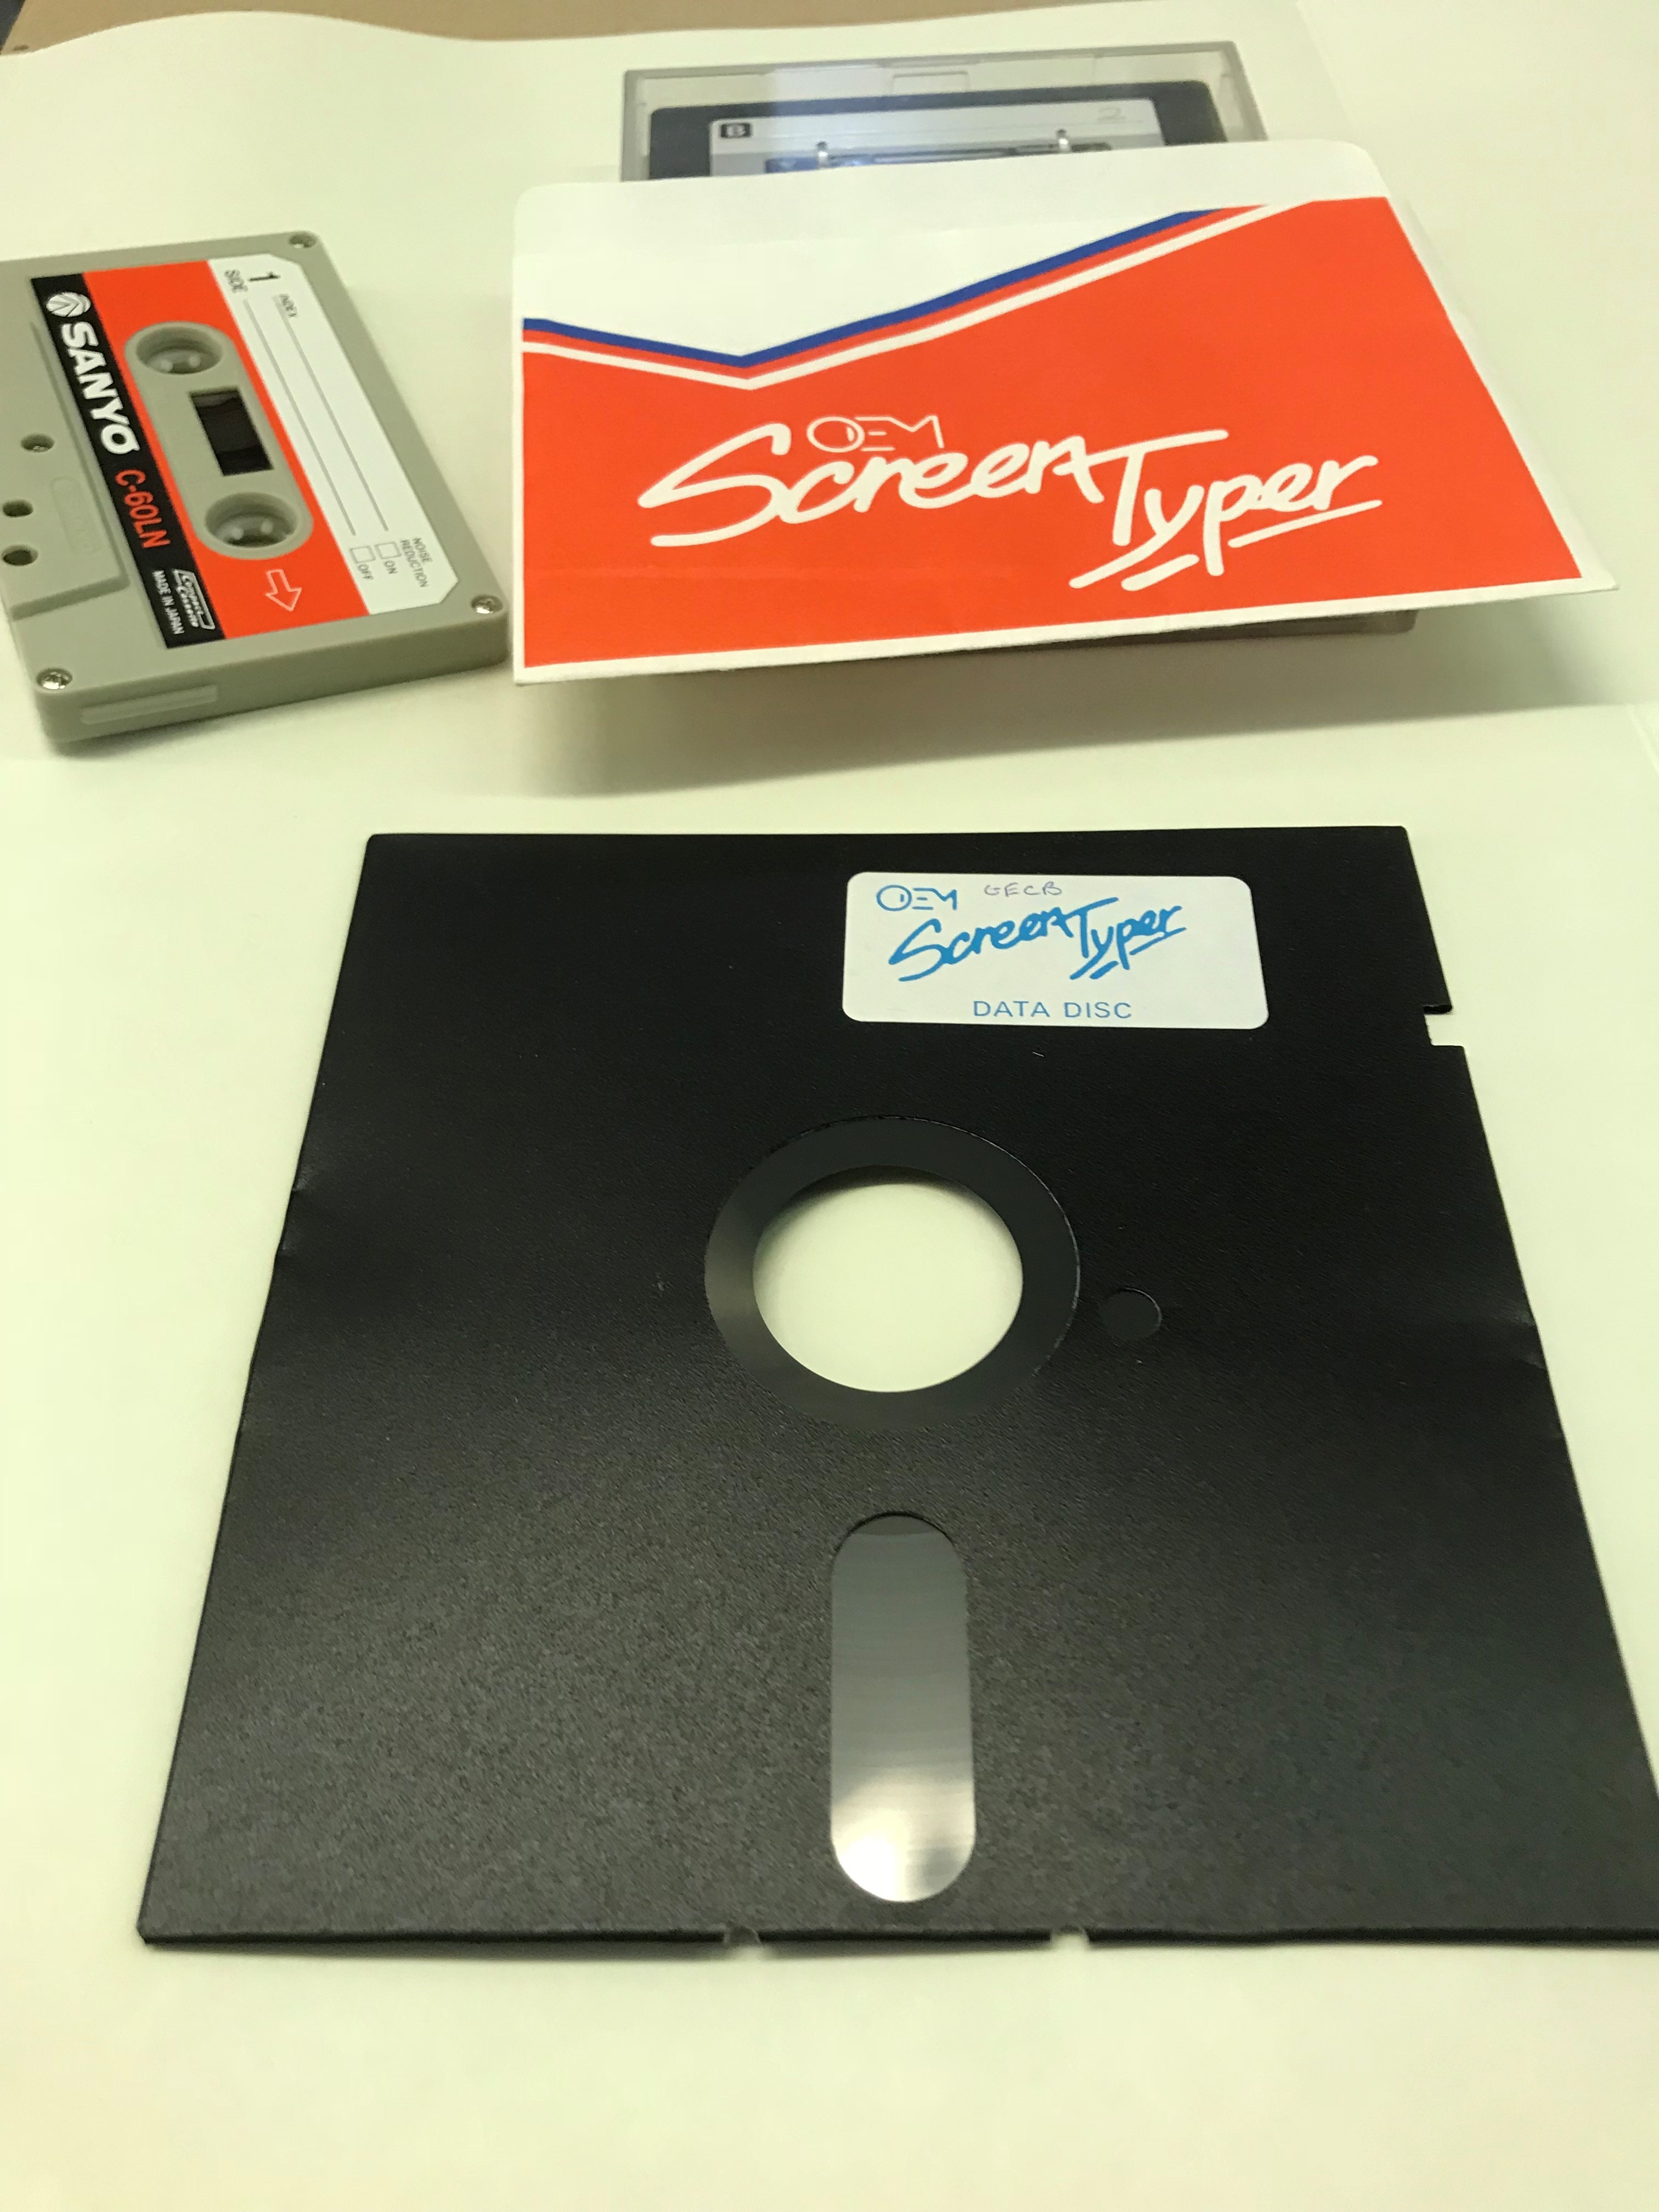
File management
It is essential that files are organised in a way that makes them easy to find and understand in the future. File naming should be standardised and undertaken consistently over time.
.wav is the recommended file extension type for permanent preservation
.mp3 is a smaller compressed file which may be used to provide access to the recording online
Interview tips
Don't feel obliged to pre-prepare a list of questions. Instead research a range of potential topics to explore. Keep in mind the following general points:
- Importance of stories and anecdotes
- Open questions
- 'Tree' of questions/topics
- Only one question at a time
- Leave pauses for reflection / additional info
- Ask for extra details / explanations
- Memories of a particular day / significant event during a longer period?
- Summarise and review
- Is there anything else you’d like to say about x?
- Reflection, feelings, emotions, overall impressions then and now
- Body language of interviewer
- Non-judgemental approach
Data Protection
Oral history interviews are generally conducted on the basis that recordings will be made accessible as a matter of standard practice. The actual content of the interview and current data protection legislation will then usually dictate whether an interview can be made public or not.
It is essential when recording the oral history interview to obtain the 'informed consent' of the interviewee for the spoken material to be used. This is known as assigning copyright. If this consent is not obtained, then the uses to which the material can be put will be strictly limited by law.
Interviewees should also be aware that they may refuse to answer questions should they wish, and they have the right to restrict parts or all of the interview as they see fit.
Recordings with data protection issues e.g. that name other living individuals, may require written permission from the relevant third party to be made available, or need to be edited in order to protect confidentiality.
For more information see: Is your Oral History Legal and Ethical?Link opens in a new window
Further information
The main source of information on Oral History in the UK is the Oral History Society.
The Oral History NetworkLink opens in a new window provides guidance to University of Warwick students.
Several other institutions and individuals have created resources on Oral History including:
Guide for beginners by the Oral History SocietyLink opens in a new window
Introduction to Oral History by the University of LeicesterLink opens in a new window
Oral History in the Digital Age: Getting StartedLink opens in a new window
Judith Moyer, Step-by-Step Guide to Oral History (1993, Revised 1999)Link opens in a new window
Bodleian Library: Guide to resourcesLink opens in a new window
'The making of oral history' by Graham SmithLink opens in a new window
Oral History Society blogLink opens in a new window