
Edit content boxes using the editing toolbar
This guide details how to use the toolbar in the text editor when editing content boxes in section headings, activities and resources, and the content of blocks.
The default text editor in Moodle is the Atto editor, built specifically for Moodle. It is sometimes referred to as the 'HTML editor' and many of the functions will be familiar to anyone who uses Word or Sitebuilder.
As well as enabling you to add and format text, tables, links and images, the Atto toolbar also provides the ability for you to:
- Add mathematical equations using TeX expressions
- Insert or record audio and video files
- Insert EchoVideo or Planet eStream content
- Insert text snippets
Equation editor
This is the HTML-based equation editor in Moodle's Atto editor. See the Moodle Docs guide on Using TeX Notation for more advice on producing equations using TeX notation. They can be inserted using the Equation editor button.
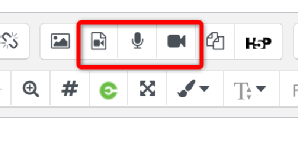
Insert or record audio/video files
These options allow media uploads directly to Moodle. We would only recommend using these features for very short audio or video clips which are not required to be re-used or viewed elsewhere, for example, ask students to post brief introductions in an icebreaker forum activity.
Use the Insert or edit an audio/video file, Record audio or Record video buttons.
EchoVideo content
The EchoVideo button allows you to link to or embed content that is hosted in EchoVideo. You can also upload to and create media (if you have Universal Capture installed) for EchoVideo directly from this button. See the guide on Embedding EchoVideo media into MoodleLink opens in a new window.

Planet eStream content
Planet eStream is available to all University of Warwick staff and students for hosting and streaming video and audio content. However, only users with editing rights can add eStream videos to a Moodle space when editing activities or resources. eStream content can be uploaded into any field that has the editing toolbar.
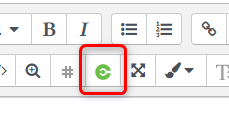
How to insert an eStream video into Moodle
- Place the cursor in the editing field where you want to insert the eStream content.
- Click the green Planet eStream button:
- Select the video by one of the following methods:
- Click the Search icon or type a keyword in the text box to find a video already uploaded to eStream.
- Click Upload to embed a video from your device, simultaneously uploading it to eStream.
- Click Add to Moodle, or if you don't want to display the video's title and description, click Add to Moodle (Hide Details).
- Click Save and return to course.
If you add a video marked as private on eStream to your Moodle space, Moodle overrides the permissions and will make the video available only to participants with appropriate permissions on that Moodle space.
HTML editor
Switching to the </> HTML view allows editing of the HTML source code directly rather than through the standard editor.
Snippets
Snippets are pre-formatted HTML templates that are added using the Templates4u button on the Atto toolbar in any editable section of Moodle. They can be used to make headings, descriptions and labels and other Moodle content more visually appealing.
See the guide Add a course header and other visual elements to see how to use these.